This is a Sponsored post written by me on behalf of Moen, Incorporated. All opinions are 100% mine.
Last year before my Mother and Father in law came to visit, we did some minor decorating to the guest bathroom. However, there were two more updates that I had planned for this bathroom. A new faucet and new flooring (yes the tile floor is cracked in this bathroom too!)
When I received an email asking if I would like to install the Moen Boardwalk 1-Handle bathroom faucet in Spot Resist Like Moen on FacebookLike Moen on Facebook I was like “heck yeah”. Especially when I saw that it was spot resisting which means less fingerprints.
I told Mom and she was like “are you crazy, do you know how hard it is to install a new faucet!” I quickly explained, that if I could remove and install a garbage disposal then I could do this!
Well, Mom was right and I was right. Installing the faucet was super easy, but removing the old one… not so much.
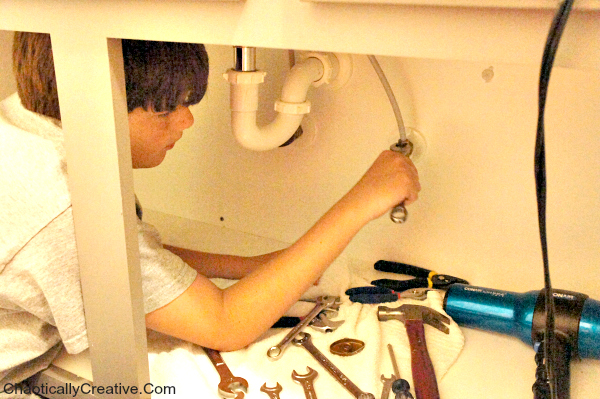
We had to call in a pro… Yep, Gavin our 11 year old. We could NOT get those darn nuts off ! And 3 adults tried! Gavin jumped right in there and got them off with no issue. Thanks Gavin!
Removing the old Faucet
- Ask your child for assistance, if you don’t have one borrow one from a friend
- Place a towel in the cabinet under the sink
- Turn both knobs from under the sink in order to turn off the water supply
- Turn on faucet to insure water is off
- Using a philips head screw driver remove the handles to the water supply (this makes it easier to access the top nuts)
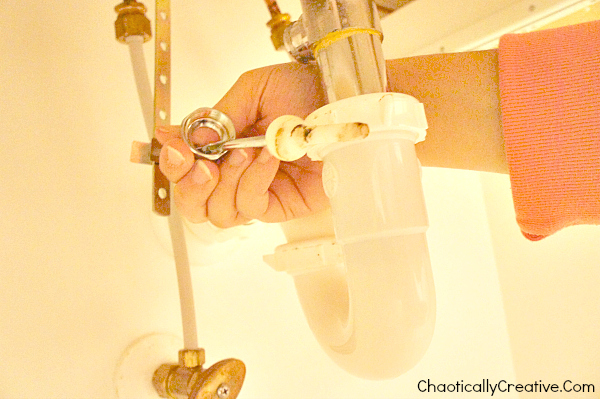
- Use a wrench to remove the nuts on top of the water supply knob which are connected to the hoses. Refer to the picture above. If they are stuck like ours were, use a hairdryer and heat the nuts. Heat expands metal, so this tip really helped us.
- Unscrew the finger bolt which holds the lift rod (the lift rod is the little thing you pull up to make the drain plug) picture below
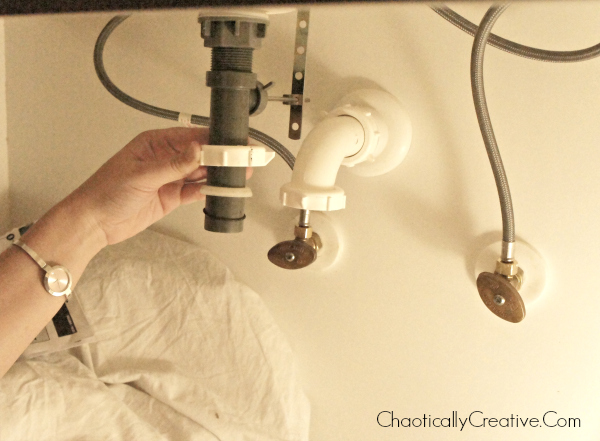
- If you want to replace the drain piece you will need to remove the white pipe pictured above (keep this and the nuts) and the silver pipe as well (you will not use this part again) You may want to grab an old bowl or a few more towels because more water and complete grossness will come out on this step
- Unscrew the nuts that are holding the faucet to the sink.
- Detach the pipes from each other and push up on the silver pipe to remove the drain from above.
The great thing about removing and replacing the old faucet is getting to start with a clean fresh one. Don’t be surprised by all the yucky guck!
Now the fun and much easier part!! Replacing the old one with this beautiful Moen Boardwalk. I had actually spied these at Lowes Hardware when I was picking out faucets for the boys bathroom. They are really snazzy looking!
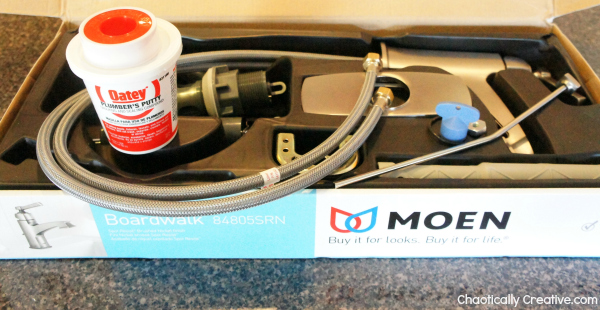
To install the faucet you only need a few things.
- Plumbers Putty
- And a Wrench
- Other tools are included. Just an FYI that Grey tube in the right corner of the box is an awesome tool.
The directions are self explanatory and really easy. Here’s a picture of what the bottom of the sink will look like 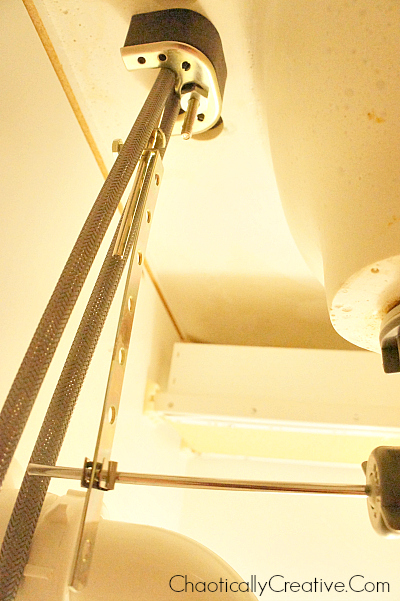
Installing the new sink
- Insert the new faucet and use the piece shaped like a U and the bolt to secure it
- Attach the lift rod, the clip can be tricky if you are lying on your back. I flipped over and was able to align everything much better.
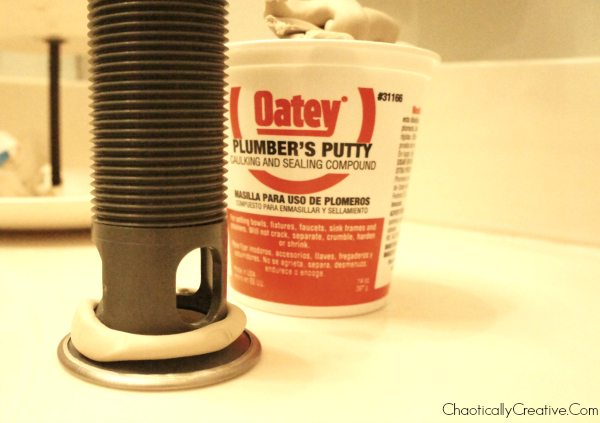
- Next use the plumbers putty and roll it out and place around the drain.
- Place the drain back in to the hole
- Replace the plastic nuts and the plastic tube
- Attach the hoses back to the water supply
- Replace the knobs to the water supply.
- Wait 24 hours for the plumbers putty to dry
- Turn water supply back on
- Turn on the faucet to check for leaks
- Jump up and down, squeal and scream “I told you I could do it!”
Oh and don’t forget the last and most important step….
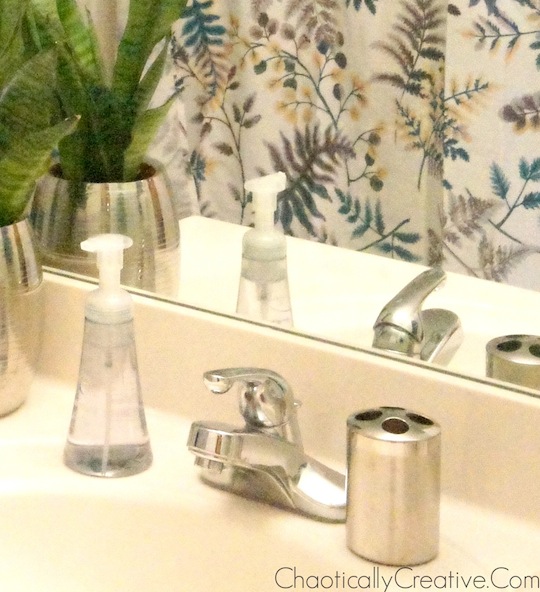
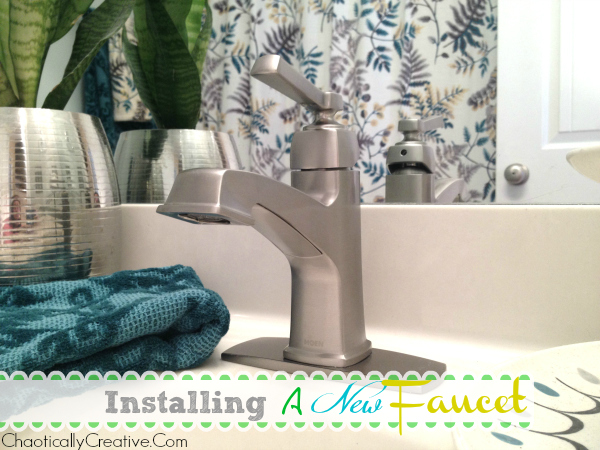
Stand back and enjoy the beauty of your new faucet!
Hello! Cool product here, thanks for the review. I should definitely get one of these for myself.
I’m living in Vancouver, Canada and I recently moved out of my old house and I had a huge concern about how to put all that trash away. To my luck, I found this trash removal in Vancouver, these guys really helped me to get rid of the big chunk of that trash. Thanks for your article again!
Keep on writing, great job!
My weblog :: Plumbing Problems Highlands Ranch CO