Need a super easy, no fail, big impact type of Holiday Decor project? AWESOME, because I have one for you! Let me start off by saying that this “Easy” Distressed Merry Christmas sign did not start off that way. In fact, there was not suppose to be any distressing involved at all. The sign was supposed to look very clean and crisp but apparently, I don’t follow instructions very well.
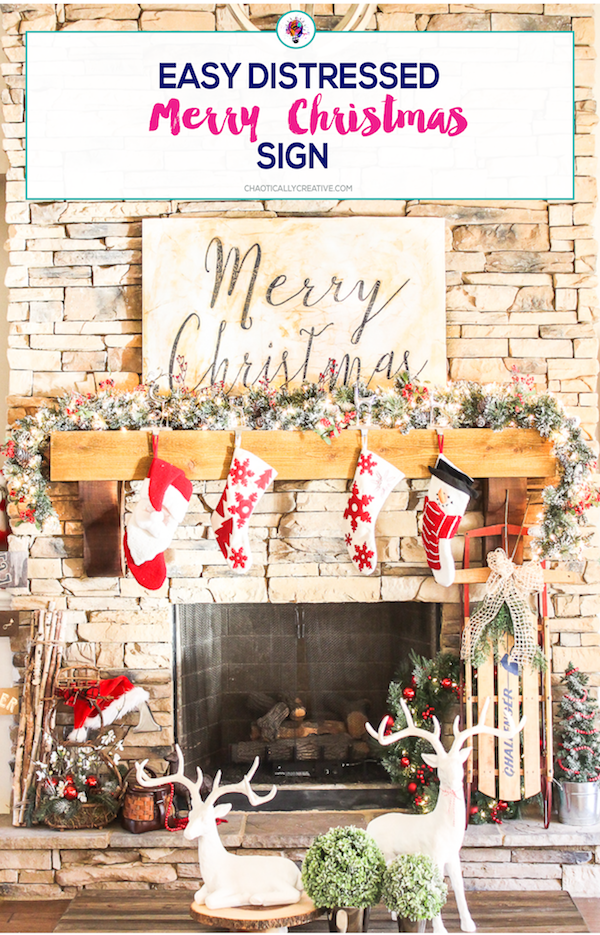
Here’s what happened. I wanted a really inexpensive but very large sign to go on our very tall fireplace. I found this awesome tutorial from my friend Lauren on how to create a large typography print. I was so excited about this project and it seemed really easy. ( and it probably is for those who follow instructions).
First I got all my materials together. Here’s a list below with some affiliate links for easy shopping. (I make a small commission off sales made through my links)
Materials Needed for Distressed Christmas Sign
- Merry Christmas Printable (click to download yours for free)
- Engineered Print (instructions below on how to print)
- Mod Podge
- 48″ X36″ plywood
- Paintbrush
- White paint
- Brown Paint
Here’s How I Printed My Distressed Christmas Sign
- I created the Merry Christmas Print in Adobe Illustrator you can Click to Receive Your Free Printable
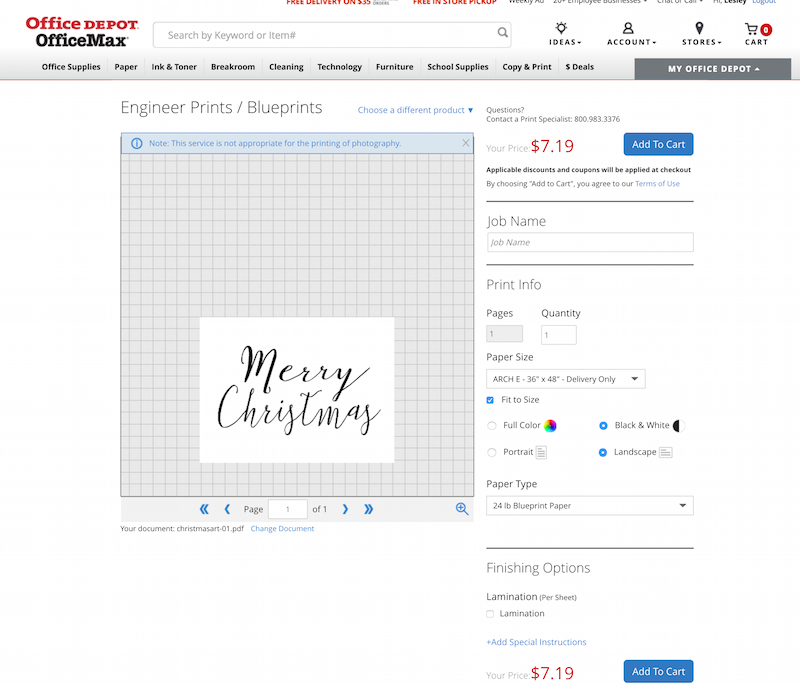
- Next, I went to Office Depot.com and uploaded my file to this area… it’s hard to find so please use the link provided.
- Select 36’X48′ and Click “Fit to Size” (note that this size is delivery only) Staples may be a better option if you have one because you can pick up large prints in store. We don’t have a Staples close to us so I had to have mine delivered via Office Depot.
- Upload the printable you downloaded in step 1 (again make sure you click on the “FIT TO SIZE” box.
- Complete your order.
Here’s How I Made My Distressed Christmas Sign
- Once your print arrives, you can unroll it and put pieces of wood on it to help it flatten out.
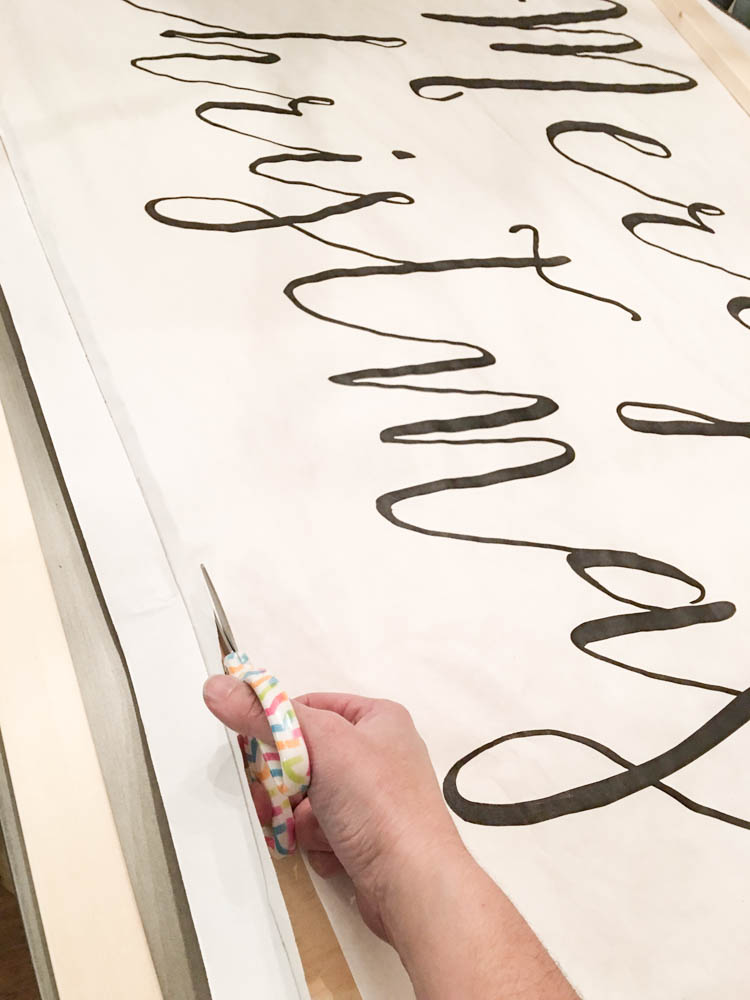
2. Cut the print to the exact size of the board. 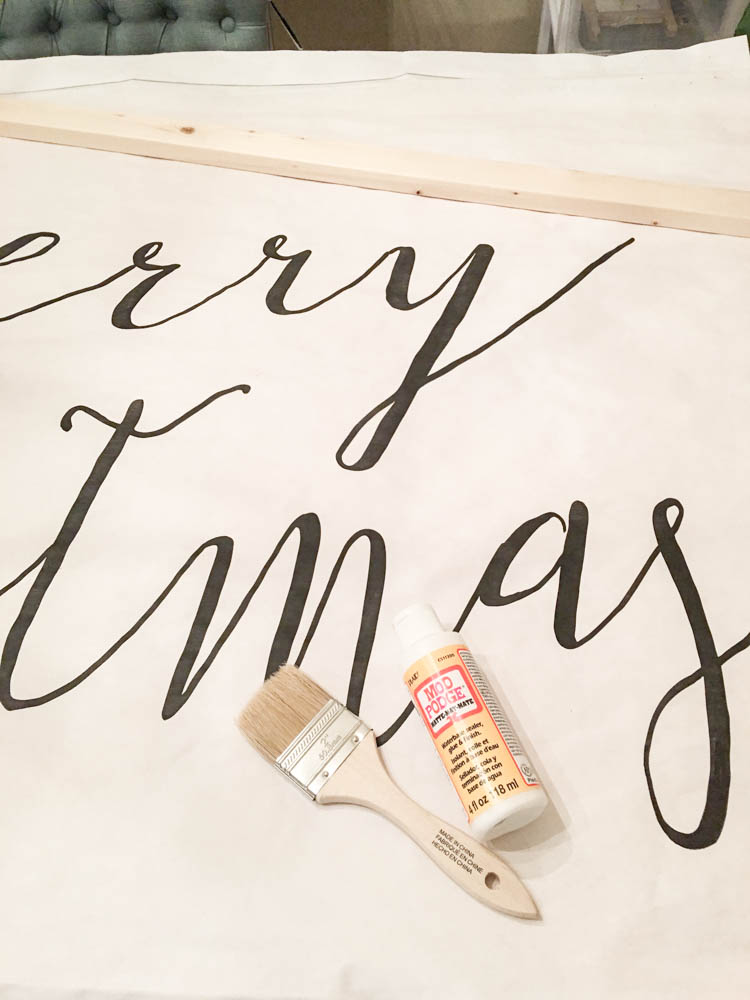
3. Here’s where I messed up on Lauren’s tutorial. If you want a non-distressed look you will need two people to glue the print to the wood. One person needs to hold the print up while the other is working underneath, painting glue on a small section then smoothing the print out with a credit card. Repeat until you get the whole print pasted to the board.
4. If you want the distressed look, here’s how I achieved it. I dumped the whole bottle of Mod Podge on the plywood and spread it all around like I was buttering a piece of bread.
5. Then I slapped that big old print on the top like I was making a peanut butter and Dorito sandwich. BAM … masterpiece!
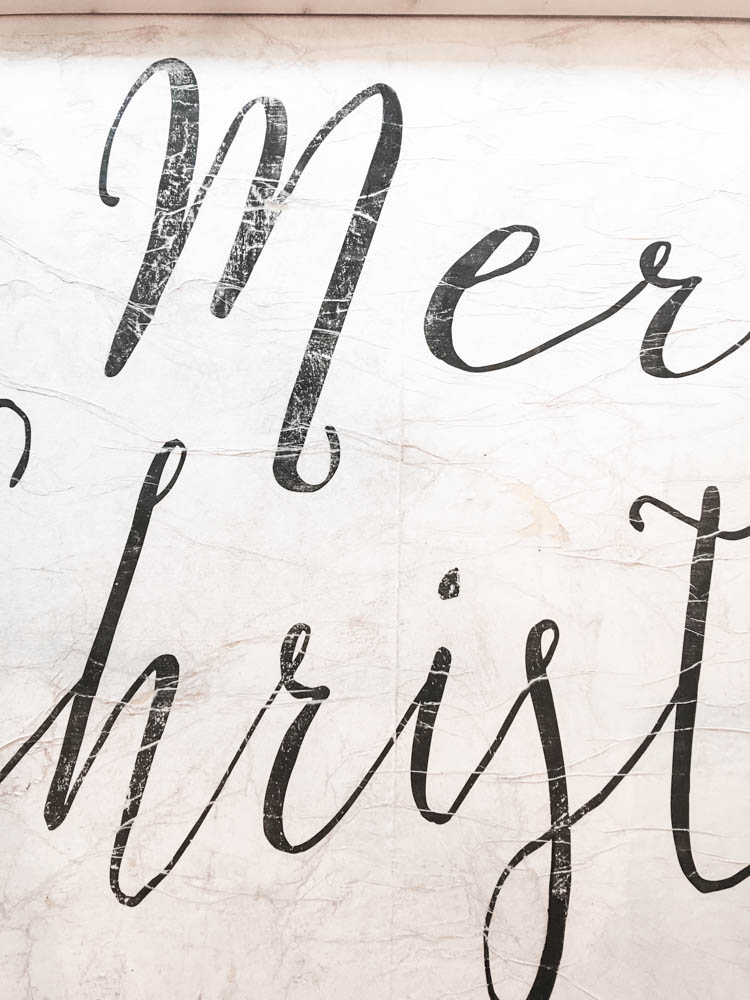
6. As you may expect when I slapped the engineer print on top of a board covered in Mod Podge there were a few wrinkles… ok I’ll be honest… there were a ton of wrinkles. And I kind of freaked out a little. But because I don’t give up easily I decided to salvage the mess I had made.
Here’s what I did, I wet the paper a little with a water and a paint brush, so that it was easier to smooth with a credit card, I got as many air bubbles out as I could. I wasn’t concerned about smoothing wrinkles out at this point. My only concern was to get rid of the air bubbles.
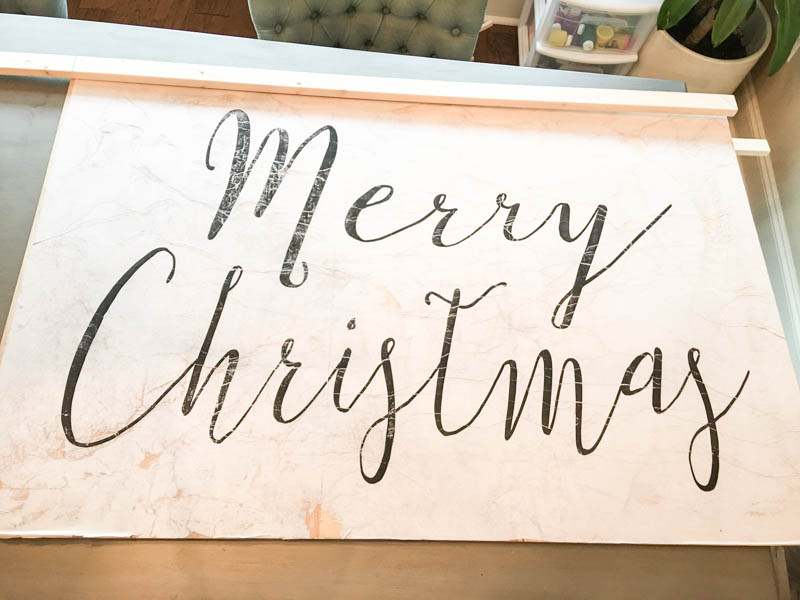
7. As you are “smoothing”, your paper may rip. Mine ripped in several places. It’s ok don’t freak out! Take some white paint and paint all around the letters. I painted everywhere to give it a really solid base. I was just careful not to paint over the letters. 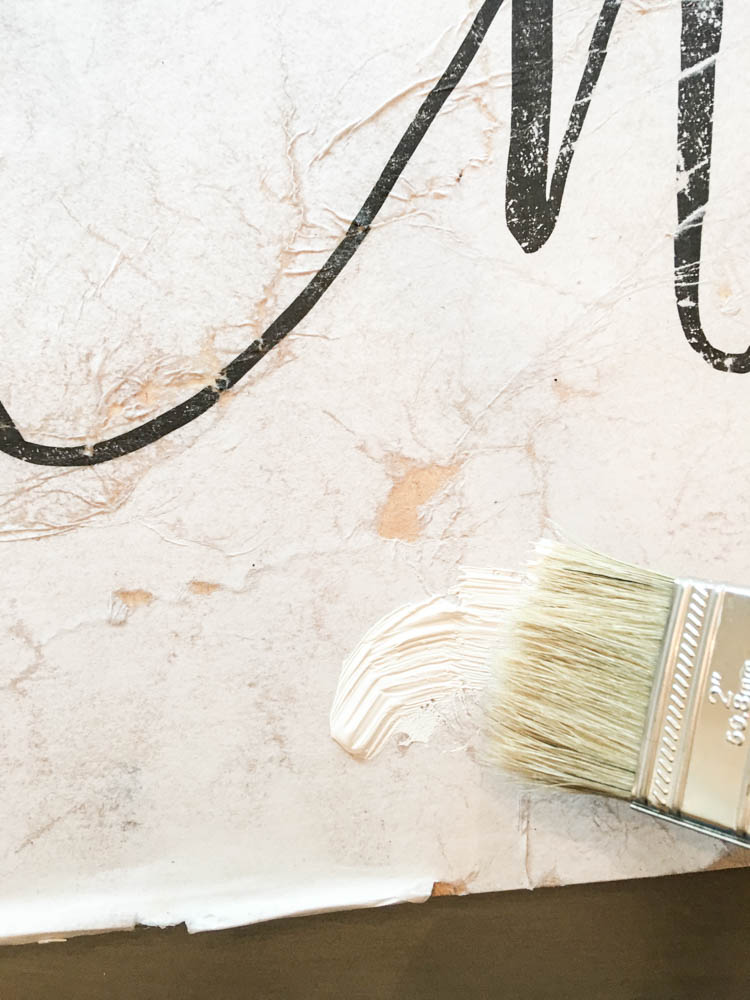
8. After you have a good base of white paint. Let it dry. Then come back with a brown paint that you have thinned with a little water and paint a thin coat of light brown over the print. Remember to water it down and blot any excess away with paper towels.
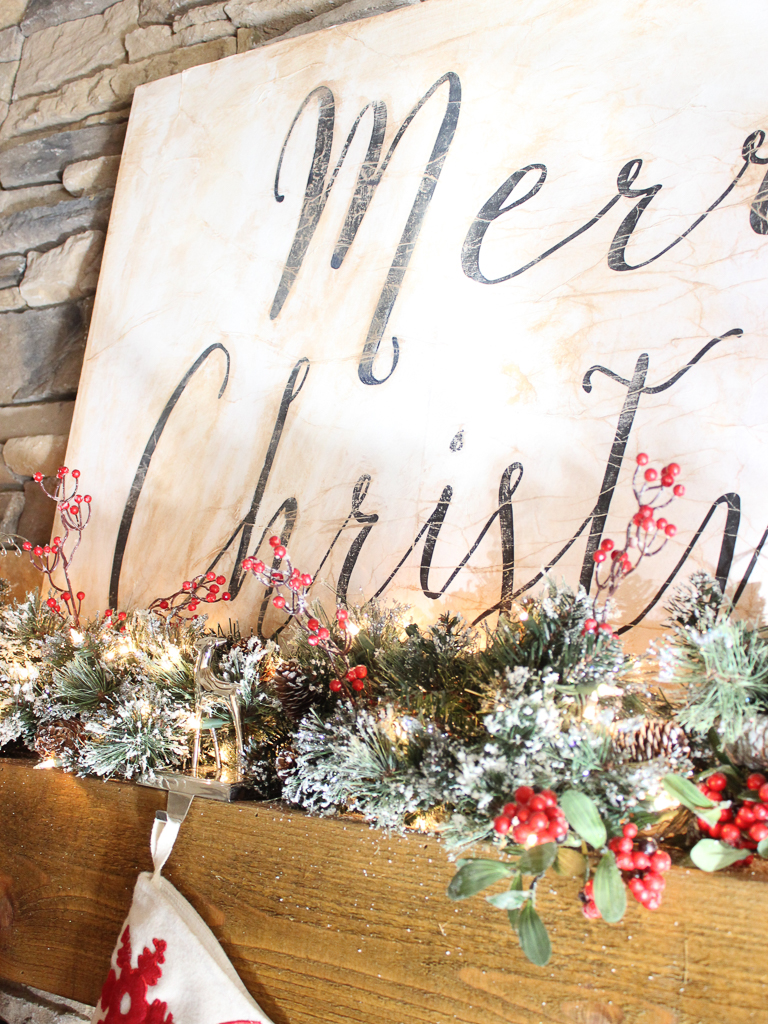
9. In Lauren’s tutorial, she framed her print. I purchased material to frame mine as well but after showing it to Lauren here’s what she said,
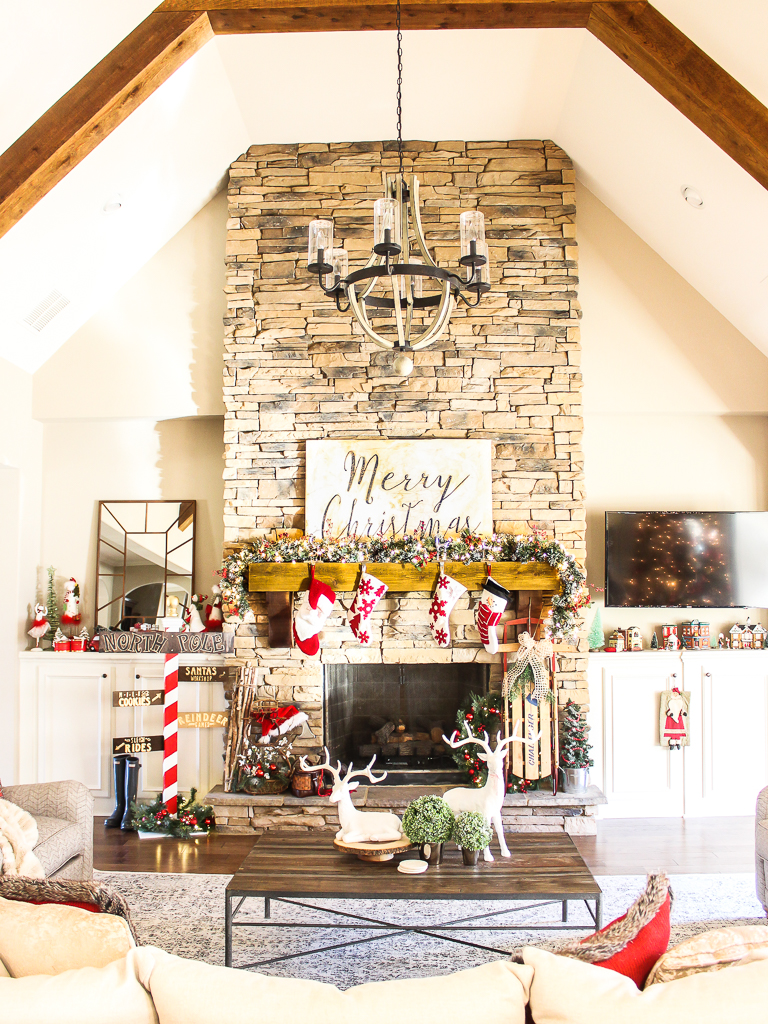
What do you think? Was this a major fail or a happy little mistake?
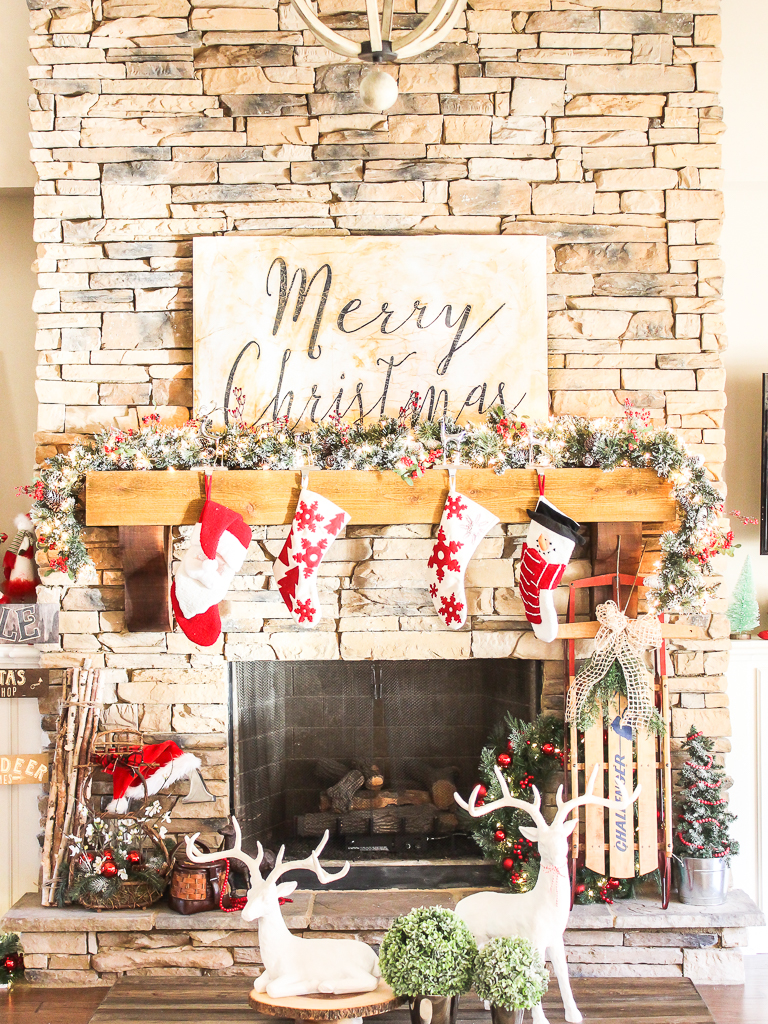




I LOVE it! I think I want to try your super distressed method next time around actually. You’re onto something. 😉 Thanks for the shout-out, Lesley! Glad it worked out for you. Hope you and your sweet fam have a great Christmas!
Thanks Lauren! I want to actually try your technique again but this one did turn out pretty well! Can’t wait to see you try it!
Thanks, Lauren! I want to actually try your technique again but this one did turn out pretty well! Can’t wait to see you try it!