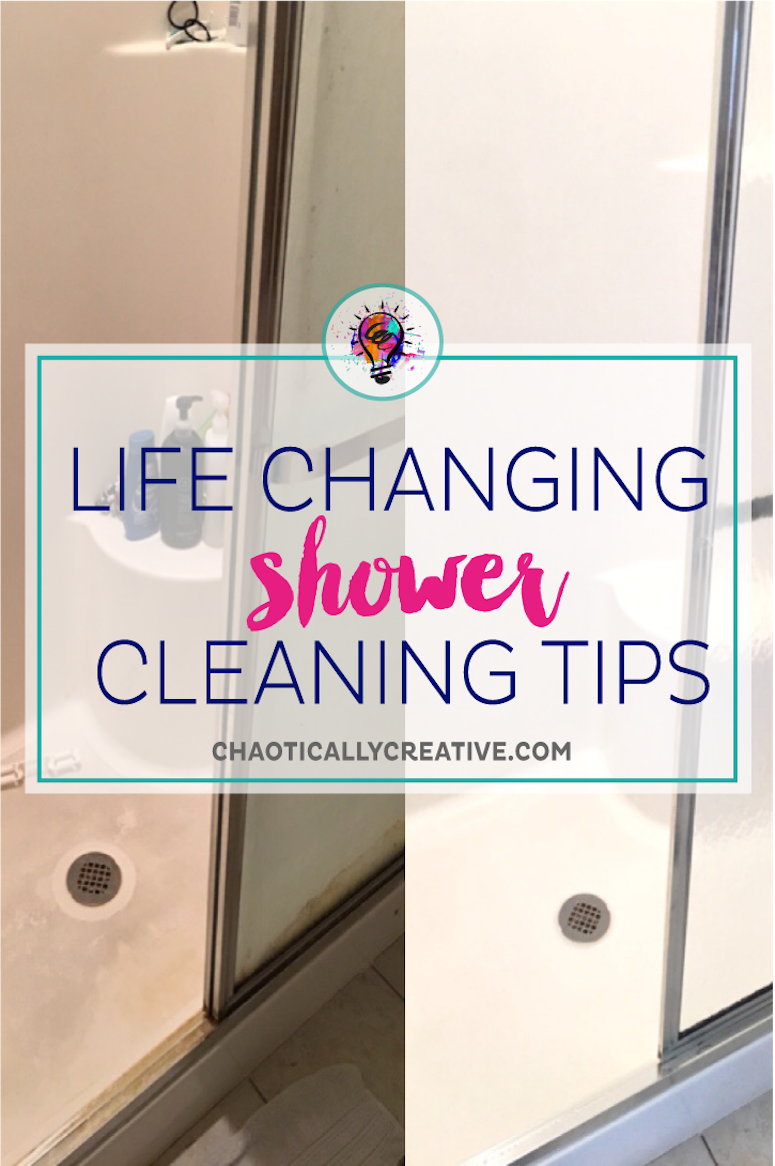
When we moved into our house 5 years ago I borrowed a steam machine from my Mom and tried my best to clean our Master Bathroom.This bathroom by far was my biggest housekeeping challenge. The shower was not in the cleanest condition but I figured with a little hard work I could get it clean. Boy did we have so many projects to complete and still do! (use my free planner if you can relate).
To my frustration I never was really able to get it looking like new or even close to it. To say housekeeping is my favorite task would be a long shot but that being said I did try to keep the shower as clean as possible. That task was far more impossible than I ever imagined.
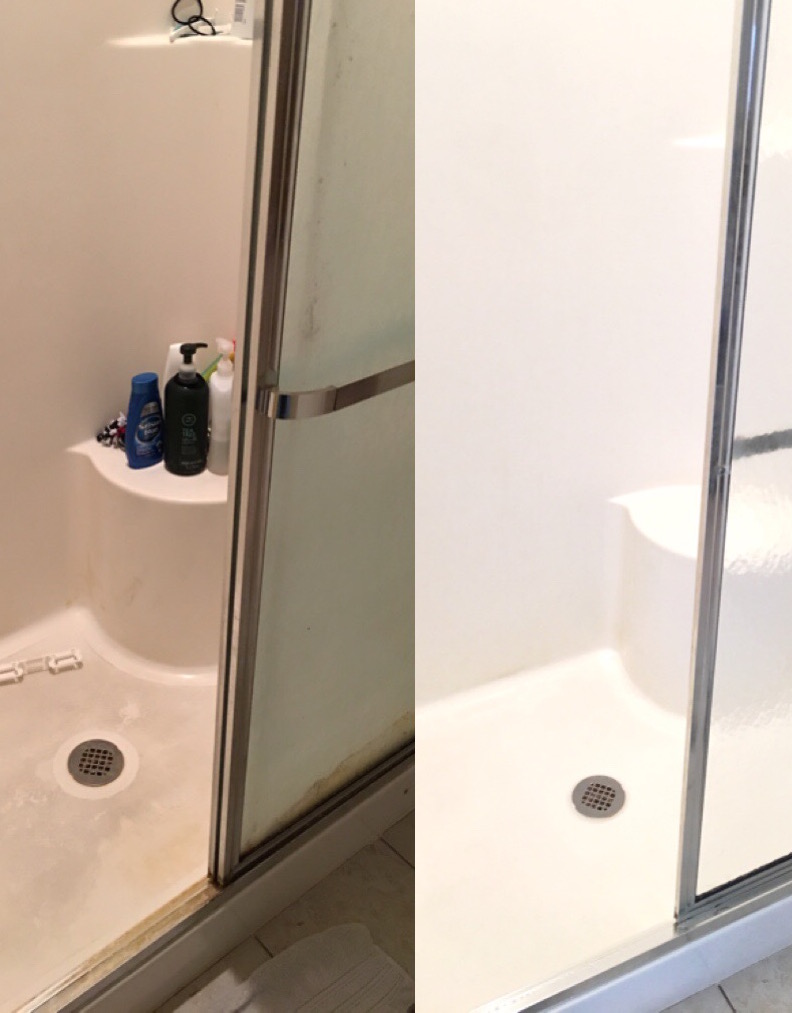
Housekeeping: How to Deep Clean a Shower
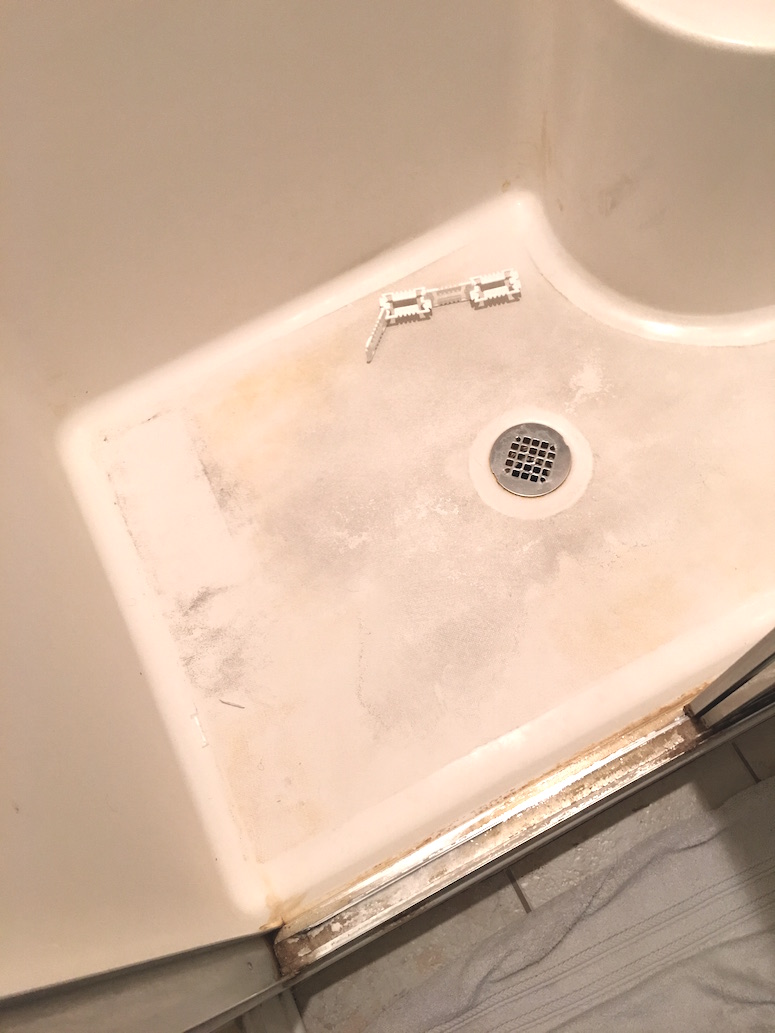
The shower doors never seemed to stay shiny. The base of the shower oozed a rusty looking substance. And the metal surround collected hard water that nearly needed a chisel to remove. Last but not least the floor of the shower seemed to be turning darker and darker no matter what product I used to clean it. To say my shower looked like a crime scene would have been an understatement. No amount of surface scrubbing or cleaning products helped were working. I was ready to give up!
Warning: the photos you are about to see may disgust you, shock you or make you shutter. I assure you this was the only disgusting thing in my entire house. I promise!
After five years of struggling with this shower and all of it’s issues we decided that our next major project would bet to completely renovate the master bathroom. We could finally just rip out that old nasty shower and install one that was much easier to clean and maintain. This was going to be the year that we renovated. But like life often does we were thrown a curve ball. We found out last month we are relocating to Memphis. Instead of renovating we will be moving.
I’m going to be completely honest I thought we were going to have to rip this shower out and replace it. I thought that there was absolutely no way I would ever get this thing looking decent much less open house ready. I remembered that my Mom’s steam machine did pretty well the first time around so I decided to reach out to HomeRight and have them send me one of their steam machines. (special thanks to HomeRight for providing me with this machine) After all I have loved using the paint sprayer they sent me for projects like my kitchen cabinets.
Must Have Housekeeping Machine: HomeRight SteamMachine
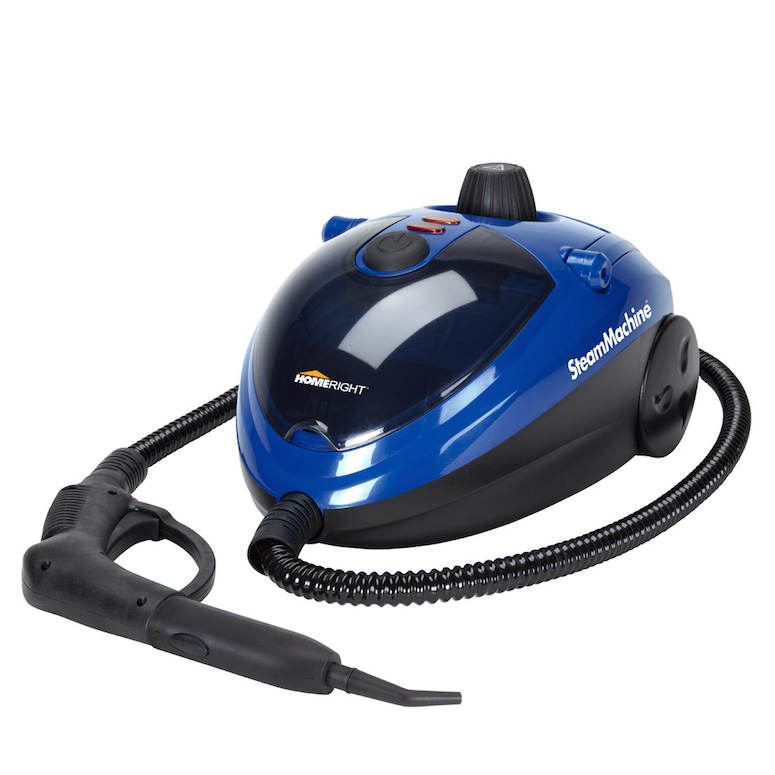
I was super excited when the Homeright Steamer arrived. I immediately filled it up with water and allowed it to heat for the suggested 30 minutes. Then I placed the brush attachment on it and went to work. Unfortunately, the steamer did not remove as much of the grime as I thought it would. Frustrated and confused I turned to Pinterest and found a post that suggested using Dawn Dish Detergent mixed with warmed up vinegar, (you guys know how we love Dawn, it’s our secret ingredient to Washing Windows Like a Pro). Can we talk about vinegar for a second.. man this stuff has been a game changer more than once like when I bought new towels and I couldn’t get them to absorb water.
I warmed the vinegar up in a small spray bottle and add a squirt of Dawn. I then sprayed the mixture all over the shower and let it sit for several hours. Then I returned and supposedly you should be able to just rinse and have an immaculately clean shower. WRONG! Again. The Shower was a little clean but buy no means was it ready for showings.
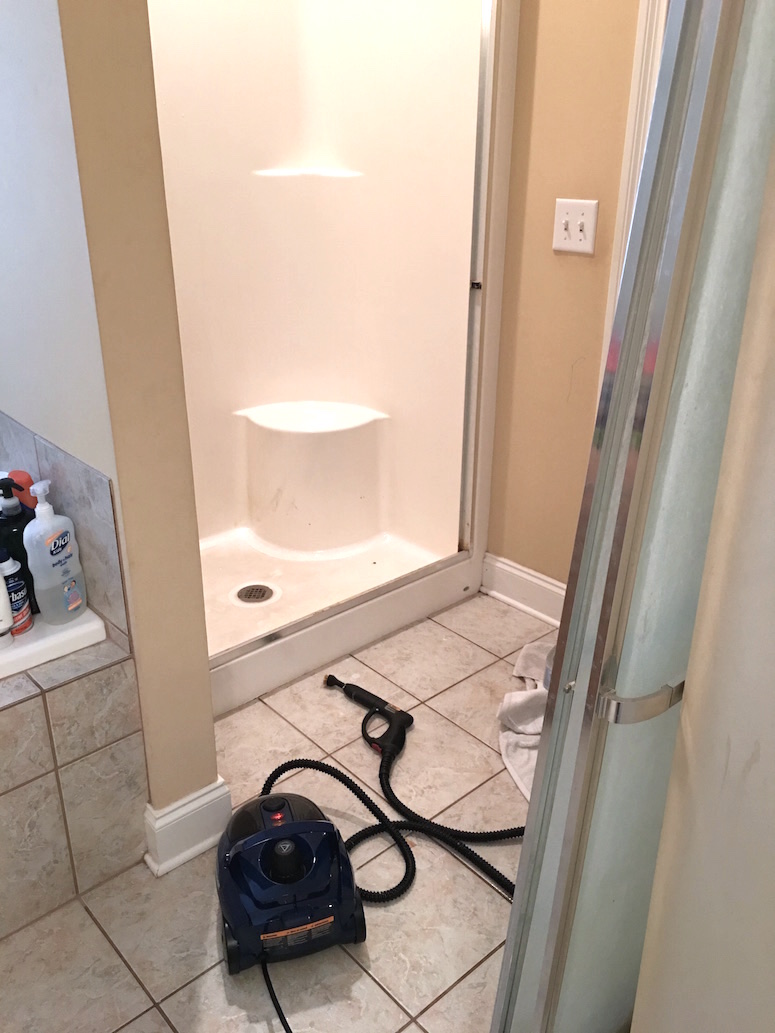 Frustrated still, I knew both the steam machine and the mixture should work so I decided to see if their powers combined would produce a different result. Guess what??? They did!!! I simply sprayed the mixture and then massaged it with the bristle attachment in conjunction with the steam.
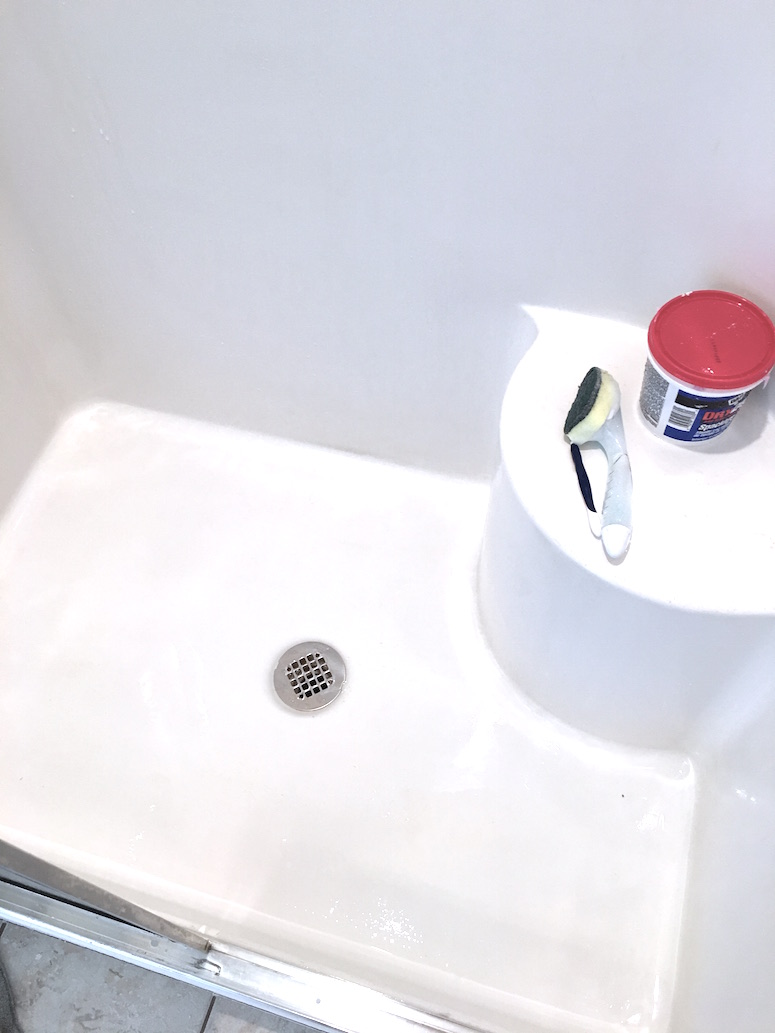
Every once in a while I’d toss a little baking soda in to give it a little grit. This method worked wonders on the black (which by the way is hair dye) stains on my shower floor. But what about the doors??
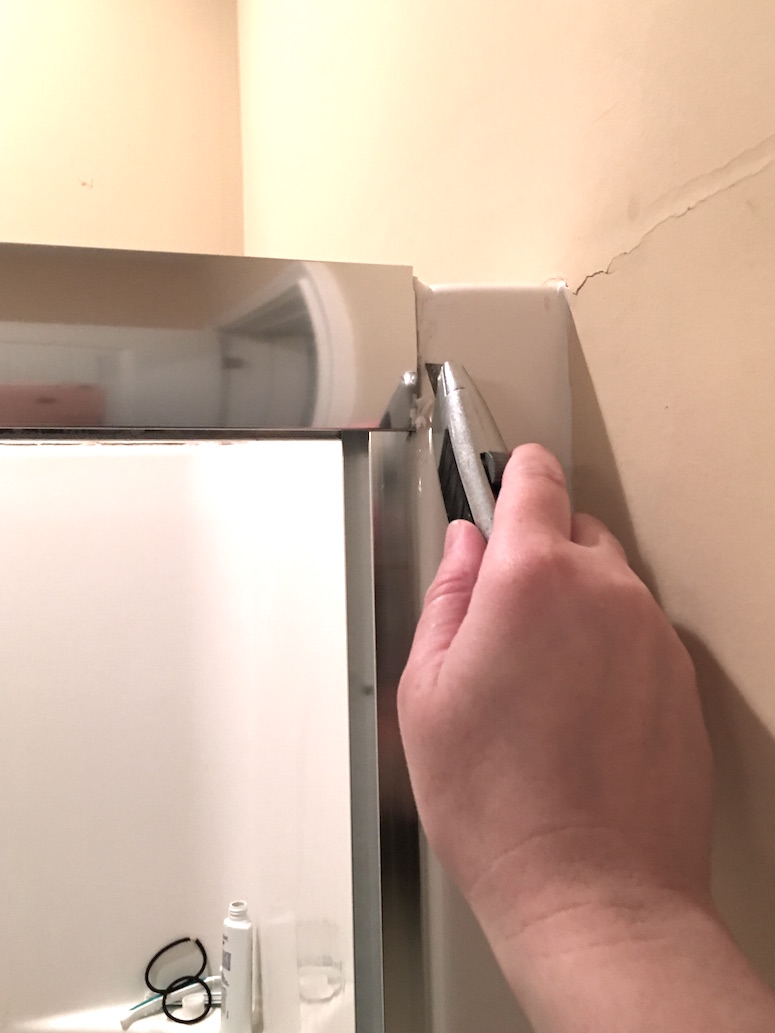
The doors overlap one another and one door has never slid properly. I decided the only way to get these doors to look incredible was going to be removing them altogether.
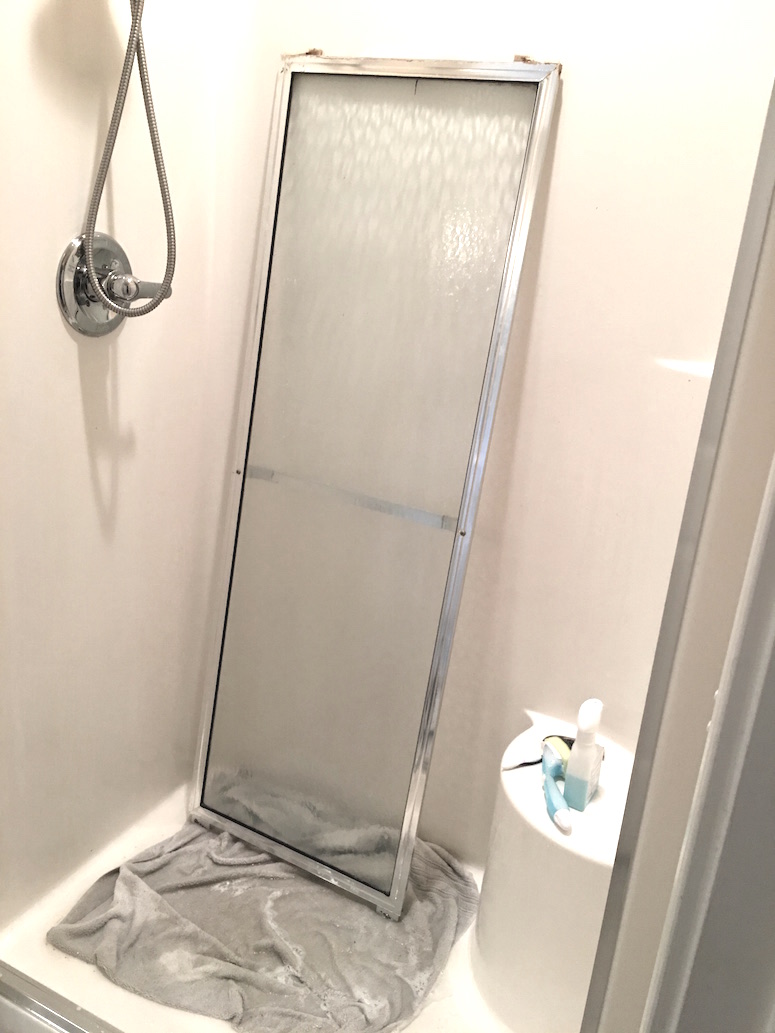
I studied the doors first and found that the top piece just simply sits on top and is seal with silicon. I cut the silicon off and lifted the top piece off the shower doors. I carefully removed one door at a time and set them aside. This not only allowed me to clean the shower floor with ease but it gave me full access to the surrounding metal that had been covered in hard water deposits.
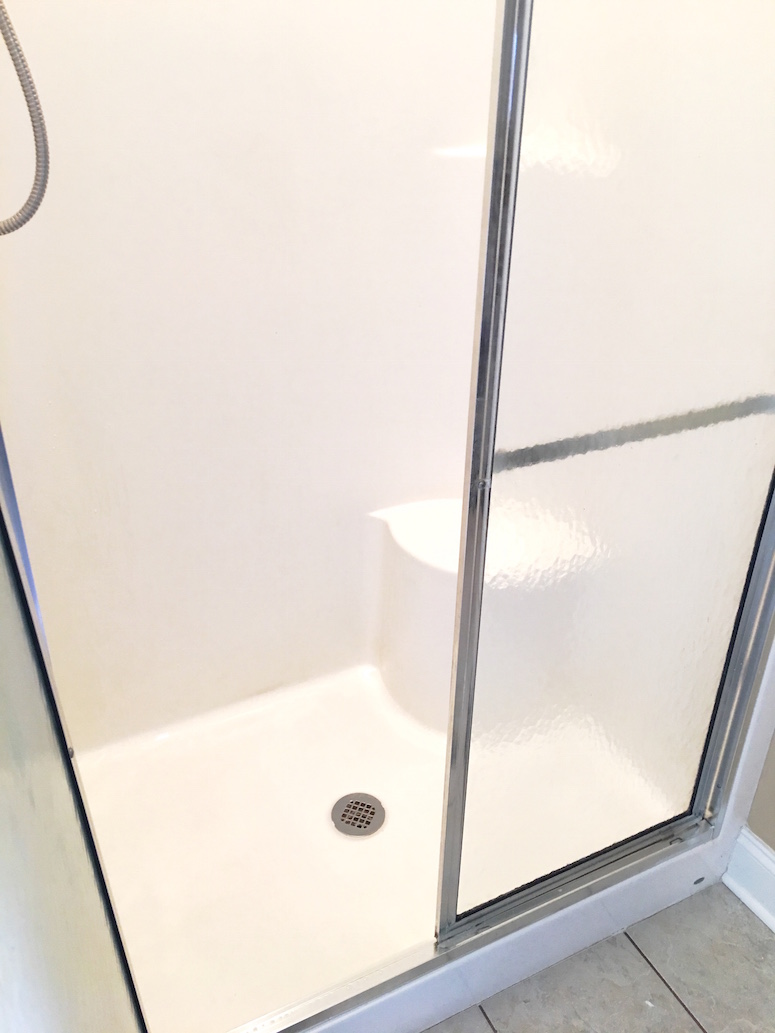
For all the metal and hard water build up you may be surprised by my tool of choice. I used a tartar scraper like this one to carefully scrape off the hard water and remove any grime from hard to reach areas. Honestly, if I think about it this shower was like one big nasty tooth that needed a good deep detailed cleaning. Now my shower is ready to shine for all the prospective buyers.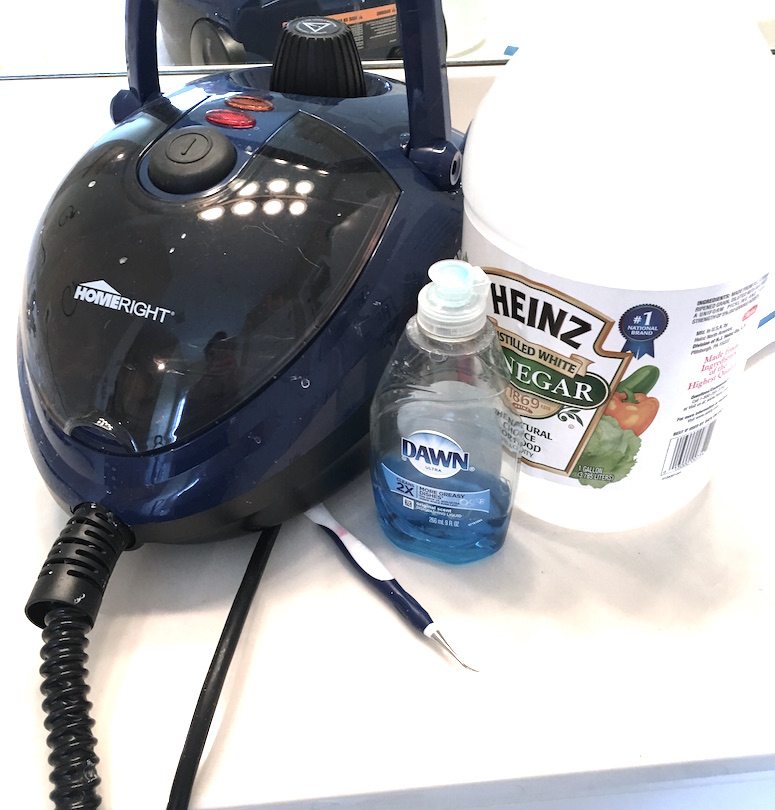
I didn’t have to rip it out and I definitely don’t have to hide in shame. Oh and one more thing, taking the doors off and reinstalling them was all it took to get them back on track. They slide with ease now. I simply put the doors back on, then added the top metal piece and re-sealed with silicon. It was well worth the extra work for sure!!! Now I can’t wait to see what else I can clean with my little HomeRight SteamMachine.
View More Housekeeping and Cleaning tips Below
Feel Free To Pin and Share
