The Never-Ending Stencil
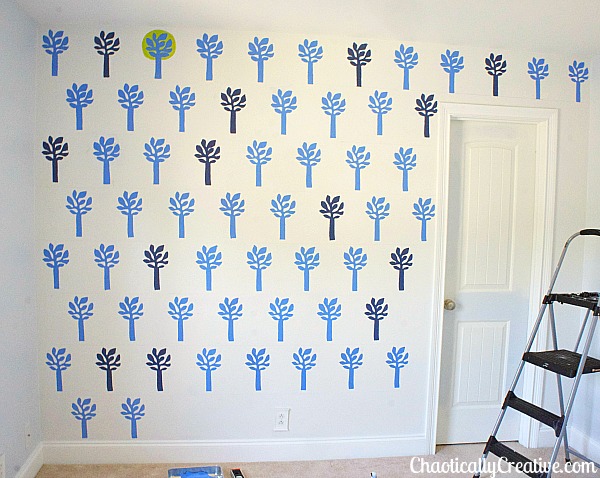
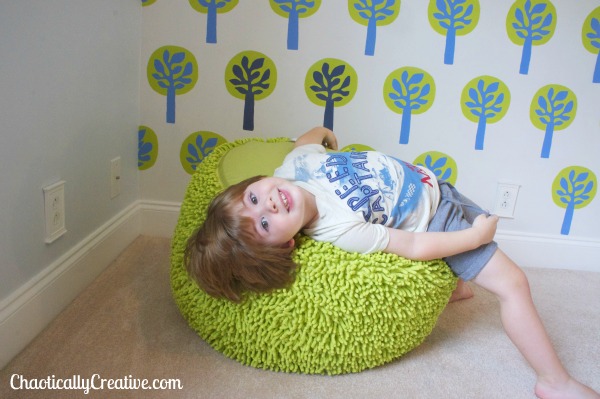
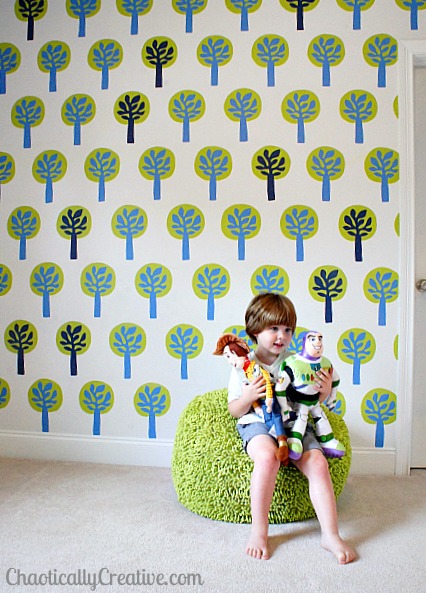
It’s done, it’s finally done. No, not Jude’s entire room. but the wall stencil on his focal wall.
I have sub-titled this project “The Never Ending Stencil.”
There are two reasons for this name; one for the obvious, it took forever to paint these custom wall stencils and two because at some point in my state of deliriousness I started singing the theme song to the movie, The Never Ending Story. Instead I replaced the word “Story” with “Stencil”. Then at another point I imagined myself as the princess in a white gown with that jewel thing on her head…. okay, okay I’m gonna stop now… Let’s just say this was yet again another one of those projects that took way longer than expected.
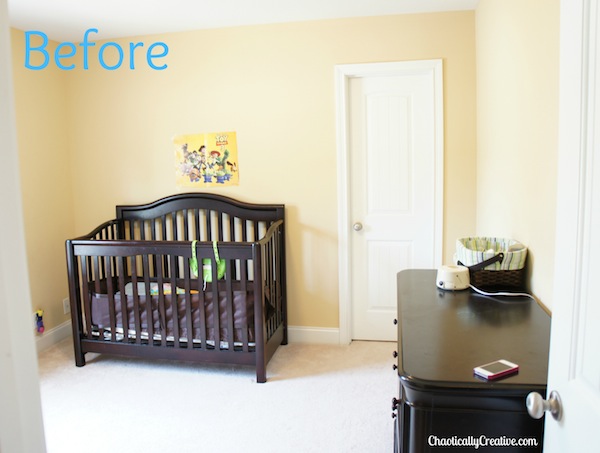
This was Jude’s room before. This is the third place he has lived in the short two years of his life not including relatives houses and hotels.
He did at one point have beautiful Damask bedding but that was sold last weekend at our yard sale.
Poor Jude has lived in this sad little room for an entire year and to think we just added that Toy Story poster about a month ago.
Notice the yellowish walls, every single solitary square inch of this entire house is painted this color and it is very cheap paint at that. Yes, there is a difference in cheap paint and great paint. The short story, you can not wipe anything off of cheap paint without taking the paint with your. Great paint can be wiped and wiped without removing the paint.
During the preliminary stages of customizing our own wall stencils I decided to paint the focal wall with Benjamin Moore Bright White and the remaining three walls with Benjamin Moore Silver Cloud using the Natura Paint. We choose this paint because they say it is virtually odorless and it was. This being the room of our two year old, it was very important to use an odor free paint . It’s also important to me as a migraine sufferer because strong odors frequently trigger my headaches.
I made Jude’s Room Mood Board several months ago and to be honest, it has just sat here on my computer.
I was missing one WOW factor for his room. Until I saw Jen’s Tree stencil on IHeartOrganizing and I loved it. Not to mention she also had used “my” fabric that I had been obsessing over which is also featured in the top left of Jude’s Room Mood Board.
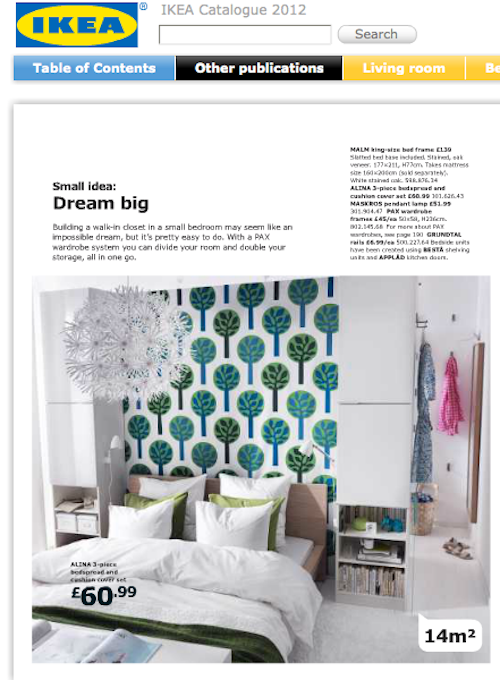
Now although I was inspired by her room there was one problem. I couldn’t do the same thing as Jen. So back to the drawing board. Luckily I was looking through my Ikea magazine when these trees caught my eye. Well you got it, this picture was my inspiration for the wall. And this is where the stenciling began.
Making A customized Stencil
- Using the image from Ikea’s website I was able to enlarge the image and print it out on card stock.
- Using a piece of transparent film I traced the stem and branches with a permanent marker
- With a razor blade I cut out the traced shape
Stenciling The Wall
- I placed Frog Tape around the border of the stencil and sprayed adhesive on the back between every other stencil
- using rollers I rolled the paint over the film
- I let dry momentarily and then rolled a second coat
- I removed the stencil before letting it fully dry
I created a second stencil for the green tops and applied each green top using the same technique as mentioned above.
After stenciling what felt like a hundred million trees and one hundred million tree tops none of them were perfect. So the “never-ending” hand-painting started. Every single part of every tree had to be completely hand painted.
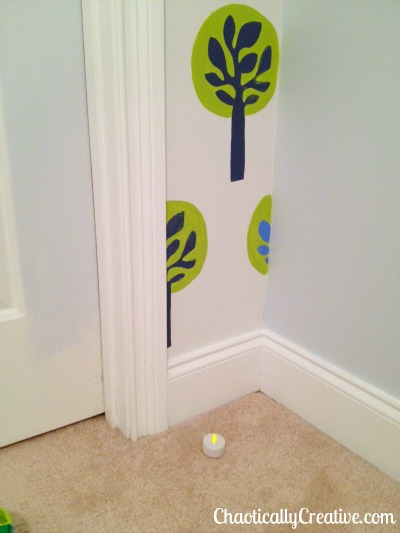
On the last day Jude had found this little electronic tea light and set it here. It was like my Never Ending Stencil vigil.
Ironically enough this was the very last tree I painted that night.
After
He woke up the next morning and ran into his room and shouted “MY HAPPY TREES!” I was so glad that I had created a space that made him so excited. Every late night, every muscle ache and every minute was worth the smile I got from this amazing child.
We are so happy with the outcome and are ready to get him all moved into his big boy room. Right now he is at Mom’s house for a visit and I will get to work on his headboard, light fixture, and all the other projects on my list. Including the hallway that connects the boys’ bedrooms.



WOW that looks awesome!! And like a lot of work! But it definitely paid off. The colors are so pretty together. And I love how he called them his happy trees! Too cute! If you feel like joining a party, I’d love for you to stop by my Throwback Thursday party {it goes through Sunday each week} and link up!! Thanks so much for sharing 🙂 http://www.hubbymademe.com/throwback-thursday-no-2/
Thanks so much Britni, He loves it! It was hard work but worth every minute!
Just dropping by to thank you for sharing this at my Throwback Thursday party! I hope to see you again this week if you’re up to partying with me again! You did such a great job on the wall!! Oh, and I’m loving that “1.” that’s stamped on my forehead next to my comment above lol. Too funny! I’m number 1!!
Lol that’s funny I don’t know where those numbers came from.
Happy trees indeed! I’m pinning this, it’s just wonderful. I’ve painted a wallpaper pattern on my entryway walls, so I know the effort this project involved. A little tip, if you don’t mind: it is quicker to paint the green circles first (because it’s the lighter clor) and than paint the branches 🙂
Thanks so much! And Meeha you are right it would have saved me a lot of time to do the tops first. Thinking back I’m not sure why I choose to go the other route. That’s the great thing about DIY you’re always learning how you can improve for the next project. Make sure you come back in a few weeks for the room reveal. Thanks again!