This little project was so fun and easy. I mentioned to you in Buttons, Branches and a Give Away that I have been collecting cans, well I have been saving lids as well. I have one of those smooth edge can openers that doesn’t leave a sharp edge on the lid or can.
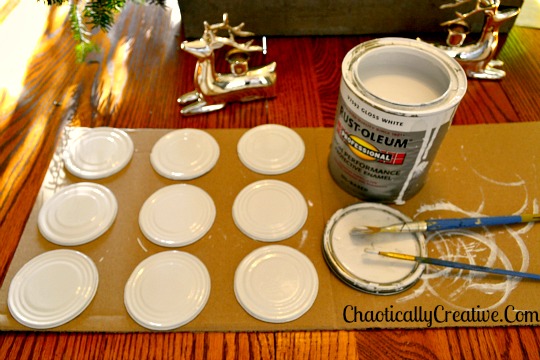
While decorating and cleaning the house, I would stop for a few minutes and paint a coat of bright white enamel paint on both sides of the lids. I started out with a cheap brand of spray paint that just didn’t cut it, so I whipped out the Rust-oleum and it worked great! It did take a few coats because I wanted them shiny and bright.
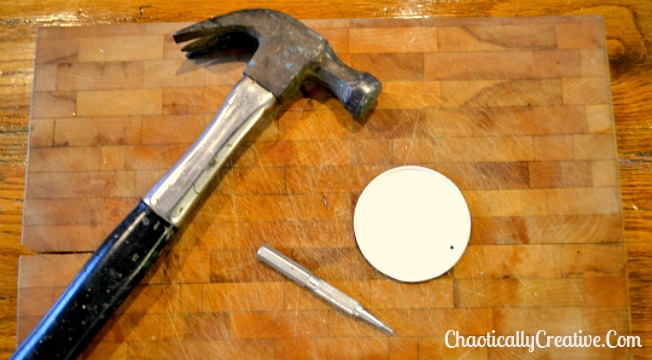
After the paint dries, it is time to punch a hole in the lid. I used a nail set tool and a hammer. I punched it on the front and then through the back because a little piece of sharp metal remained. You can also use the flat bottom end to flatten that sharp piece.
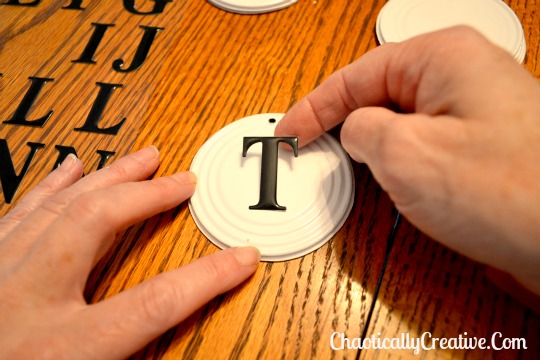
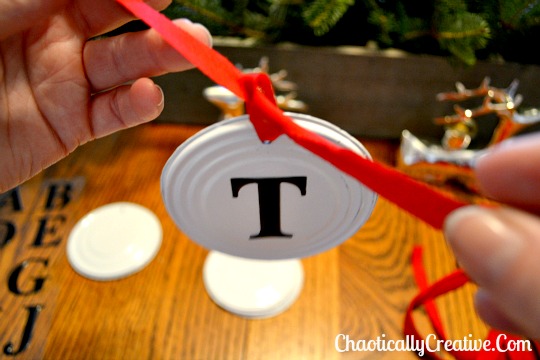
Theses shiny hefty stickers from Hobby Lobby were perfect for this project. They were placed in the center of the inner circle.
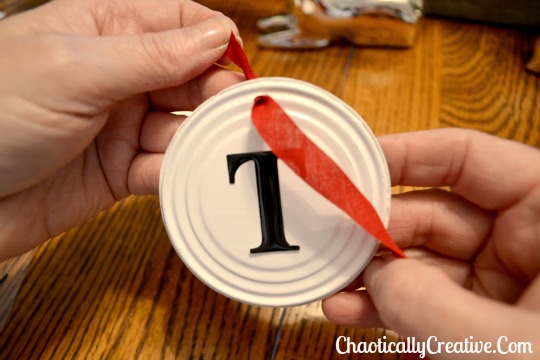
I used some red seam binding for the ties using the nail set tool to help push it through the little hole.
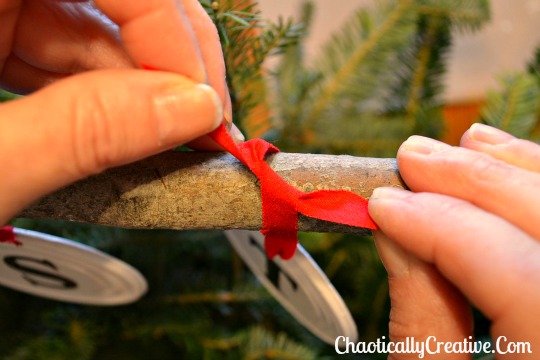
What ever type of string or ribbon that is used will need to be tied at the top of the lid.
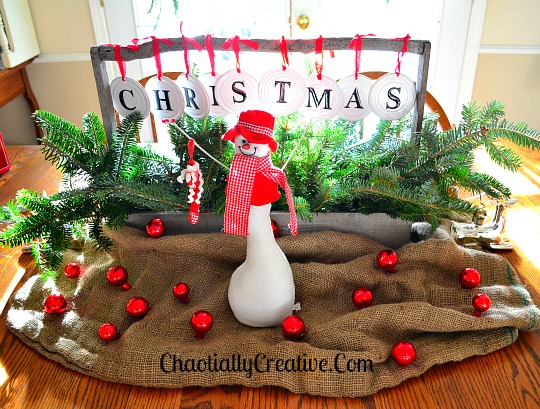
Then tie the lid onto your display. I re-purposed a three section box with a branch handle that I use for my garden tools. I place a jar of water in each section for the fresh greenery.
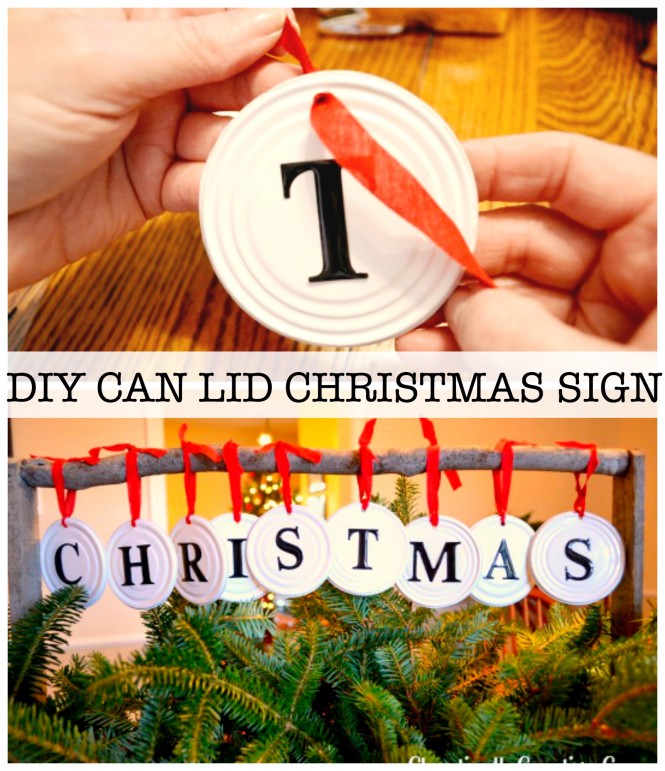
So there you have it a Can Lid Christmas!
Of course, you can spell any word you like, just save the lids and be Chaotically Creative!
Merry Christmas!
How to Make a Paper Candy Cane
