Pin This… for later
Before We Were Bloggers…
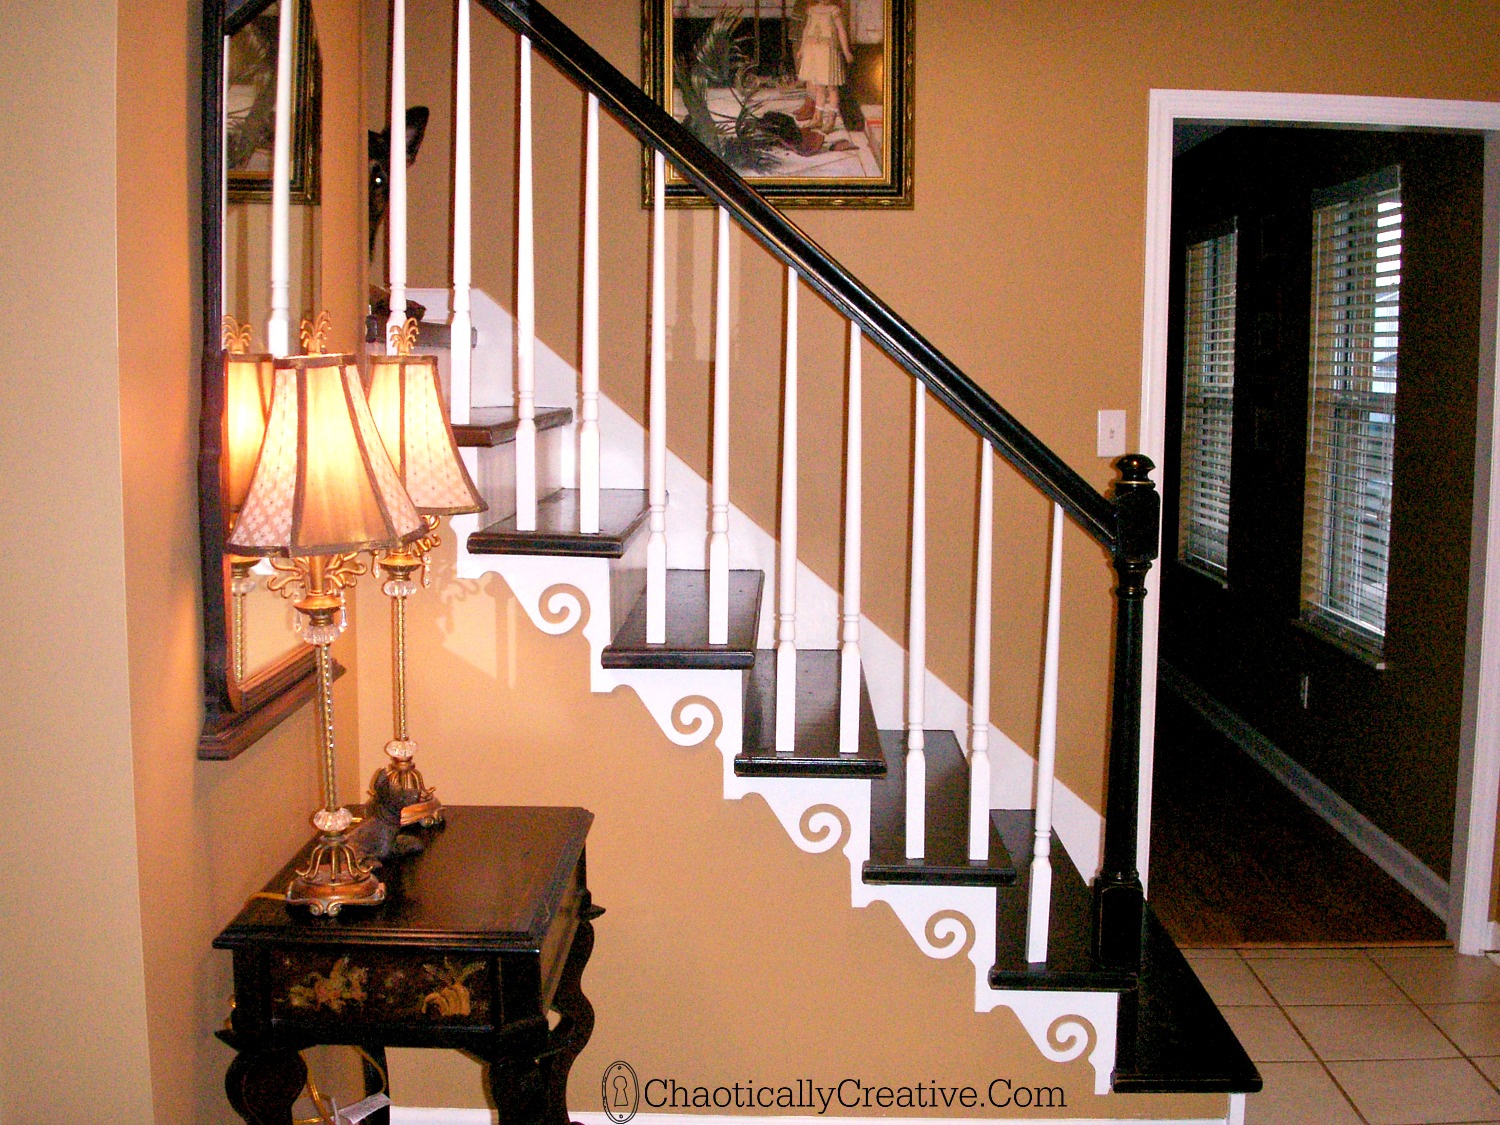
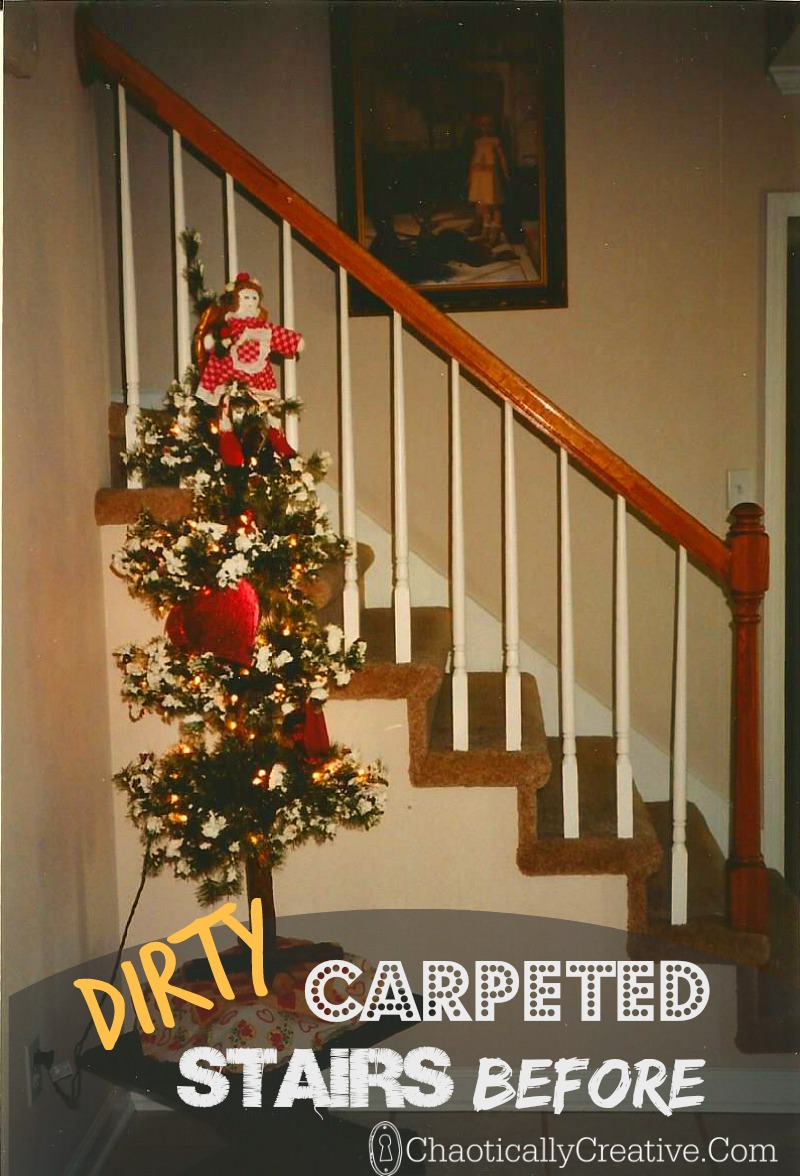
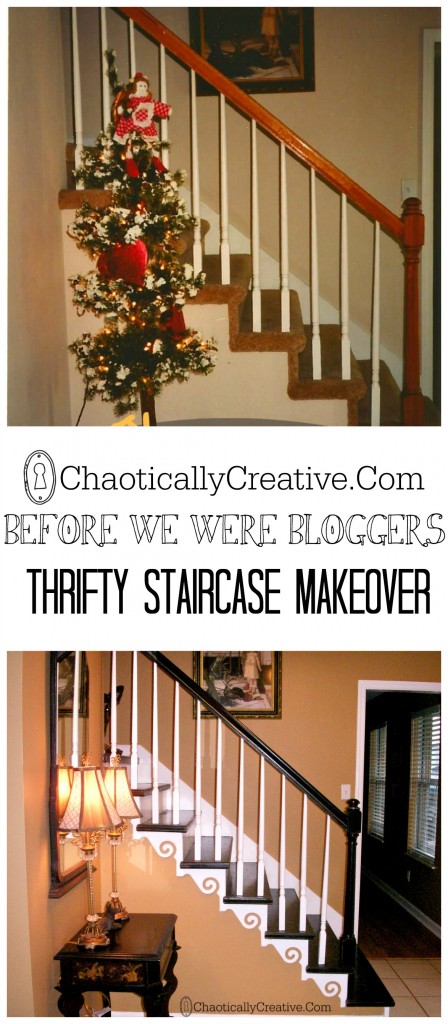
On the way back from the Haven Conference, Lesley had a great idea! She suggested that we do a series of posts about projects we did before we became bloggers. The only problem is, our photos are very limited. In fact, I could only find two pictures of this awesome Budget Staircase Redo that I did back in 2008 and this house was sold. Yes, Toot Toot! I LOVE this redo. It was such an improvement that I did a happy dance. See that little glowing eye right around the corner? Well, there was an entire herd of them and boy did they do a number on the carpet!  I really wanted to share this project because I know there are a lot of you that have the same staircase situation. And if you have dirty carpeted stairs in your space, there is hope and a way to do a Budget Staircase Redo! Let’s take a look at the before shot.
  Yep, we’ve all seen them, the cost cuting contractor’s carpeted steps. I especially “unlike” the way they wrap the carpet around the edges, don’t you? After the carpet was thoroughly ruined, I pulled up a piece against the wall to see what I was dealing with. Thankfully the treads were a solid piece of wood. Not stair trends, but wood. I knew that no matter how rough the wood was, I could make it look good in a distressed way. When I finally figured out a plan, I gained the courage and confidence to rip the carpet off. Sorry, no instructional pictures, but let me assure you it was not pretty. Here’s a highlights of the process… took
- There were many nails, nail holes, staples and carpet tack strips that had to be removed and filled.
- I had a 1/4 inch gap next to the wall going all the way up the stairs. This is where the carpet was tucked in next to the wall. It was just too wide for caulk or filler so I filled with square wooden dowel rods, cut them to size and then filled in the gaps with caulk.
- Next came sanding, sanding and more sanding. You may want to cover the openings to other rooms in your house with a tarp or plastic and definitely wear a face mask. My family would scream and moan in analogy during this project. My vengeance for all the video game drama I have endured over the years, hee hee.
- Did I mention the horror of the edges of the exposed side of the staircase, where the carpet was wrapped around the stair. Holy Moly! That was scary! At the time, I knew nothing about dry wall repair and there were like holes and jagged drywall up in there. I found the solution for that at Lowes in the Mill Work department. They are called stair brackets and I found an article at This Old House about them. Needless to say, that just MADE the project!
- Back to the steps, so they were wood. Just sawed off pieces of wood. I measured the thickness and found a piece of wood trim that fit exactly. With my handy dandy miter saw I cut the trim and wrapped it around the steps, like you would do for the tops of cabinets and secured with glue and nails.
- The next step was to cover the risers which were press board or something hideous. I did this with a thin piece of plywood cut to size and secured with glue and wood.
- Next came the finish, my FAVORITE part! The risers and trim were painted a bright white and the steps black. TIP: When painting steps, paint every other one and put a piece of tape across the dry step. That way you can get up and down the stairs during the process by taking every other stair. Genius huh?
- After the black paint dried I distressed lightly with a sander and applied a coat of stain. Then I stenciled a lovely design in metallic gold across each step. (unfortunately I have no picture of this. So sad). This was also distressed with sandpaper so that the design barely showed through. Then polyurethane applied. It was sooo lovely. I miss then so!
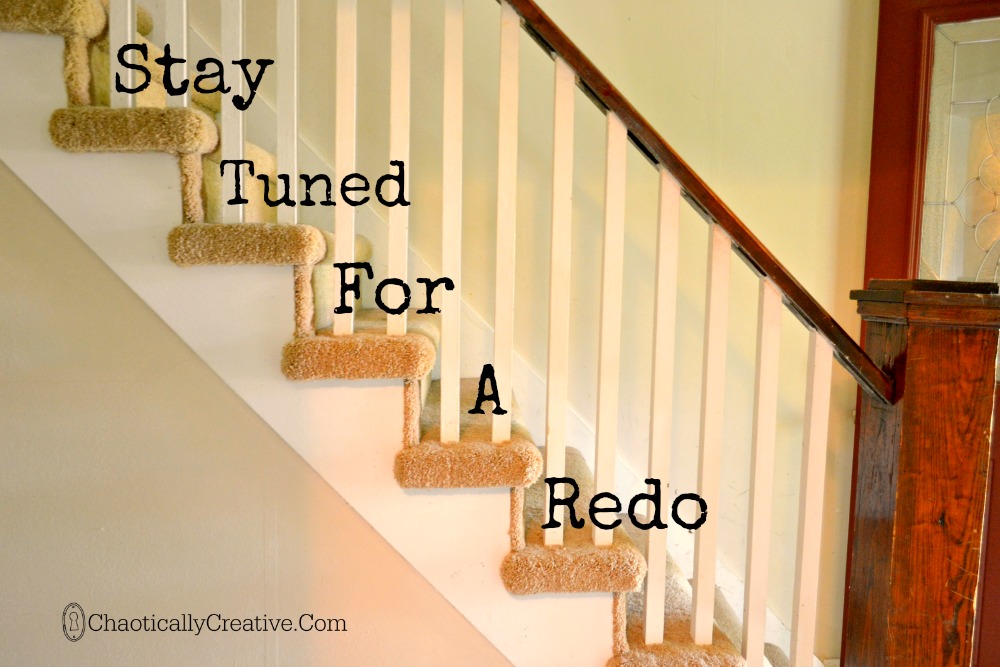
But Never Fear! Another house, another staircase! And this one is gonna be a Doozy!
Can’t wait to rip the carpet off this one and get it styling! And I WILL Take Pictures!


That trim made a HUGE difference. It looks awesome. Thanks for sharing. Hello from Link Party Palooza.
Thanks so much Melissa! I can’t wait to get started on my current staircase. Gonna have to get creative! So glad you stopped by!
Do you have a name for the wall color? Love it
Hi Sandy, it’s called Baked Cumin by Benjamin Moore