One of my first posts was the Lucky I Lived Laundry Room Reveal. It wasn’t just a reveal with a catchy title. It was a challenging room that literally almost killed me …. several times. I think that room wore me out so bad that I just threw together my storage boxes for the cabinets and never got around to posting the tutorial. And to be honest this won’t even be much of a tutorial but more of an inspirational post with links to other people tutorials. Unless I can find the ten minute long video that I made a year ago showing you how to cover a diaper box with with sticky cabinet liner.

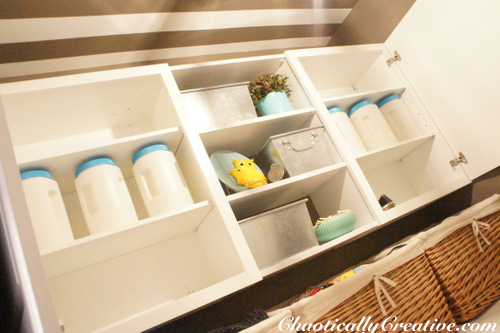
Here is what my cabinets looked like after the big Lucky I Lived Laundry Room Reveal Post. The shelves are not very deep therefore I needed boxes that were skinny and in various sizes. I have worked in classrooms for years and all of you teachers out there know good and well about being resourceful. As soon as I figured out that various sizes of diaper boxes fit in the cabinets perfectly I started saving them. Not only are they cheaper than baskets but they are sturdy and some even have cutouts on the sides for handles. With a little imagination these boxes can be super cute.
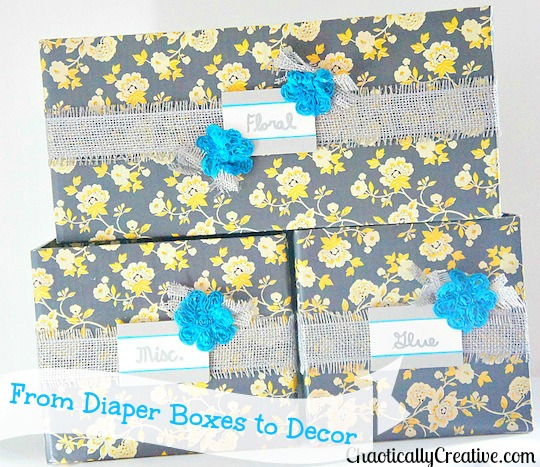
Then I picked out my embellishments. Ok this part happened about a year later. I covered the boxes last year and embellished them last week. See I don’t get everything done in a timely manner. It’s pure chaos here the majority of the time. You are not alone. I covered the box in laminate shelf liner that I found at TJMAX it is by Laura Ashley. They still have it even after a year. It’s so easy to use. Just wrap the box and smooth out the bubbles.
I found this really cute wide grey burlap ribbon which gave the box texture. I added the labels which I made out of small pieces of wood. You can find this wood in the craft wood section of any craft store. They come in long pieces and you cut them with a box cutter. I paint the labels the colors that coordinate with my project. I also used this labeling technique in my garage organization post as well. I love this technique because you can customize the size and style of the label you are making.
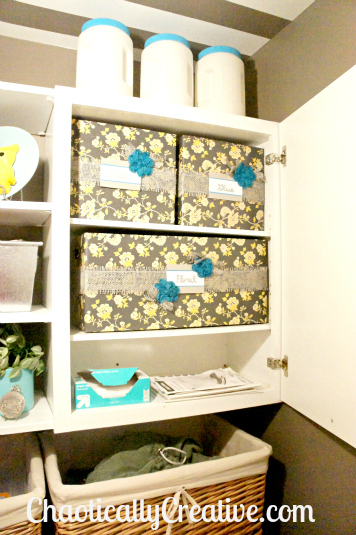
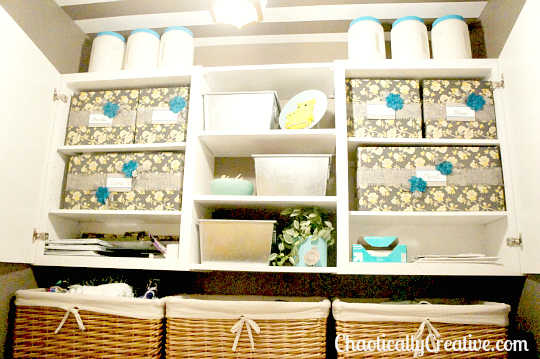
Adding the ribbon, labels and floral embellishments is easy. Just pick out what you like and go crazy or just keep it as simple as you want. Check out the pictures below for the after results. The cabinets now hold all of my craft materials in a nice organized manner.
For more great ideas and actual step by step tutorials click on the picture below you will be re-directed to my Diaper Storage Box Pinterest board. There you can browse through all of the links and find great tutorials on how to make fabric covered diaper storage boxes and much more.


Cute!! Did you cut the flaps off the diapers boxes or just tuck them inside?
Thanks, yep cut all the flaps off first. I wish I could find my video. It would have taken a thousand pics to show how to do this and it literally takes about 2 minutes to cover a box. Use a box cutter for that and for the laminate shelf liner. I also left a little extra shelf liner on the edges to tuck into the inside of the box so that the raw edge wouldn’t show. Mine aren’t perfect but they look great from the front which is all anyone can see.
Such a great idea for laundry room storage rather than the plastic baskets I have that are overflowing with stuff I don’t use. Why is it that I find this when my youngest of 3 boys just got done with diapers? I’ve been buying diapers for the better part of 6 years and never thought to do this! Genius 🙂
Thanks so much. Now you gotta go get some from a friend with a baby! Mine was just getting out of diapers and I saved the last few!