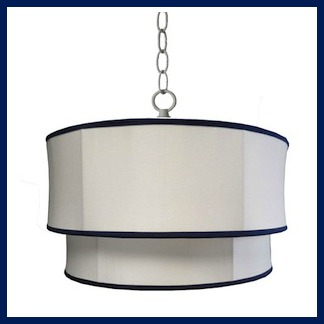
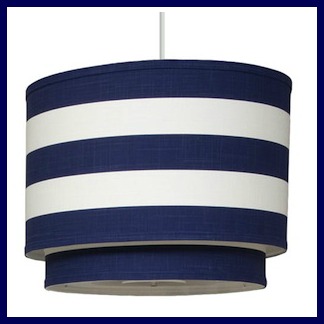
I have been swooning over these two light fixtures from Poshtots for months however, the price tags were equal to the budget for Jude’s entire room. We saved a lot of money by using a 5 dollar night stand, Customizing our Own Wall Stencil and turning Jude’s crib into an Upholstered Headboard . Even still I couldn’t justify splurging on these beauties.
What’s a girl to do when she falls in love with something so eloquent but, yet out of reach? There’s only one thing to do, Knock it off! So let’s get this DIY started.
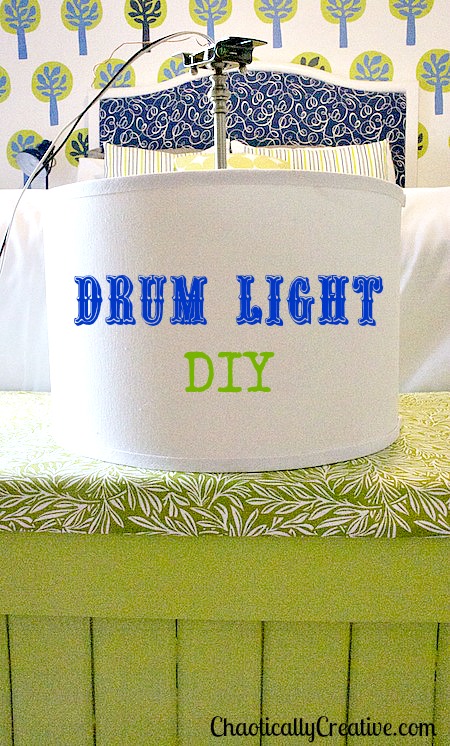 I first found the tutorial, DIY Drum Shade Pendant Light by Jackie at Teal and Lime. She made an awesome drum shade for under $75 dollars, but what if I were to tell you that I made mine for almost half that. Yep, thanks to an item being out of stock and the information Jackie provided, I was able to save even more money. I’ll explain.
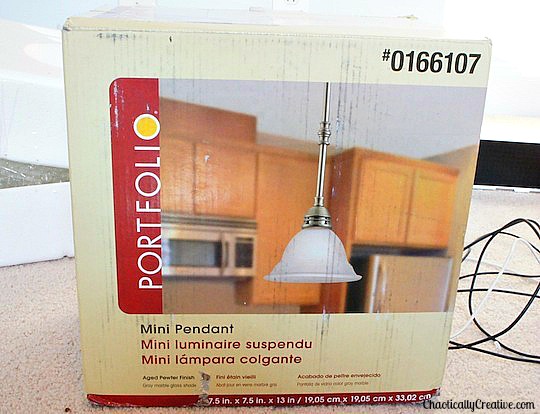
Jackie suggests to buy a Portfolio Pendant Light Kit from Lowes Hardware. However, they no longer were carrying this at my store. This ended up being a good thing for a few reasons. First, the mini pendant light I bought was less expensive, in the store it was about $15.oo. Secondly, I did not need to buy any additional nipples. Lastly, the Portfolio Mini Pendant can use up to a 100 watt bulb were the Pendant Light Kit can only use a 60 watt. Remember what Jackie says when looking for a pendant light to convert to a drum light, “All pendant light kits are not created equal.” What she is saying is that you have to be able to disassemble the kit in order to add the shade and coupling.
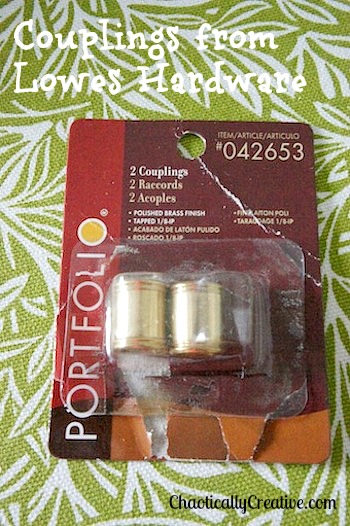
The three items you need to purchase in order to make a DIY Drum Shade Pendant are a Portfolio Mini Pendant as pictured above, Portfolio couplings, and a Drum shade. I found mine at TJMax for $15.00.
I am going to try to keep this as simple as possible, because it truly is very easy.
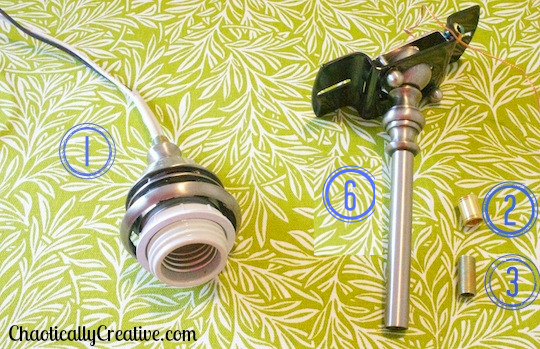
- Slide #2 down the cord of #1 and screw onto the top of #1
- Take #3 (which is a nipple that you can find in your fixture box) and slide it down the cord and screw it into # 2
- Set part #6 to the side for now
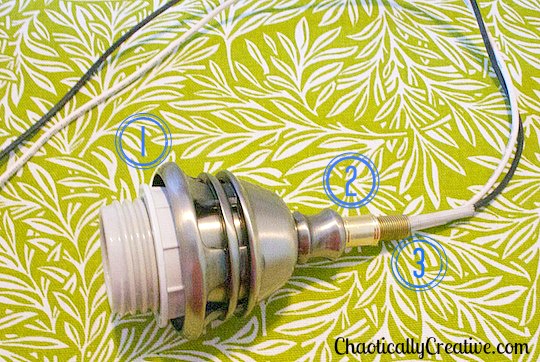 This is what your fixture should look like after you complete the steps above.
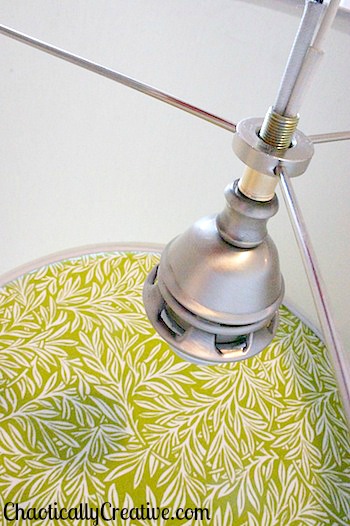 Slide the drum shade down the cord of part #1.
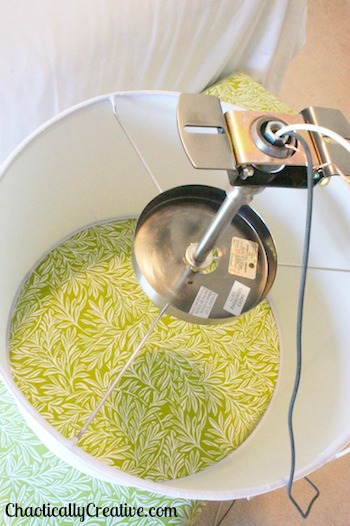 Slide the light plate cover on next, don’t forget this part!!! It’s a pain to go back! Yep, that means I forgot to do it before I put #6 on the cord.
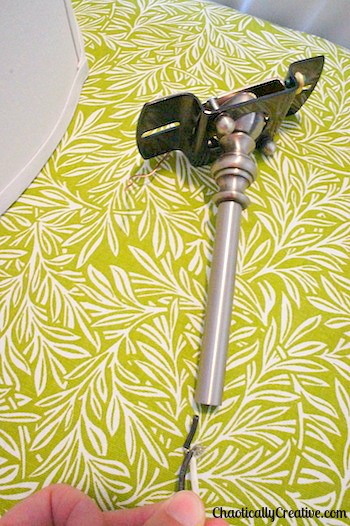 Now it’s time to thread the cords up the rod. I kept my rod short, however this Mini Light Pendant has several lengths of extension polls if you would like yours to be longer.
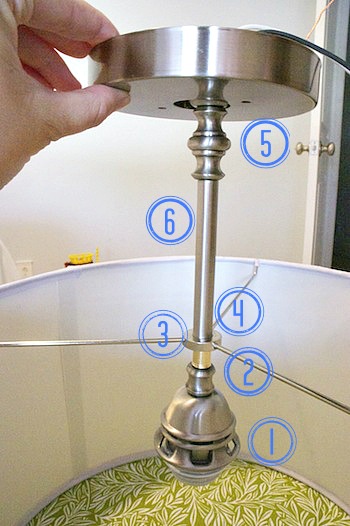 Quick Guide:
- 1. Pendant light socket
- 2. Coupling (purchased separately)
- 3. Nipple (found in box, you will not be able to see it as you can’t now)
- 4. Drum Shade (look out for a great deal)
- 5. Ceiling Cover mount cover ( I totally made up that name, but you get it)
- 6. extension rod (thread one or more to get length as desired)
- Lastly, follow the installation instructions included with fixture on how to install the light safely
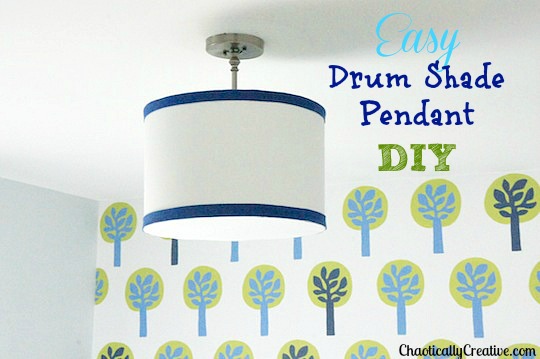
And here it is. I added some details and a screen to the bottom. It’s completely up to you if you want to leave it plain or decorate it. Jackie from Teal and Lime did a great job with hers and added some geometric designs to her shade with this tutorial.
Let me know if you have any questions! Good luck!!!

Lesley, beautiful job!
What did you use for the screen on the bottom, and how did you attach it? This looks really good.
Sheri, I used a piece of plastic that is used to trace patterns, cut it into the exact circle shape of the drum shade. Then I used some modge podge and covered the surface of the plastic and then placed a piece of thin white fabric on it. I hot glued that to the bottom of the fixture and trimmed it. The blue trim hides all of the imperfections. That all being said I think a thick canvas or duck fabric would have be just fine and there would be no need for the plastic.
Brilliant! Pinning this for later.
I’m glad you liked it. I’m not going to confess how many times I put it up and took it down. I thought I wanted it plain white and then changed my mind. Then added the screen later. Oh the evolution of first time projects!
Great DIY project. I can’t emphasize enough how important it is to make sure that the electrical part of the project of done correctly. I see too many house fires due to poor electrical connections. That shouldn’t scare anyone from the project just hope to instill the importance of the last step.
Roger, Thanks so much for stopping by. I totally agree that the electrical is the most important part!
Love this. Where did you find the drum shade? I’m wanting to cover one with pretty fabric but not sure how? Would you suggest just using fabric glue? I want to make sure you can’t see the seams when the light is on. I can’t find Any DIY for that.. ;(
Hi Julie, I found the shade at Home Goods I believe or TJMax. I am really not sure about how to recover and get no seams. All the lamps I have covered had seams. I look around the Internet and see if I can find a tut for that I think May know a few bloggers that have one.
There’s a DIY for covering the shade at hgtv.com 🙂
Hi Lesley! Thank you for your post! You did such a great job! I have a question about the bulb wattage. You said that the Portfolio light you used can take up to 100 wattage but when I go to the Lowes site and/or click on your link it states that the maximum wattage is 60. Did they change it or were you able bypass that somehow? Thank you for your response in advance!
Kelli,
The only thing I think is that the info on the Lowe’s website may be a typo. I found another pendant light which is almost $60 with a 100 watt bulb maximum. I would actually check out what they have in stock in the store if you have one close to you. Hopefully they didn’t change the wattage. I am certain ours was 100 watt and that’s what we’ve been using. Hope that helps! Good luck Lesley
Hi There…. Just love this tutorial. I would love to do this for over my island but using antique colanders I found. The lights I am taking down are old ceiling fixtures with very large plates (know that is not correct word for them)
at the ceiling. Would have to take them off and fix the ceiling for sure. I see yours is a nice sleek nickel finish (small), but I don’t think it came with your light kit. Was this piece something you had… Cannot always tell from pictures. Sorry! Any help you could give me to totally finish my project from top to bottom would be greatly appreciated. would love a total nickel finish unit.
Lucy I used a pendant kit that you get at Lowes.
What type of screen did you use and where did you but it?
I used a piece of white cotton fabric for the screen and hot glued it on from the inside