Vintage suitcases may not be the best luggage to travel with anymore because they are bulky, heavy and don’t hold a lot but they are good for so many other things. I’ve seen people make shelves and furniture out of these suitcases and we have used them for wall storage, picnic baskets, Easter gifts and Halloween Decor.
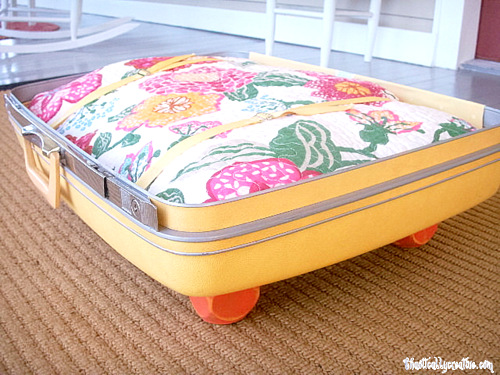
But out of all of our projects my favorite one is this Vintage Luggage Pet Bed. Dogs love them and so do cats!!!
Vintage Luggage Pet Bed Materials
- Vintage Suitcase
- Hammer
- Nail Set Tool
- Pliers
- Feet
- Paint/Stain for Feet
- Quilt or Quilted fabric
- Polyfill or Pillow
- Magic Eraser and Cleaners
- Chrome Cleaner
- Armour All
- Screws
- Sewing Machine
- Scissors
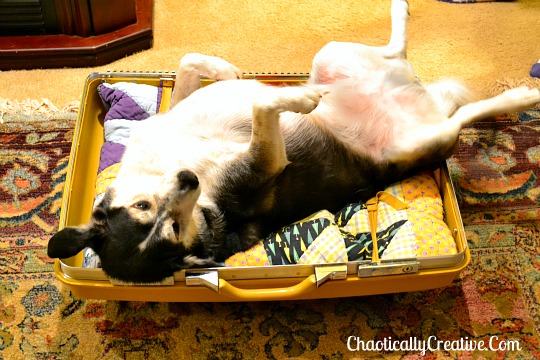 Thrift stores are a great place to shop for old luggage, but be aware that there are many makes and models that present challenges. Please email me if you have another type and I will be glad to assist. The type with the metal piece that funs down the middle are the easiest and most practical for a pet. Inside that is a long thin metal rod, similar to a stretched out coat hanger that holds the two pieces together.
 The two pieces that make up the suitcase will need to be separated for the safety of your pet. Some models have hinges that have to be separated with a tool that cuts metal. I use the Porter Cable Oscillating Tool which is a great tool to own for many projects. For this type of suitcase simply insert a nail set tool onto the metal rod and tap with a hammer.
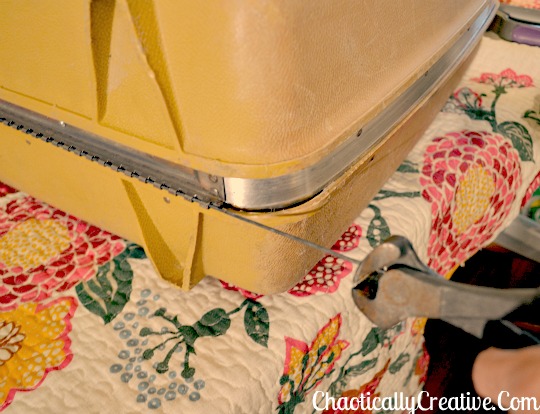 When enough of the wire appears on the other end, grab with a pair of pliers and pull out. Wala, you now have two pieces of a suitcase, one for a pet bed and one for Vintage Suitcase Storage.
I also love the look of the cool metal teeth left on the edge. The other advantage to this type of luggage is that the inside is simply plastic. Easy to maintain and clean. The other side has the neat little cloth pocket that you can do so many things with like Lesley did in her Vintage Suitcase Storage Post.
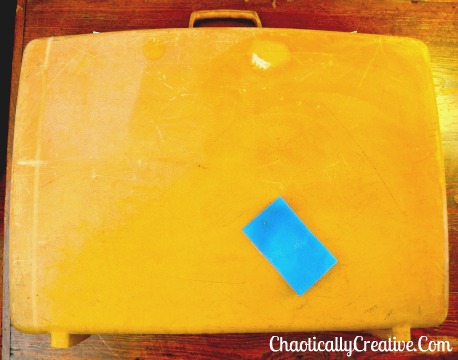 Now it is time for cleaning. This suitcase has seen some mileage and is pretty roughed up, but the good news is the bottom will not be very noticeable. Most of the ugly came off.
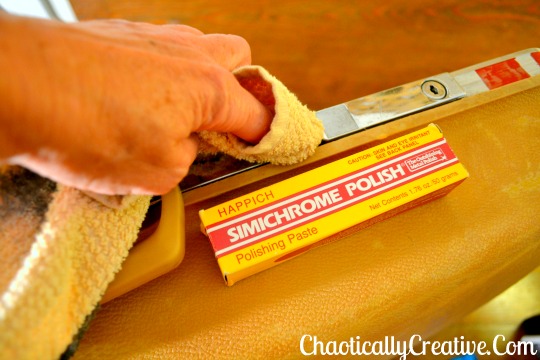 Then the chrome was cleaned and polished with Simichrome and the entire suitcase rubbed with Armour All just like we did with Sweet Spring Suitcase. I kinda liked the red strips that the previous owner painted on the chrome, probably for identification purposes, so I left them.
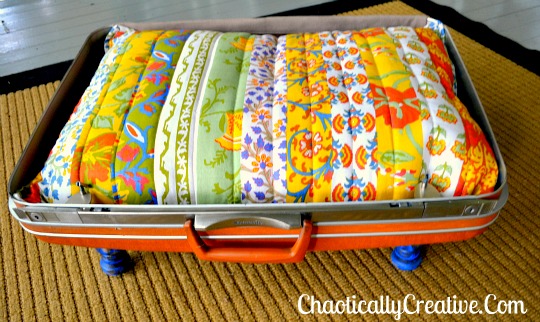 Now it’s time to add the fun parts, the fabric for the bed and the “feet”. My pets seem to prefer a quilted fabric. The one in the featured image was from a quilt purchased at Marshalls and there was plenty of fabric to make several pet beds. Also, sometimes a standard size bed pillow will fix the suitcase. Hallelujah! Add a lovely quilted pillow sham, such as the one in the photo above (found in all the overstock stores) and you have the pillow for your pet bed with no sewing involved! Above is an example of a happy day when the pillow fit the suitcase.
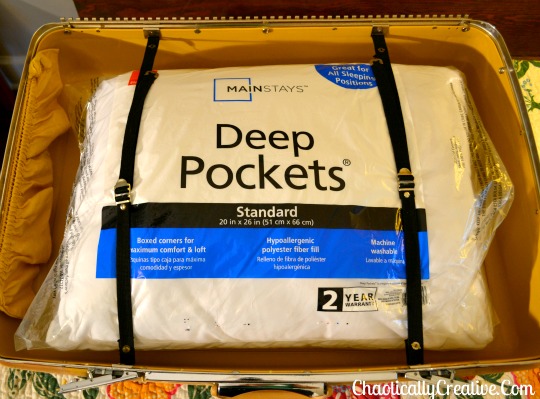 BTY, Lesley and I found that purchasing a cheap bed pillow (Wal-Mart and Target carry standard bed pillows for $2.00) saves time and money on projects involving filler see (Make An Outdoor Pillow). This pillow is too small for the suitcase we are working on but, I will take the filler from this one and add to it. Before we make the pillow, we will add the “feet” to the pet bed.
The feet I chose for this project are squares cut from a board I had on hand and stained. I also have a supply of salvaged table legs that can be cut apart and used for many projects.
The first step in adding the “feet” is to place them approximately where they will go on the bottom on the suitcase and measure. My point of reference was the lip of the suitcase. I measured 6 inches on the side and the front.
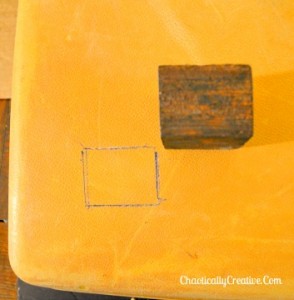
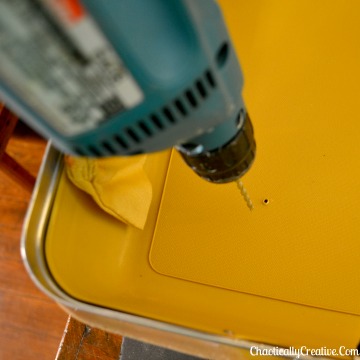
After each foot is measured and placed, trace around it. The next step will be to drill a guide hole in the center of each traced area. After the hole is drilled, hot glue the feet onto the traced area.
Now flip the suitcase over taking care not to knock the feet off. Hot glue will not keep them on permanently. Reach below and hold each one securely while drilling another hole into the existing hole. What we are doing here is predrilling into the wooden foot in preparation for adding a screw.
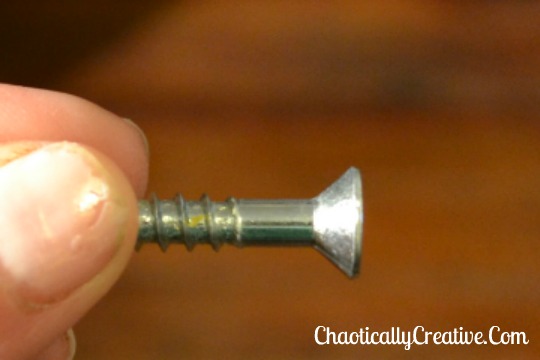 Speaking of screws, not any ole screw will do. It took me many tries to find what works and unfortunely, I went on a cleaning spree and lost the package for this one. It is about 1 and 1/4 inches long and has a very flat head.
Here is a picture of how the screws look once they are installed into the feet. These lay very flat and hold the feet nicely.
Using the suitcase as your pattern, measure 2 inches out from the edge and cut. Be sure to follow the lines of your suitcase because usually the back is wider than the front. You will want to cut a generous allowance for seaming and the stuffing. You can always trim it down if it is too big.
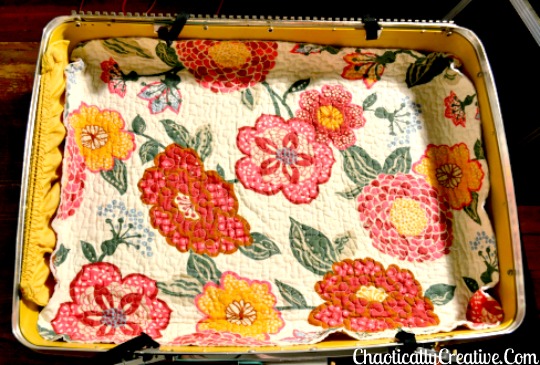 Lay the cut fabric piece inside the suitcase to test the fit. It should come up over the bottom a couple of inches or so.
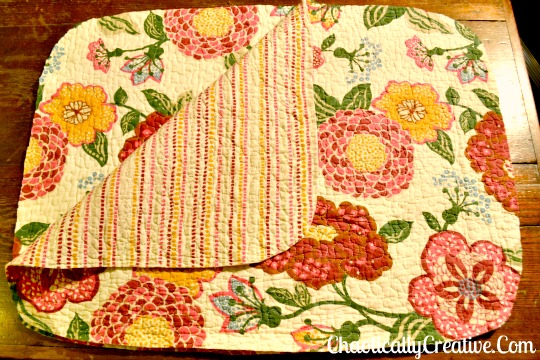 Once you have the first piece cut and fitted, use that as a pattern for the back piece. This quilt has a very pretty backing and will allow this pillow to be reversable.
With right sides together, using a 5/8 seam allowance, sew around the pillow- to- be. Leaving a opening in the back for the stuffing. Note: I am opting not to make a separate pillow insert. I just throw the entire thing in the wash. Most quilts do not ravel badly when washed and if you prewash the quilt there will not be a lot of shrinkage. You can also serge or zig zag the edge.
Here is a picture of the opening. It is big enough to work the filler into the corners.
Using sharp scissors, make little snips around the curved corners, taking care not to cut the seam. This will them smoother and they will lie flater when turned.
Turn your flat pillow inside out. Now we are ready to add the filler. Start by pushing the filler down into the corners and working you way back to the opening. Stuff adequately so that it will hold it’s shape when washed, but if stuffed to tightly your pet may not like it. You can alway open it back up if you need to add additional filling. Once filled, you can either hand or machine sew the opening closed.
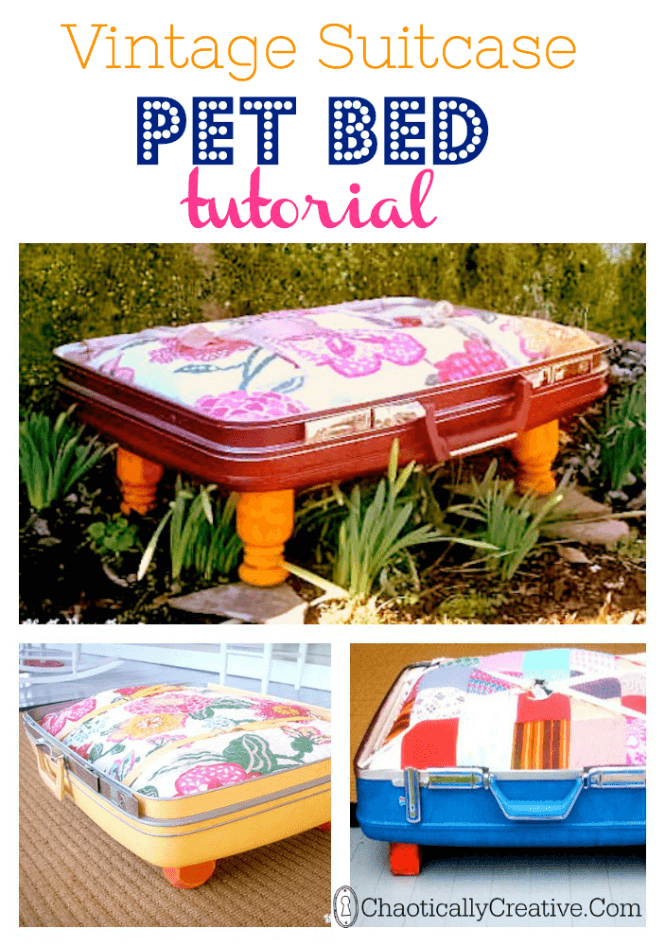
 Here is the finished pet bed, located on the table, by the window, just like Fluffy and Zippy like it. Up off the floor and away from Umsa. They love it whenever I complete a new bed. They always tried to claim it!
PIN IT SO YOU DON’T FORGET IT
This is so cute! I’ve wanted to make one for my little dog but have never gotten around to it. I might just have to go luggage shopping at a thrift store! I wish I could make one for my other dog too, but I’m not sure I could find luggage big enough for a Great Dane 🙂 Great job!
Hi Britni, thanks so much! You would have to find a giant suitcase for the Great Dane! We have a Shepherd and my husband wants me to create some sort of bed for her. If he had his way she would have a “people” bed. LOL! Thanks for stopping by and good luck with the project!