This is one of those projects that was pretty much totally created from left field. I needed a place to store hats, gloves, scarves and other small items above my coat rack in my laundry room.
The problem that I ran into was that the only wall that I could use was right next to the door. Which by the way I removed. (I’ll talk more about removing doors later.) Basically, I needed some sort of small storage unit and I didn’t want to spend a lot of money and I wanted it to add some interest to my boring laundry room.
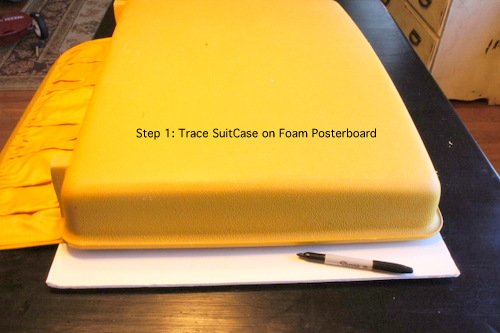
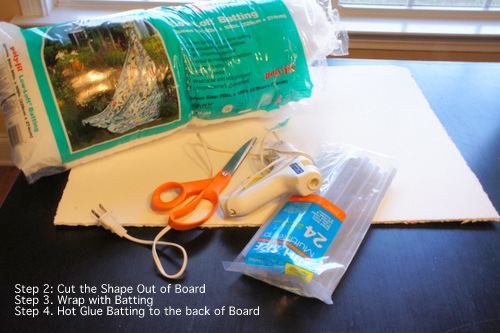
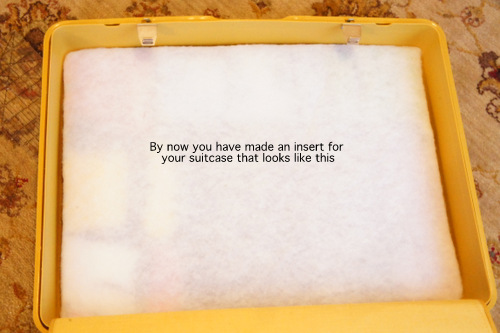
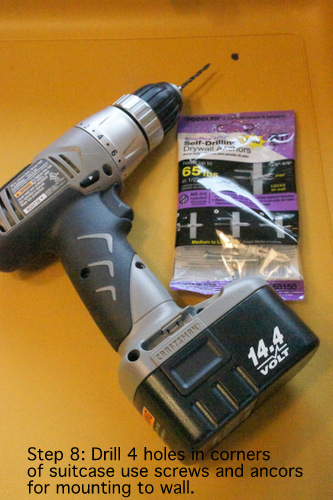
Next came the solution, Suitcase Storage Tutorial and Tips. My mother has been scouring thrift shops for vintage suitcases in order to make pet beds. You can see her gorgeous creations, here. “Mom”, as we call her, was using the side with the handle and was not using the other side for anything so, I asked her to bring me all the spare parts. Long story short, there in my craft room sat a stack of 6 suitcases and then a light bulb went off, the suitcase is the perfect depth for the laundry room wall. And then I hatched a plan to make an insert that would include several pockets on a board that would store various items.
Here is a general tutorial, however. this is not specific. You can make changes and will have to make changes in accordance to the size of your suitcase. Because suitcases vary in sizes, I am not including fabric measurements. This is more of an idea for you to follow than an exact tutorial. Some of my projects are so random, it’s hard to replicate exactly, if you know what I mean. So, I will do my best to explain the process of my creative chaos.
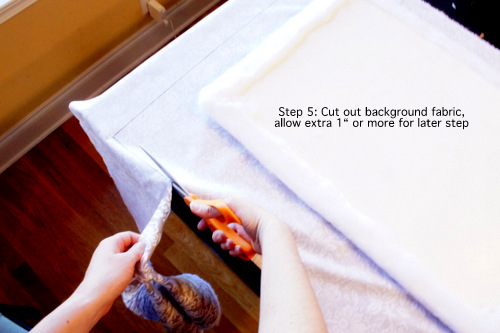
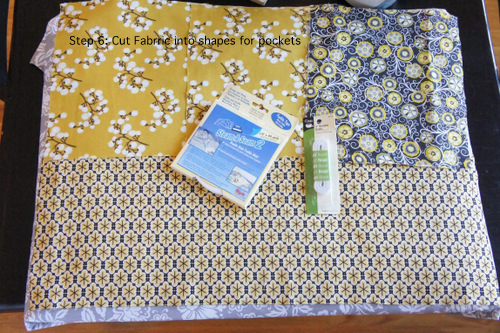

Once you have hemmed all of your pockets and added an elastic band to the top of each pocket the next step is to attach each pocket to the background fabric.
I used the Steam a Seam first to attach the pockets in place and then I sewed them on. As you can see my bottom pocket is not completely straight but because this was for me and my first try I left it and to be honest you can’t even tell once it’s all up and mounted.
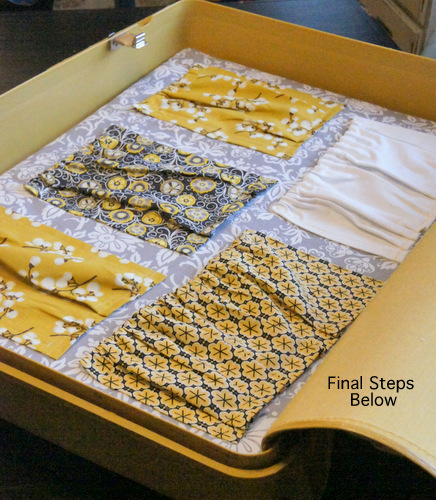
After all the pockets are attached to the background fabric, you will then hot glue the background fabric to the board that you have wrapped with batting.
Next, you will use Velcro to attach the board to the suitcase. I bought a pack of four sticky tab Velcro pieces and attached them to the corners. You have already mounted the suitcase to the wall so now all you have to do is Velcro the insert into the suitcase. Now for the final touch I choose to accent my suitcase with fabric rosettes. I used this tutorial here at CherryStreetCottage , it is an awesome video tutorial that made flower making so easy.
So that’s about it. I hope that through these tips you can create a suitcase storage too. You could also make one to store other things like books, magazines, hair accessories and more. If you have any questions feel free to ask.
You will find these in smooth polished and some that have a faceted cut
and come in a range of semi-precious stones like
Rose Quartz, Amazonite, Tigers Eye, Turquoise, Onyx and many
more. Ceramic beads are also available in many bright colours
and these have been used for centuries to create original pieces of handmade jewellery.
Because it is a high quality by-product in the handmade
natural soap making process, many mass commercial handmade natural soap manufacturers often extract the
glycerine and sell it as a by-product to be used in higher priced products like lotions and skin creams.