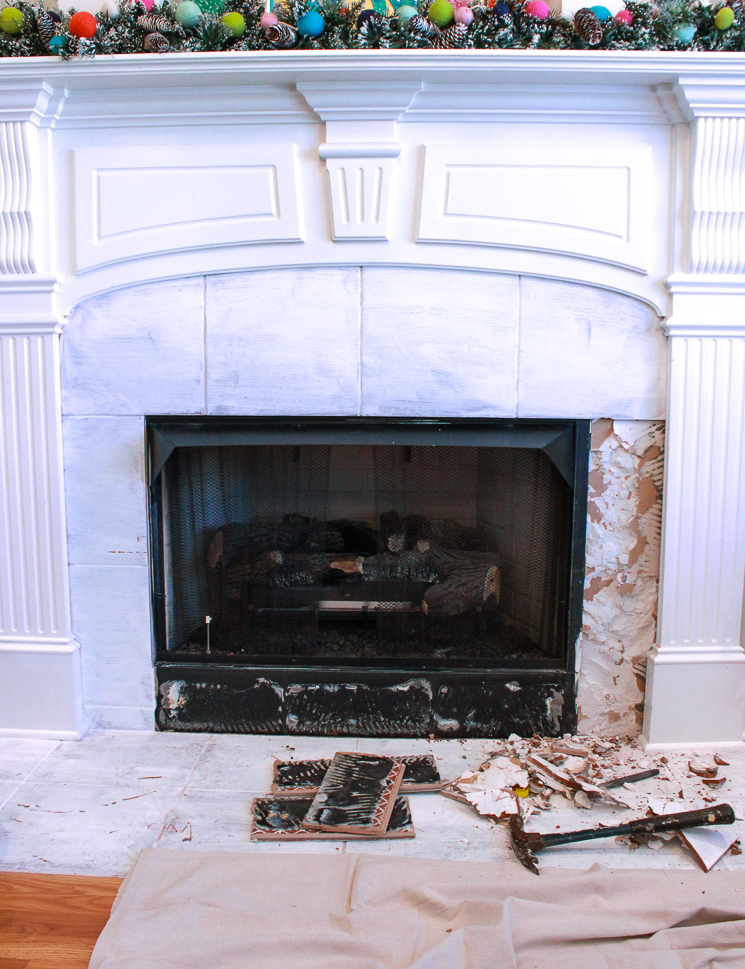
I wish I could say that removing fireplace tiles and preparing the surround for new tiles was an easy task. In fact I wish I could say that I could have done it all by myself because I often like a challenge. But not this time. Not only am I glad I didn’t do this by myself, I am so super excited to tell you who helped me with this project. But first let’s take a look down memory lane at what my fireplace looked like before I decided to paint it white. By the way that was just a super quick and temporary fix, do not … I repeat… do not paint your tile unless you know what you are doing.
My Dad is making his first ever appearance here on the blog. Crazy Awesome, right? Some of you have been introduced to my DIY Dad in my book What the Tech? Those of you who have read it know that my Dad is super skilled DIYer turned techy. Hmm.. funny how history repeats itself. Although he’s all about tech stuff like me, we definitely both will always love a good DIY project.
I was a little nervous to demo a fireplace by myself for the first time so with Dad being here I felt a lot more confident. Now like most tasks having the right tools and the right plan is half the battle. Sign up here to get a free project planner before you start any project. Dad made sure I had all of the items listed below before we got to far along. Once we got these tools the demo came along a lot fas
Tools Needed To Demo A Fireplace
- Small Sledge Hammer
- The Best Retractable Utility Knife and Blade
- Molding or Pry Bar
- Channel Lock Pliers
- Concrete Screws
- Drill
- Concrete Board and/or Tile board
- Thinset Chisel
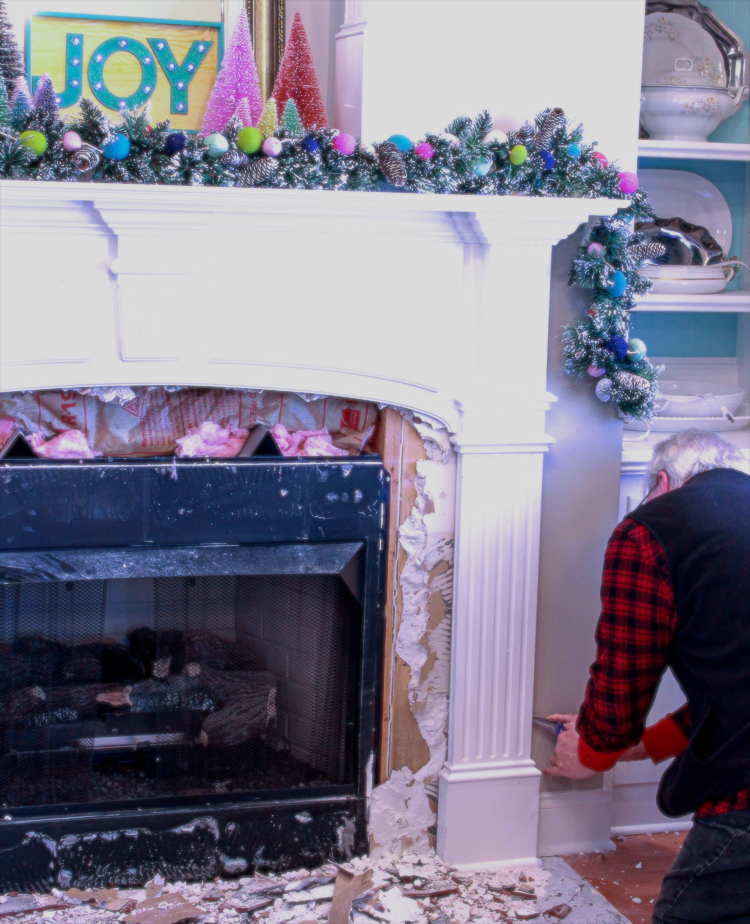
Steps to Demo Fireplace Tile
Remove Mantel
- Remove the mantel ( we thought we could skip this part.. we were wrong. Just go ahead and take it off)
- Remove mantel by finding any screws and removing those
- Cut any caulk using your utility knife (Dad suggests this one and I have to admit it’s pretty awesome)
- Carefully carry your mantel to a safe location. Be careful they are heavier than they look.
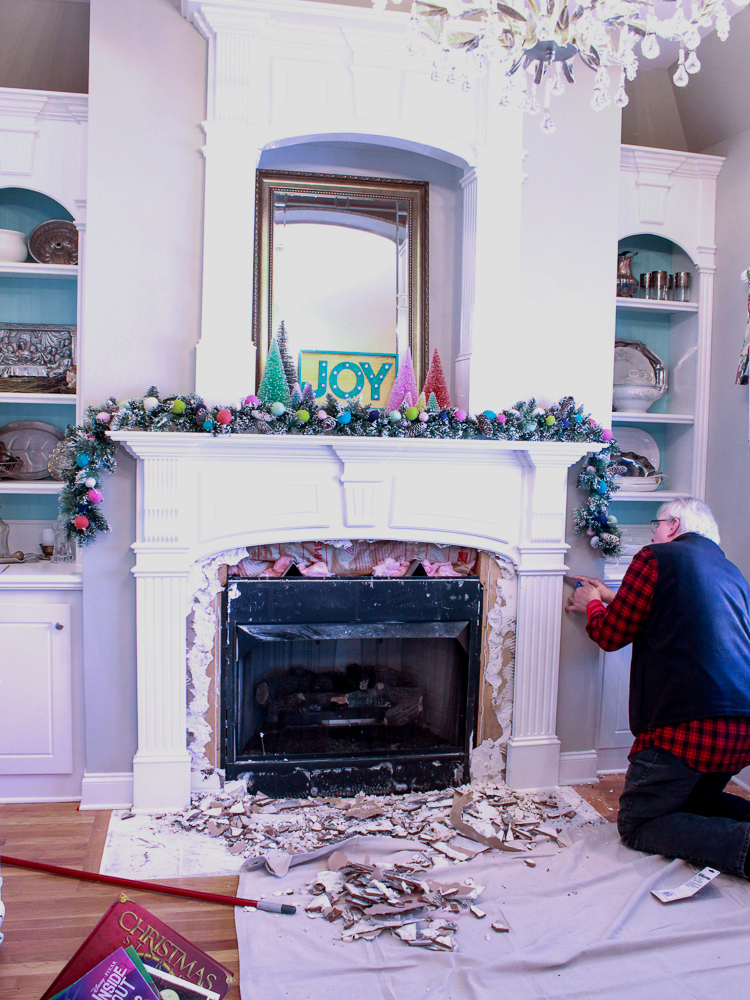
Prep Space around Fireplace for a Huge Mess
- Make sure you are prepared for a huge mess. I used a canvas tarp which helped collect broken tile.
- Tile demo creates a ton of dust, cover up anything you don’t want to get dust.
- Have a plan for disposing of tile. We had a wheelbarrow parked at the back door.
- Use construction type garbage bags for tile scraps and dispose at your local dump.
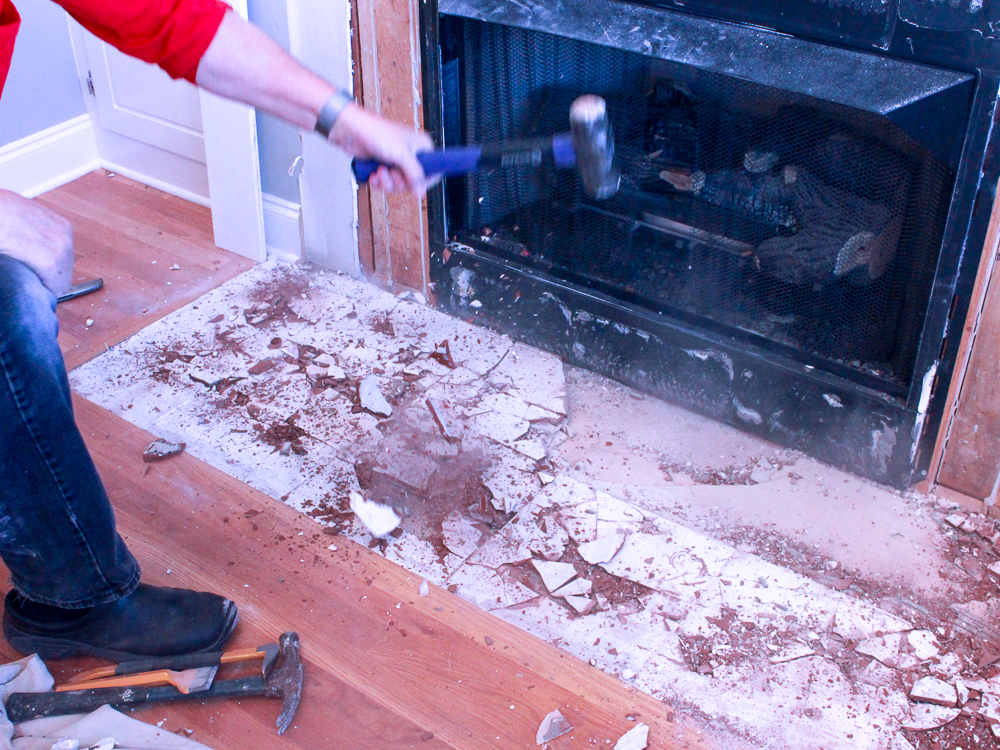
FireplaceTile Demo: What to expect
- The tile on the wall area was much easier to remove by using a smaller hammer
- The floor tile took a lot of work and was not as easy to remove. A small 4lb hammer did the trick.
- It also helps to use a chisel like this one to get under the tiles and then hammer
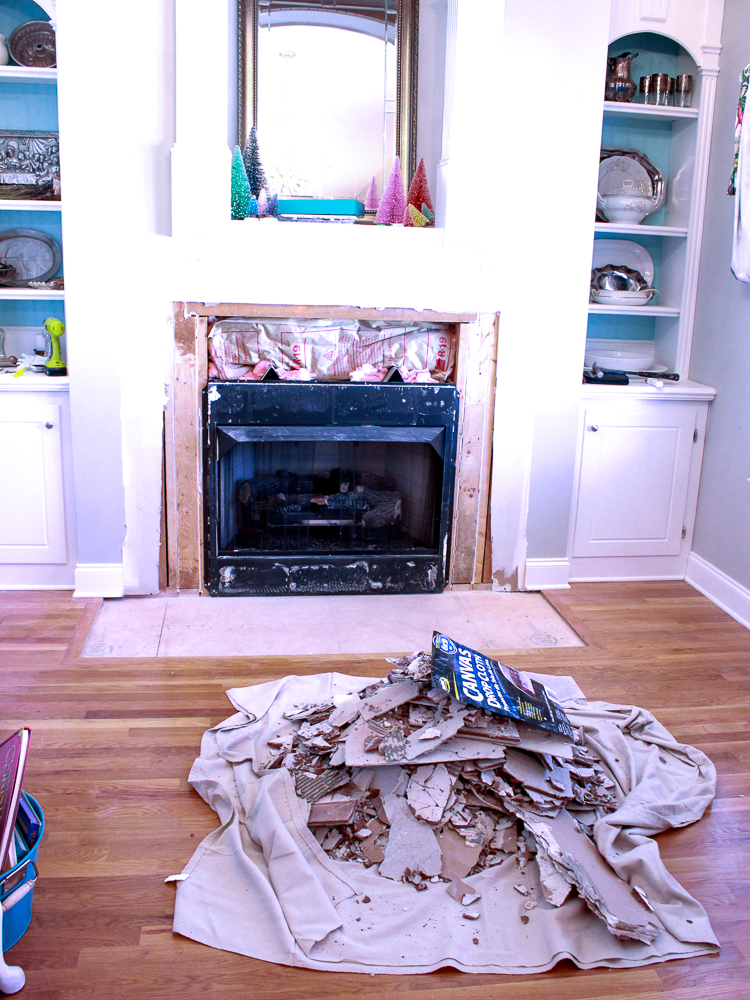
After all of the tile is removed. You must remove all nails or staples. This tool is awesome for getting great leverage and removing nails and staples. I wish I had used it when I was removing carpet.
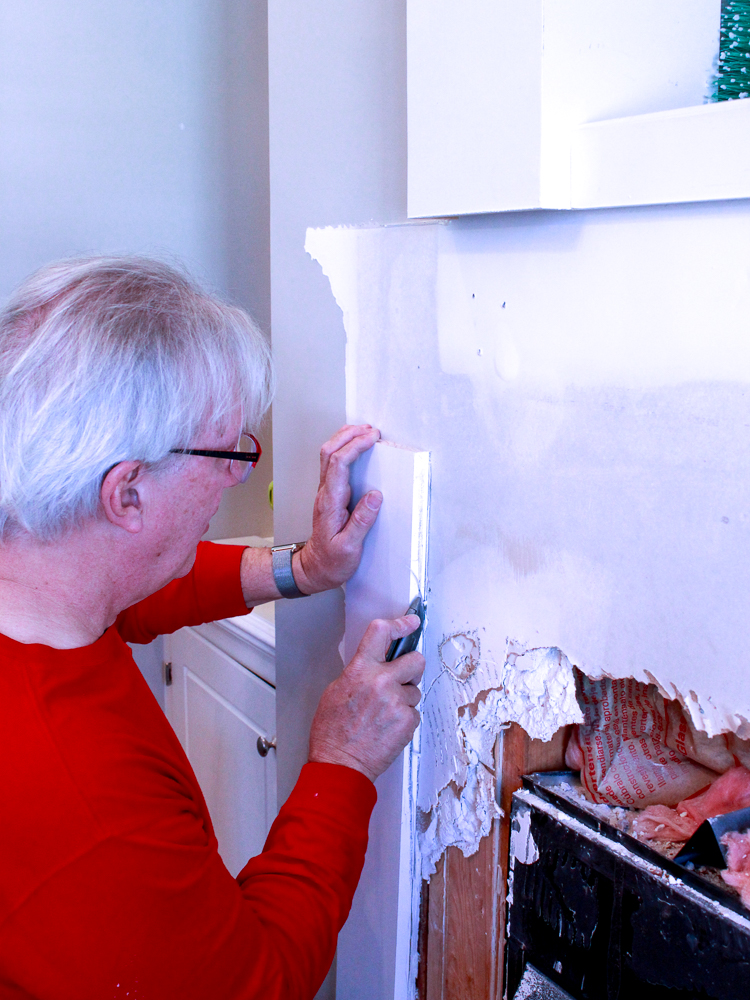
The last step in the actual demo process is to remove any damage drywall or concrete board. Once you have cut that away you can start replacing the sections with new boards. 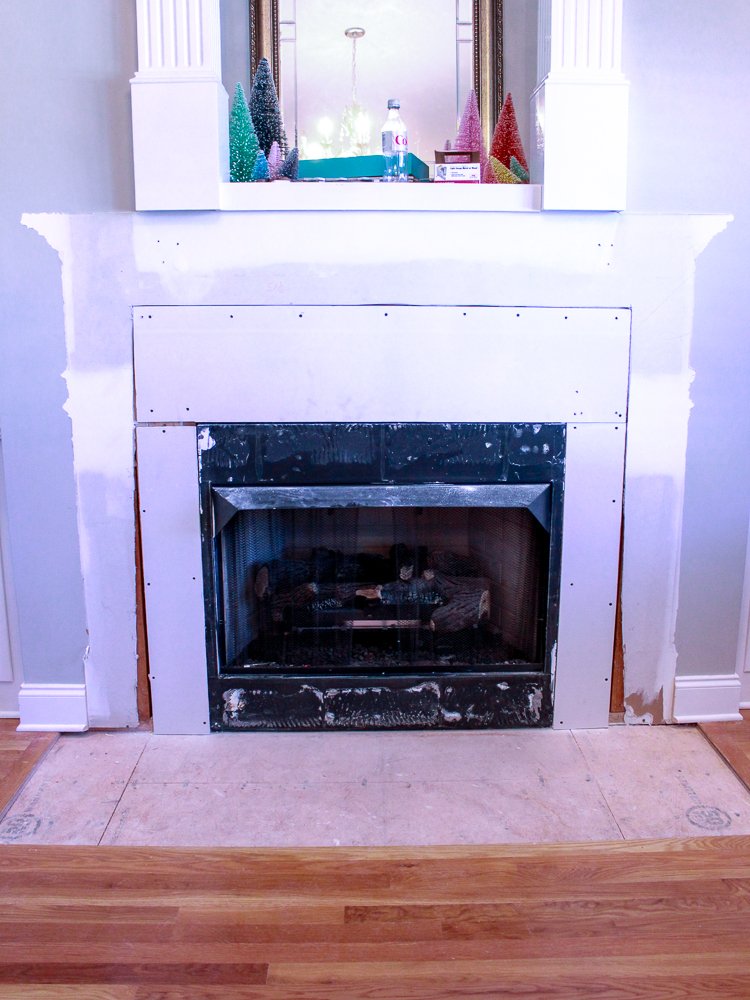
Due to the depth we had to use drywall on the upper section of the fireplace surround and tile board on the floor section of the fireplace. 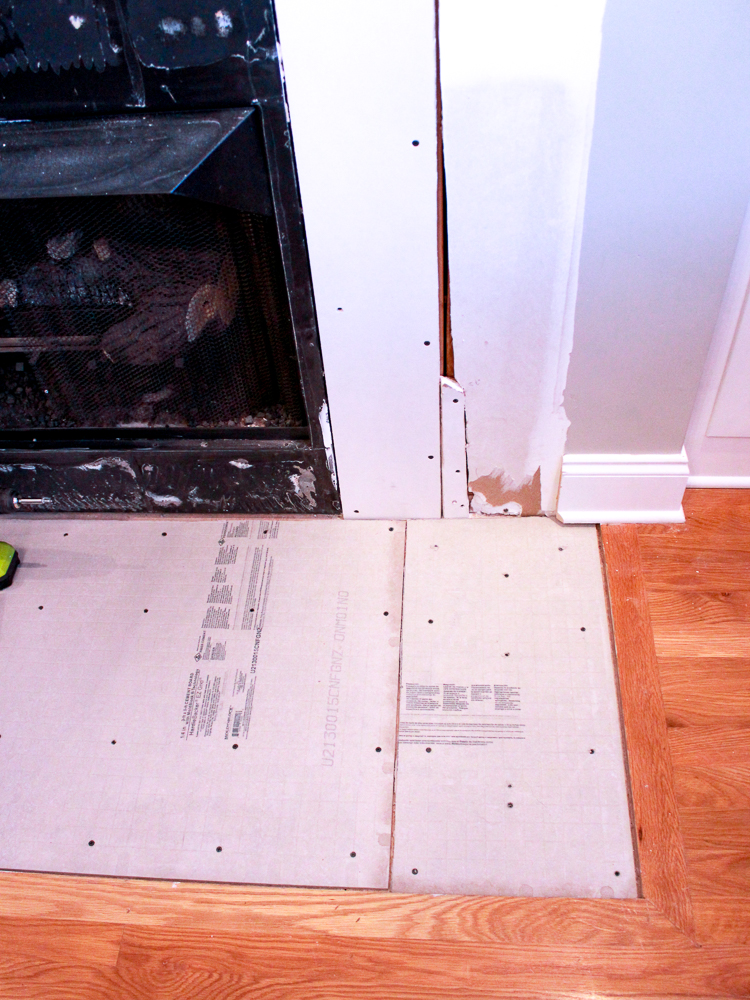
We filed in any gaps with smaller pieces. 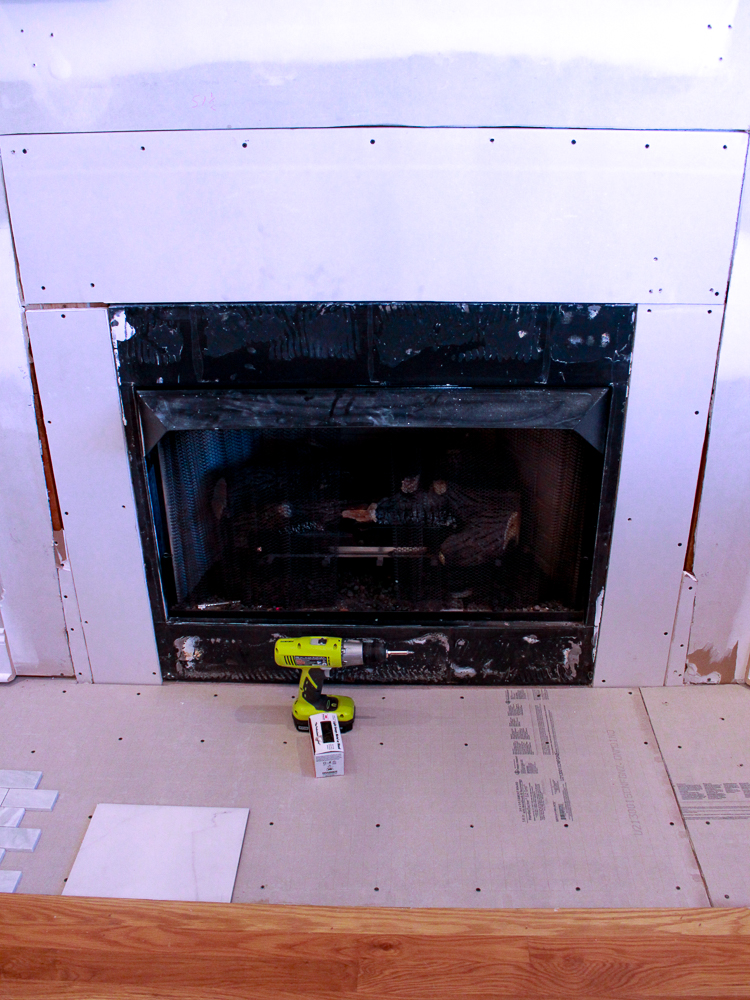
Cutting tile board and concrete board can be done with the awesome utility knife we talked about and by using a long drywall T-square. Now that the demo is complete and the surface is prepared it’s time to tile! Tiling is not that difficult it can just be really messy. Here’s what the fireplace looks like now... (minus the holiday decor of course)!
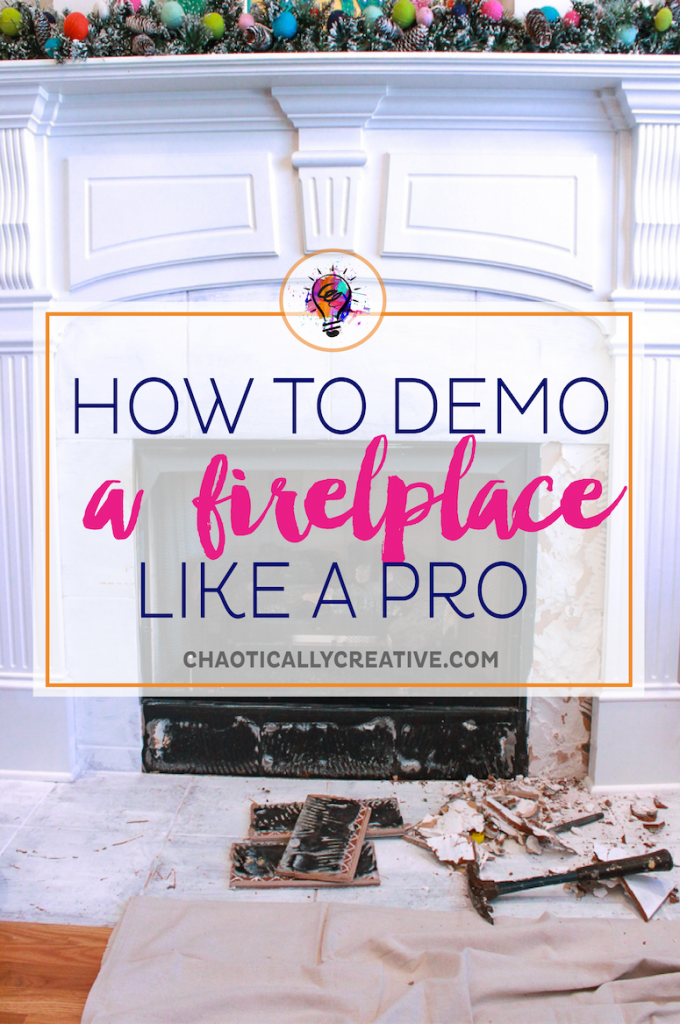
Number one, remove your Christmas decorations LOL!
For sure! I forgot that step. I did however wrap my tree in plastic wrap so that it wouldn’t get dusty. But I don’t think I even moved my other stuff until we started major demo. Then it all had to go!