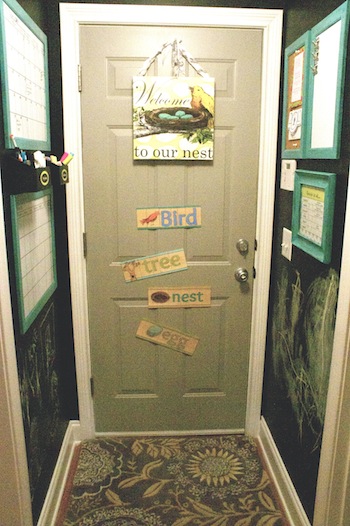
My family has been enjoying our Organization Station located in the back entryway of our home. Not only is it keeping us all a little more organized, but my kids are becoming more independent, and they have a space to be creative.
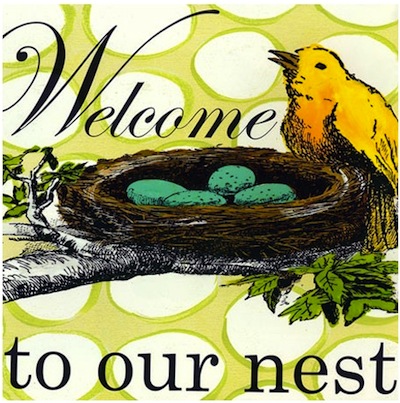
I knew when I “finished” the space that I really wasn’t done because I had planned to make some sort of magnets to keep on the metal door for my 2 year old to play with. I was inspired by the Welcome to Our Nest Canvas by Shelly Kennedy, that I purchased from Poshtots which is hanging on my backdoor.
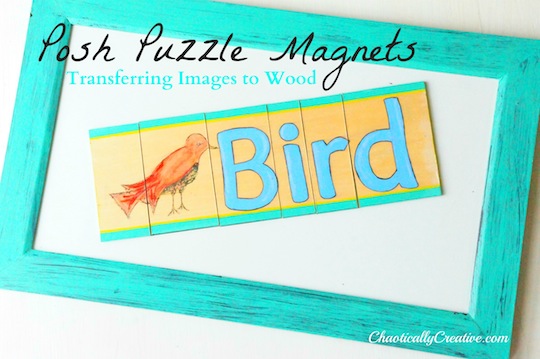
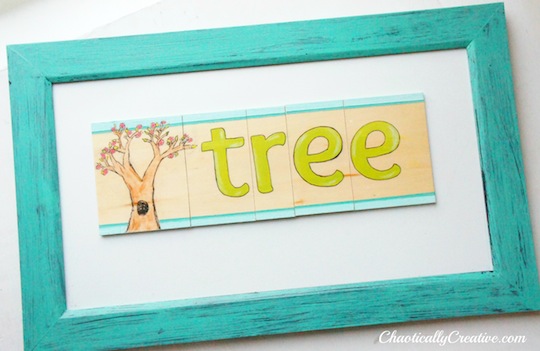
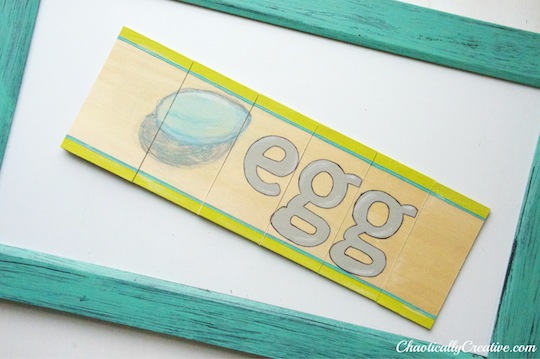
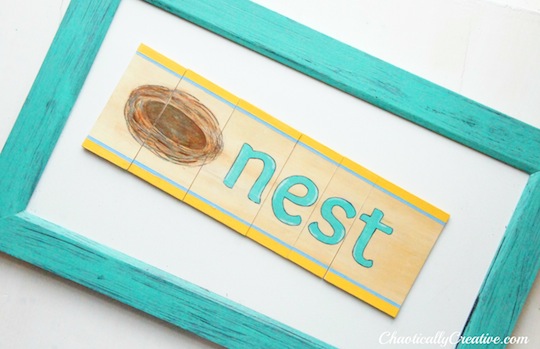
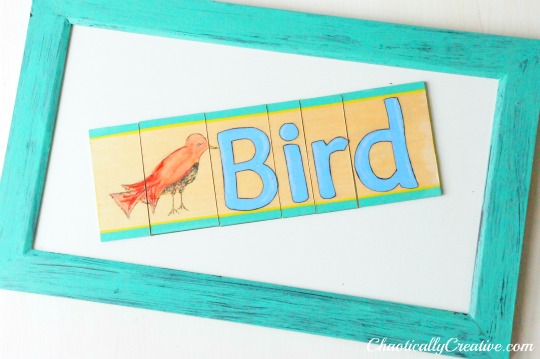
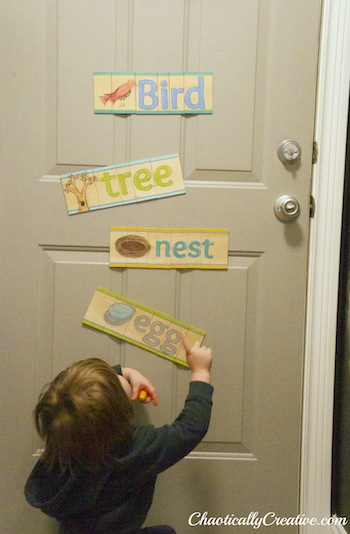
This gorgeous reproduction gave me the idea to create a set of bird themed magnets that would serve several purposes. First, they would help Jude learn a few basic concepts about birds. Secondly, he could have fun playing with the magnets. Lastly, he could start becoming familiar with how to spell words as well as learning how to identify single letters. I find that sets of alphabet letters are sometimes overwhelming and often children aren’t quite sure what to do with them. I opted for the puzzles as an alternative.
To start this project I found an awesome tutorial on Matsutake blog that explained how to transfer inkjet printed images on to wood. Please read over the tutorial on the link above before following any of my steps below. I would then suggest reading my post, of course. I will give you some hints and tips I discovered along the way.
After you have read Matsutake’s blog post and you are ready to tackle this project you have several choices.
- Use clip art images
- Draw your own
- Use personal photos that are saved onto your computer.
I opted for original artwork for my puzzles. To make it even more special I enlisted Gavin, my 9 year old, to be the artist. Below are his four pencil sketches, aren’t they amazing?
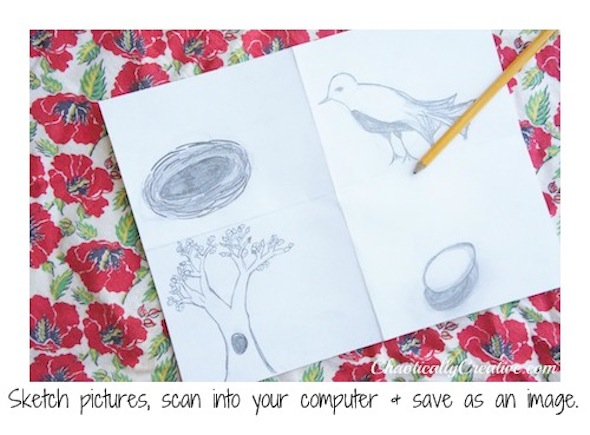 Now that you have sketched your pictures, you will scan them into your computer. You may find that certain parts may need to be darkened with your pencil and then scanned again. Darker images will work better. Next, cut and paste, add text, darken, and most importantly FLIP them HORIZONTALLY (or in other words make sure the text is in MIRROR IMAGE.)
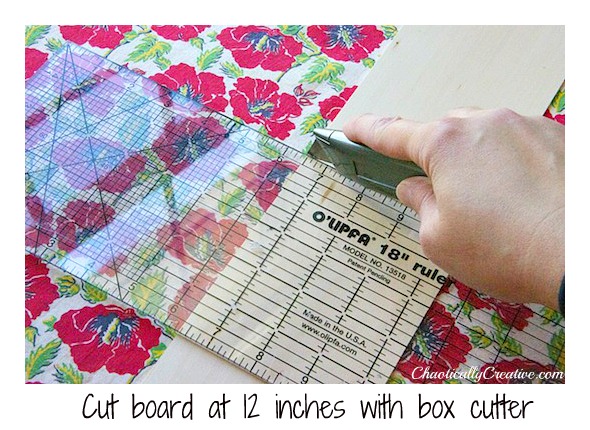
I used Bass wood sheets that were 3/32 x 4 x 24″ purchased at Hobby Lobby behind the model car section at $2.79 a piece (Product sku 788992). They look like this, however I cannot find the correct size online. I cut them in half to equal 12″. This specific type of board is the perfect thickness for this project, anything thicker may be too heavy for the magnetic sheeting.
(TIP: I did not have great success transferring images to painted wood. If you do please let me know.)
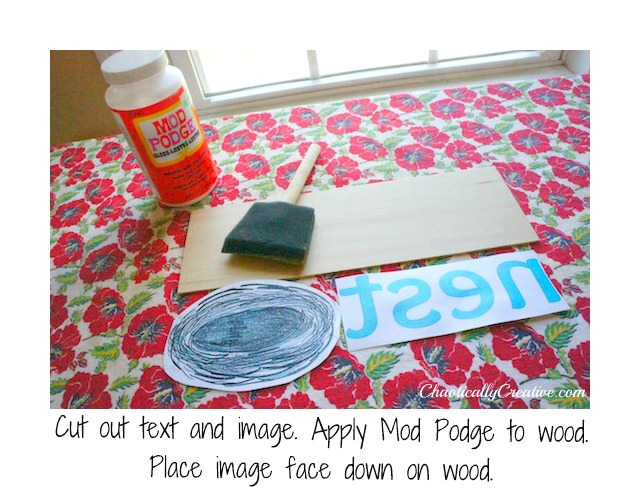
Now that you have read Matsutake’s tutorial on transferring images to wood your are ready to proceed. At this point you have printed your image on the paper that was painted with Elmer’s glue and allowed to dry. You also remembered to print the text in mirror image and darken everything.
(TIP: Apply a layer (about a tablespoon) of Mod Podge to the entire board. Then place the images face down.)
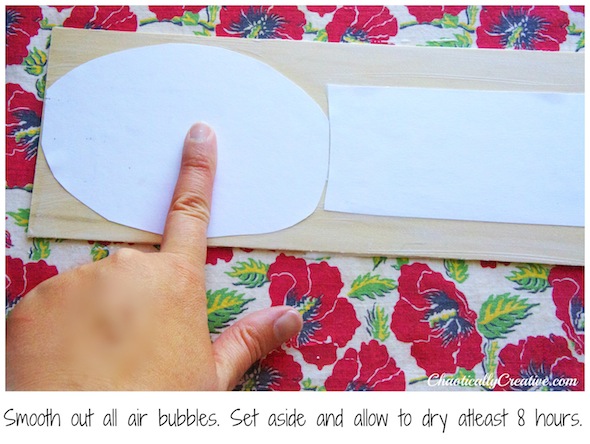
Once the image is in place, do not lift it. The transfer process has begun. You can also use a credit card, but try your best to smooth out all air bubbles. I separate the image from the text so that there is one more space to push air out. Allow to dry for 8 or more hours. I know it’s so hard to wait, but this is a crucial step. I have no patience, so this was so hard for me.
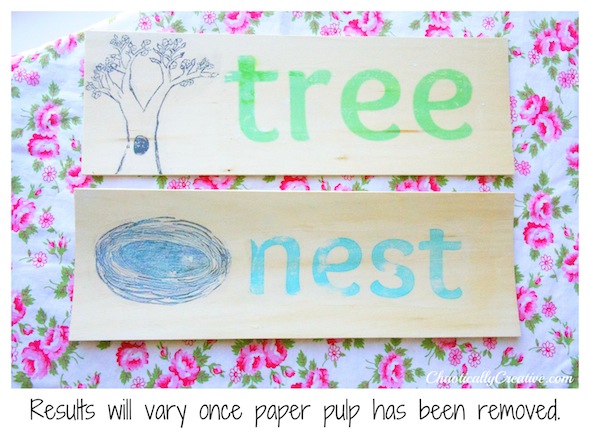
(TIP: Removing the paper pulp can be tricky. It doesn’t just peel right off like a temporary tattoo. You have to rub it off gently, get it good and wet.)
I really loved the concept of transferring original images to wood, however my results were never as successful as the one featured on Matsutake’s tutorial. I kept seeing her little clown and getting so disappointed. It was almost like it was laughing at me and saying, “You’re never gonna be as good as me, ha ha ha”. By now you guys know me and of course, I pressed on. So here’s the thing, this is one of those DIY’s that has so many variables. Printers and ink quality vary, size of images, darkness or quality of image may also be a variable. My point is don’t give up, keep on testing it out. The results are worth it. I think that in the end I got the last laugh, not you Mr. Clown.
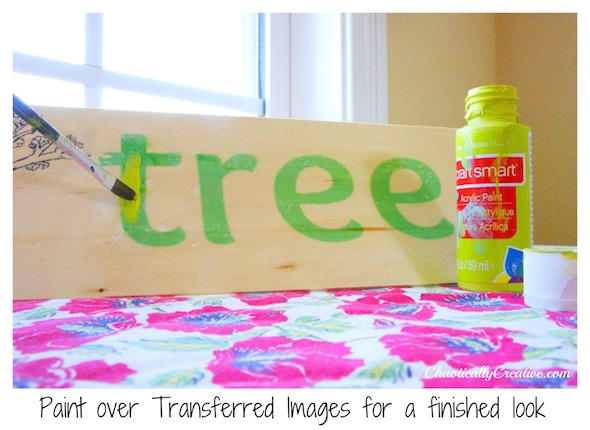
Although this transferred almost perfectly, I preferred a finished look and used the letters as a stencil. I painted over them with a good quality brush.
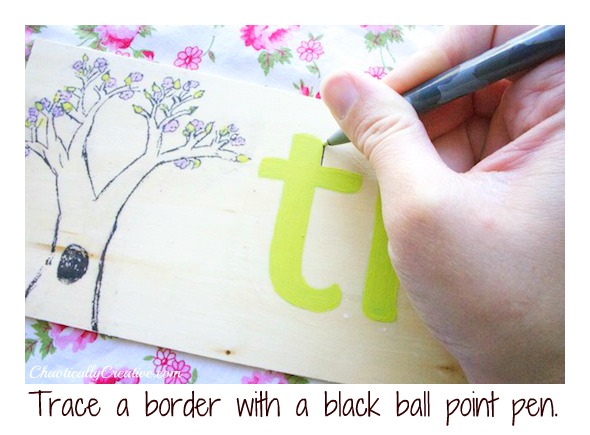
I found that tracing the letters with a ball point pen really made them pop and it was really easy to do. The craft paint is so thick it creates a line that is easy to follow. I also watered down craft paint and enhanced Gavin’s images with a little bit of color. We decided that we liked that look as opposed to leaving them black.
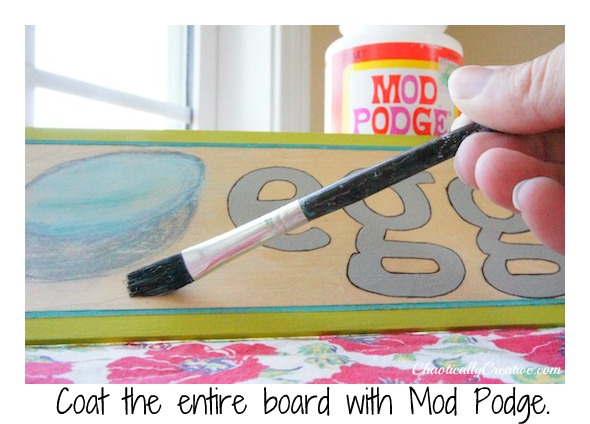
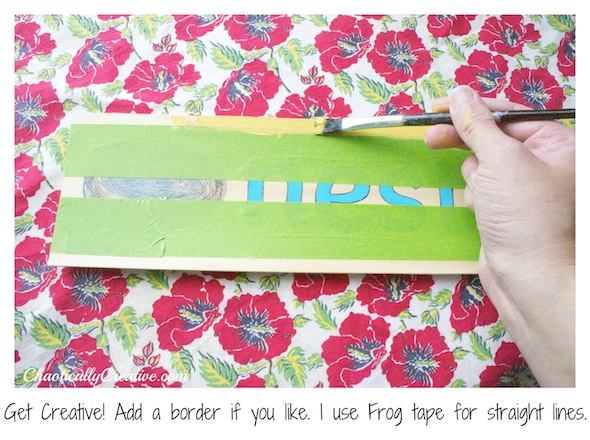 Adding a border will help young children understand which puzzles complete a set. This will help them until they are old enough to start sounding out letters.
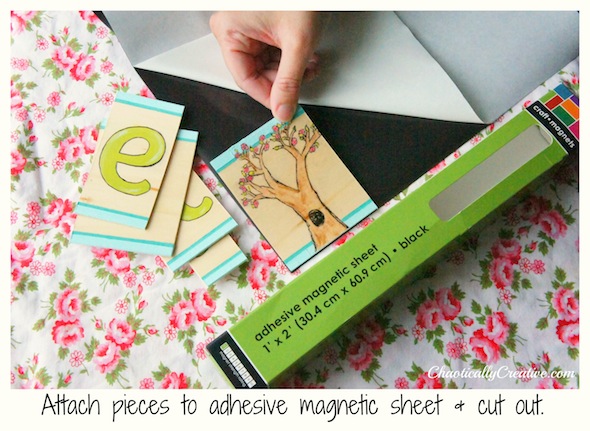
Make sure to cut in between each single letter. You do not want to cut the letters in half. The purpose of the puzzle is for your child to have something to put together and to learn the single letters as well. They will provide an excellent learning tool. Also, be strategic on how you cut the image. I tried to leave a little bit of each image on the first section of the first letter.
Make sure you rub the magnetic backing on really hard to create a strong bond. The wood is flexible and you can bend it to flatten the pieces.
“Puzzle Time”
Jude is already enjoying his “puzzle time” as he calls it in our “Organization Station“! It gives him a cozy little area to learn and be creative. Jude loves to snuggle up on Amy Butler’s “Lacework” rug and play with his puzzles made especially for him with love from his big brother and mommy.
I hope you enjoyed this post. What will you create for your little ones? Maybe a set with a horse, boots, hat and saddle for your aspiring cowgirl? What about a photograph of each child with their name? Let us know what you come up with.
Thanks for stopping by and remember to follow us on Twitter, Facebook or Subscribe via Email and as always we love to hear your comments.
I would also like to thank PoshTots for interviewing me and featuring this craft on the PoshTots blog and the many compliments I am truly speechless.

Cute idea! Love your thorough tutorial.
Thanks Jean. Let us know if you try it out or use the application in another creative way!
These are fantastic! The fanciest puzzles that I have ever seen, for sure!
Thanks for the great tutorial. These are definitely a labour of love : )
Thanks so much Claire. I am so glad you liked them!
Totally Perfect!!! Your blog is FULL of fun projects!!! I’d love to have you share at my party…it JUST opened!!!
http://www.itsoverflowing.com/2012/04/overflowing-with-creativity-19.html
XO, Aimee
Thanks so much. I’ll stop by and link up!