This post is not for everyone. There are only some of us that enjoy creepy and spooky Halloween decor. If you are one of these people…. please read on and enjoy our Light Up Bloody Specimen Jars.
If you do not like the yucky and spooky style please enjoy these fall links…
Fall Table, Fall Front Porch Planters and More, Pumpkin Planter , 10 DIY dollar store pumpkin ideas, And all other FALL DECOR HERE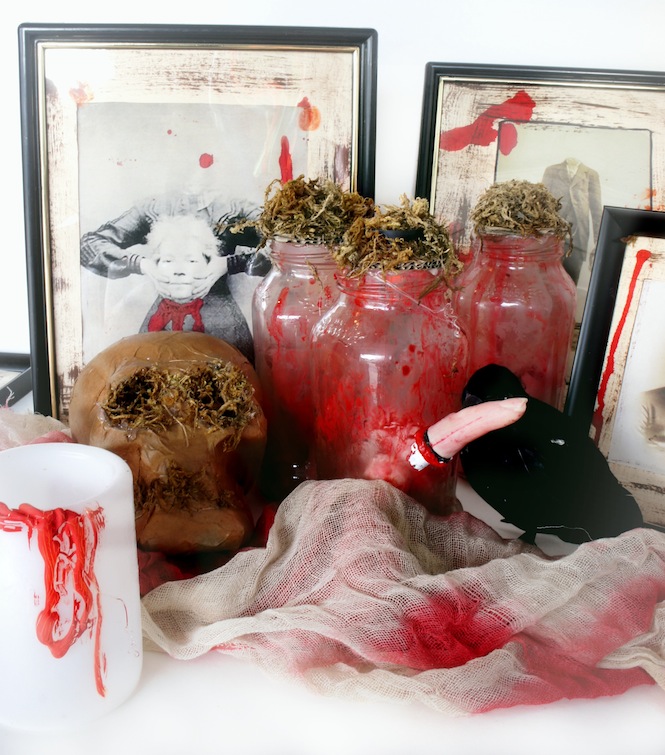
Halloween is one of those holidays that I know can stir quite the controversy. I get it! To each his own and I totally respect you either way.
In our house and in our neighborhood we kind of go all out. All of September and October we decorate with Fall Decor. But when Halloween night comes we pull out the scary stuff.
Our neighborhood really gets in to Halloween.
We have several neighbors that set up full haunted houses and haunted backyards. Our first year in our house we set up a haunted front porch.
The kids and adults love it. I got a huge kick out of it as well.
You see I think that’s why we are all in to scaring each other. We all love the hilarious laughter that ensues after we get a good scare.
We talk about the stories of scaring each other for years and years.
So the year of the scary porch we were quite successful at scaring people. Especially my neighbors across the street who we love dearly.
Now because I do work with young children I had all the scary stuff blocked off. We offered younger children candy out in the yard and had a bubble machine blowing out away from the porch.
But the big kids were so in to the scary porch.
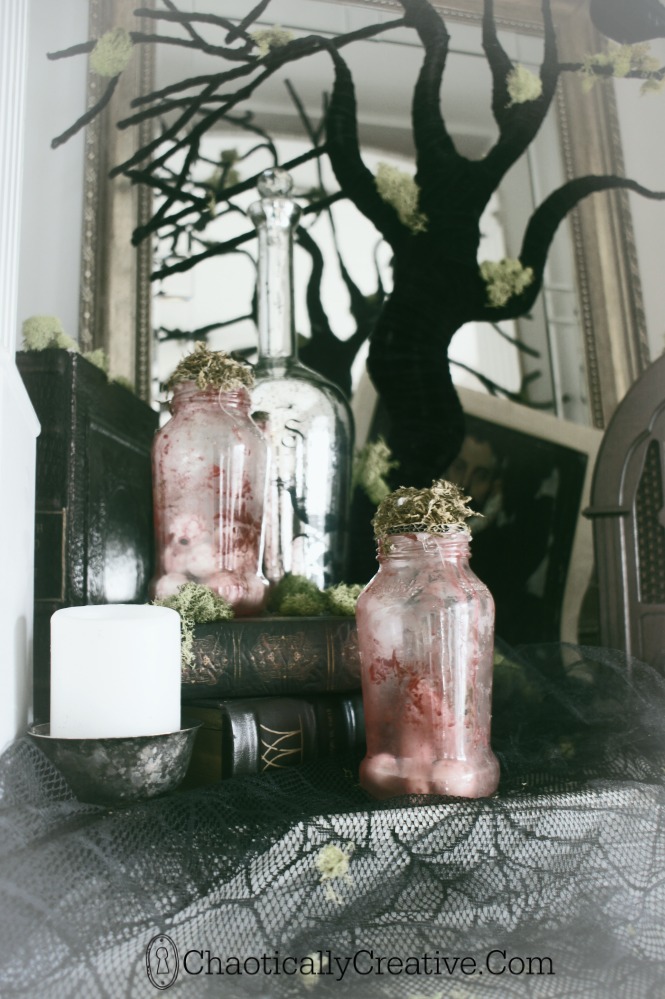
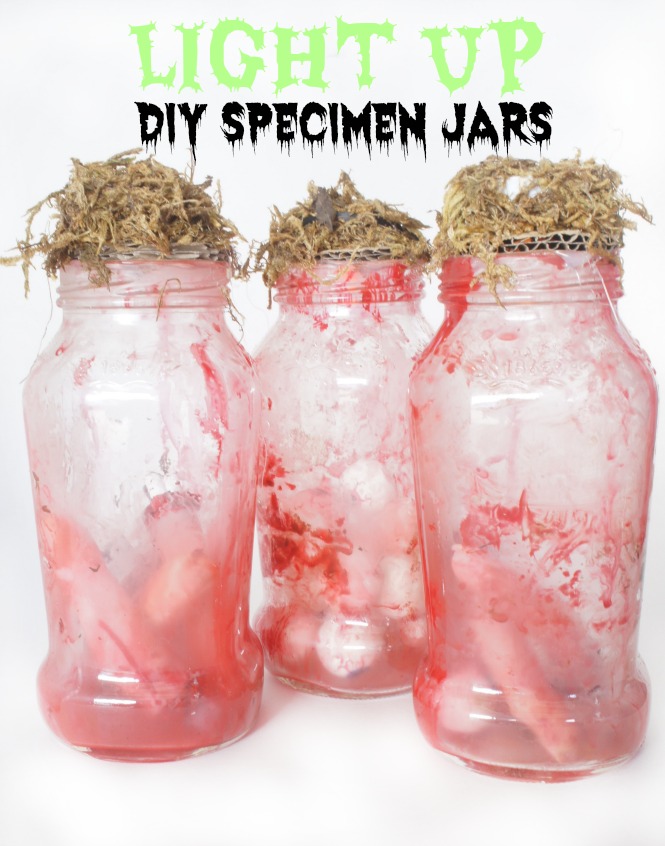
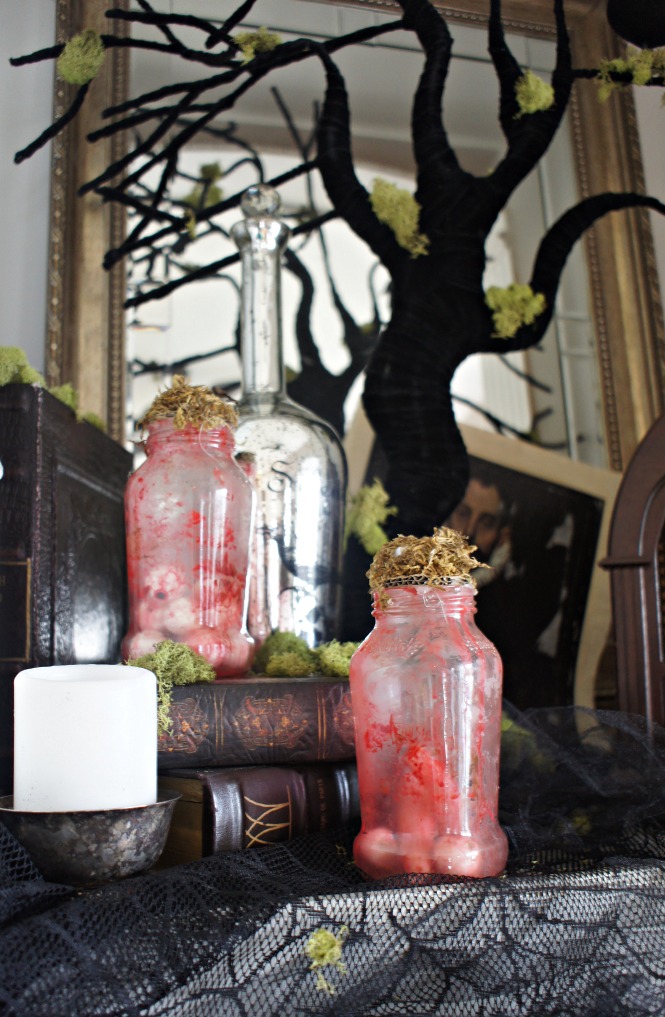
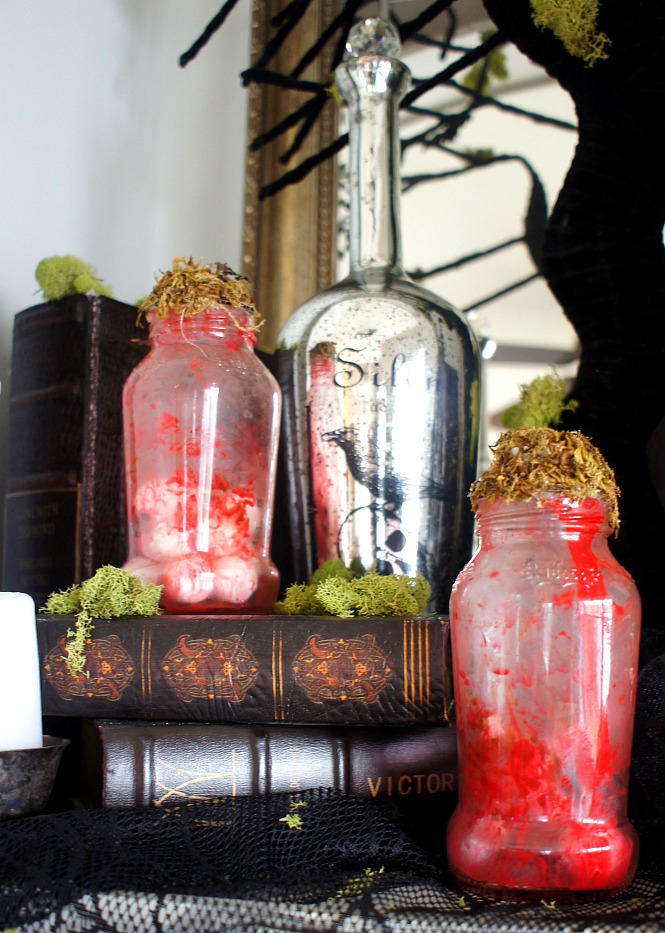
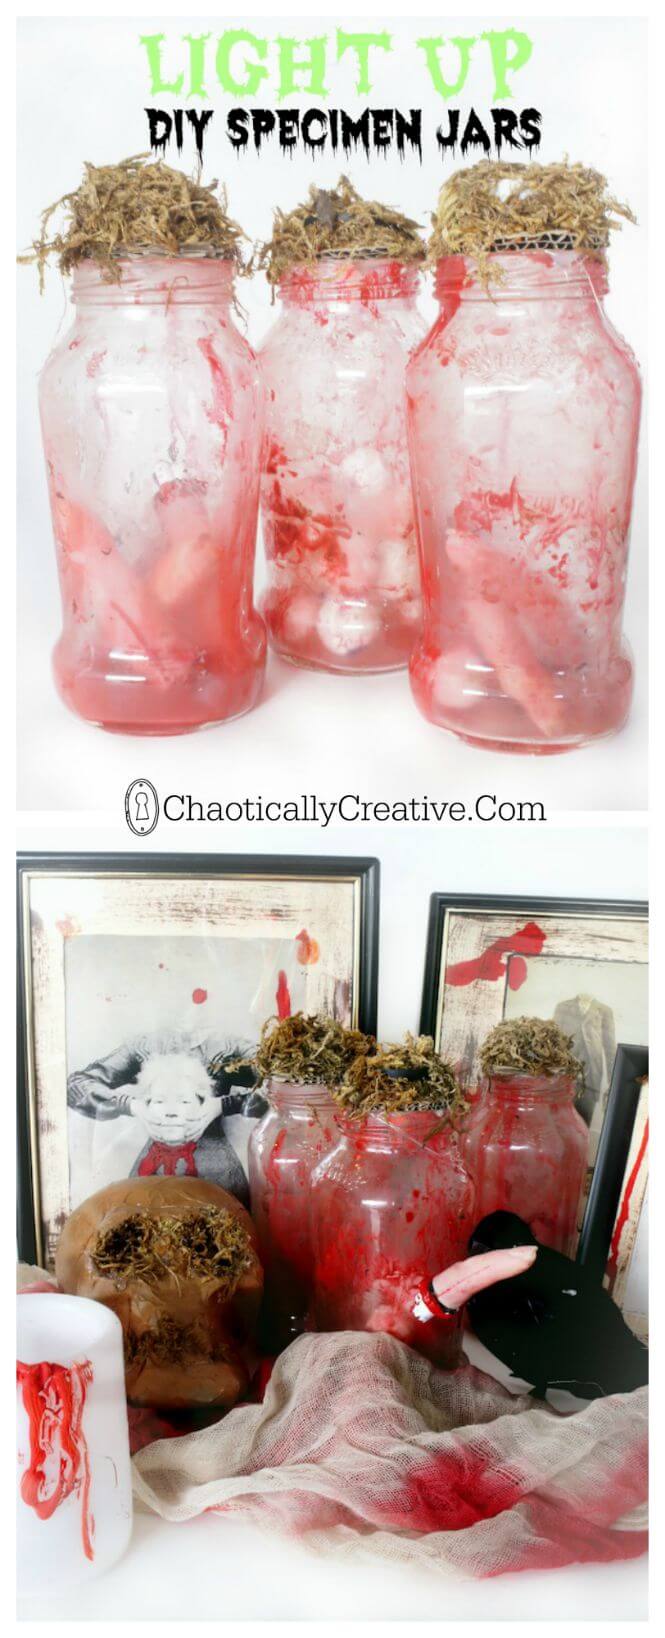
One of the easiest and one of my favorite props for the scary porch were my light up specimen jars.
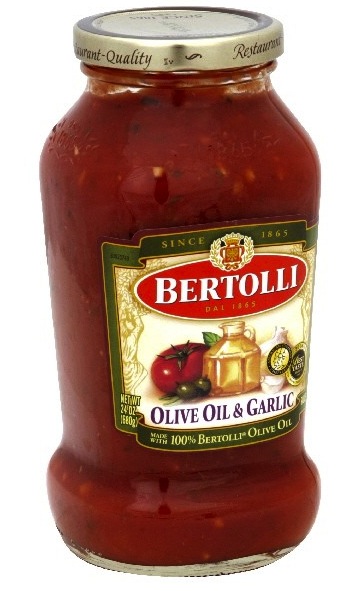
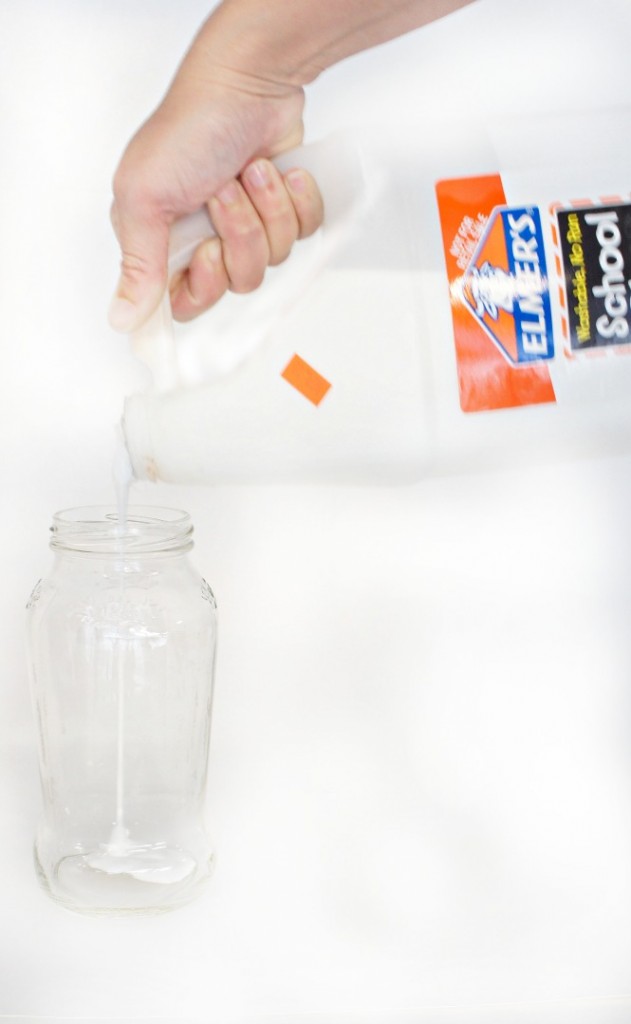
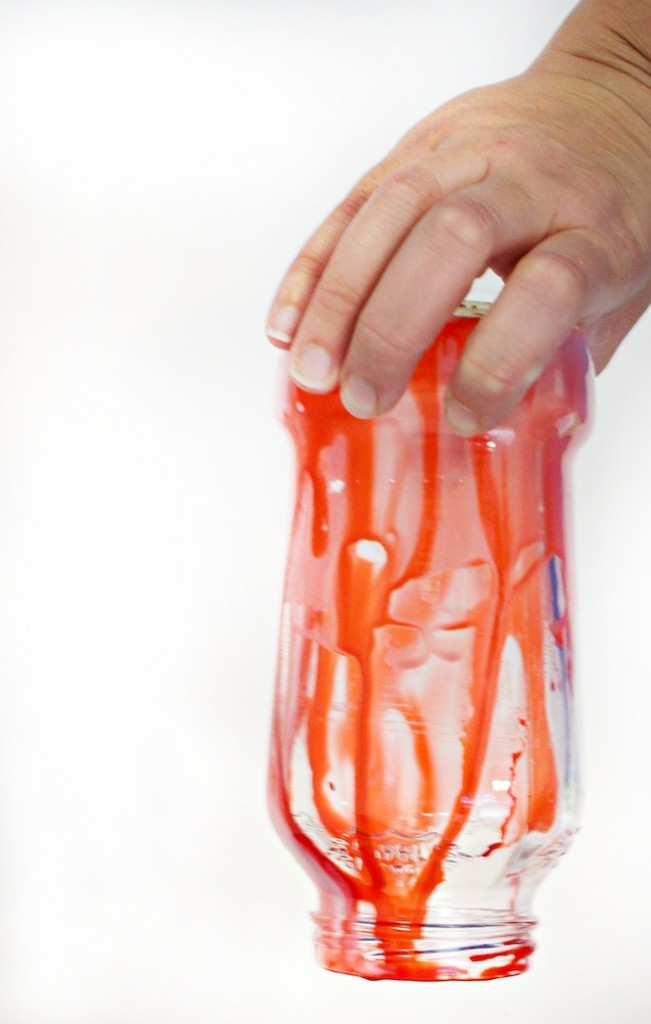
Take a spaghetti jar and pour some school glue in it. 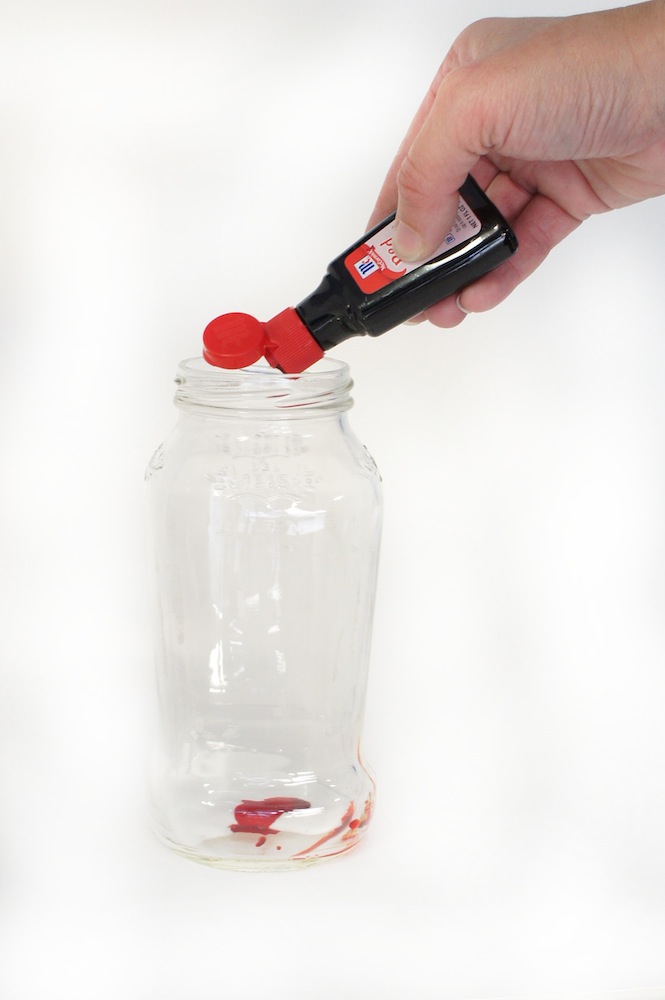
Next add some red food coloring and may have to add just a little water.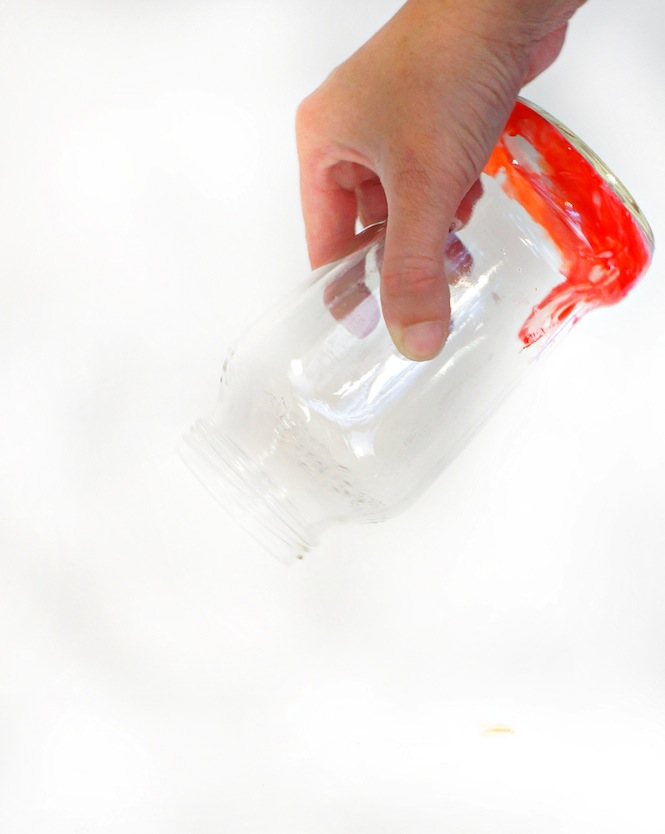
After you let it drip you can get a little creative and splatter some red die or brown and red craft paint in the jar for a blood splattered affect.
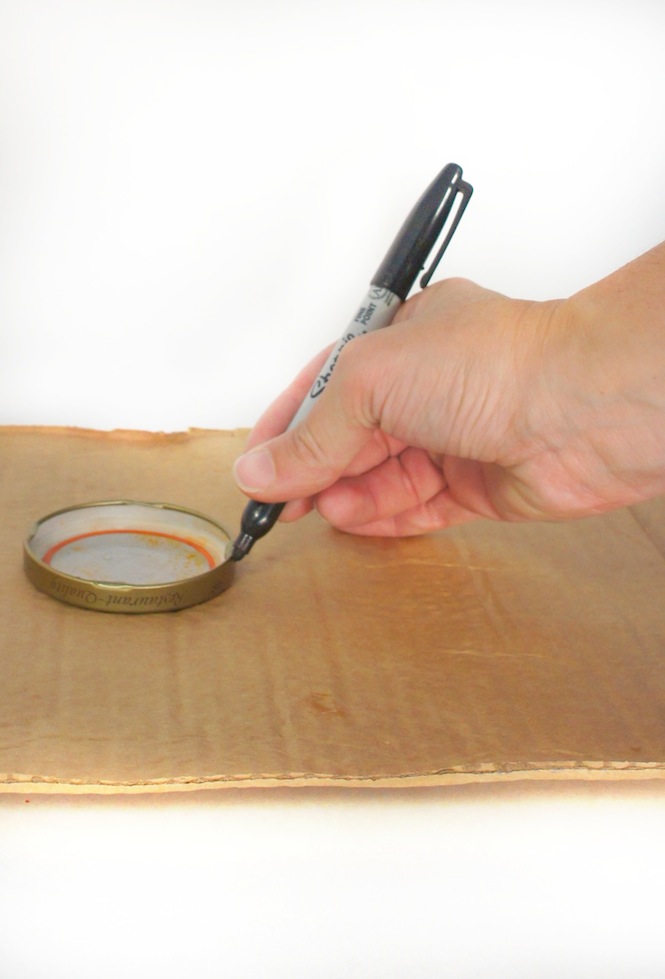
Next, use the lid as a template and trace a circle on the cardboard.
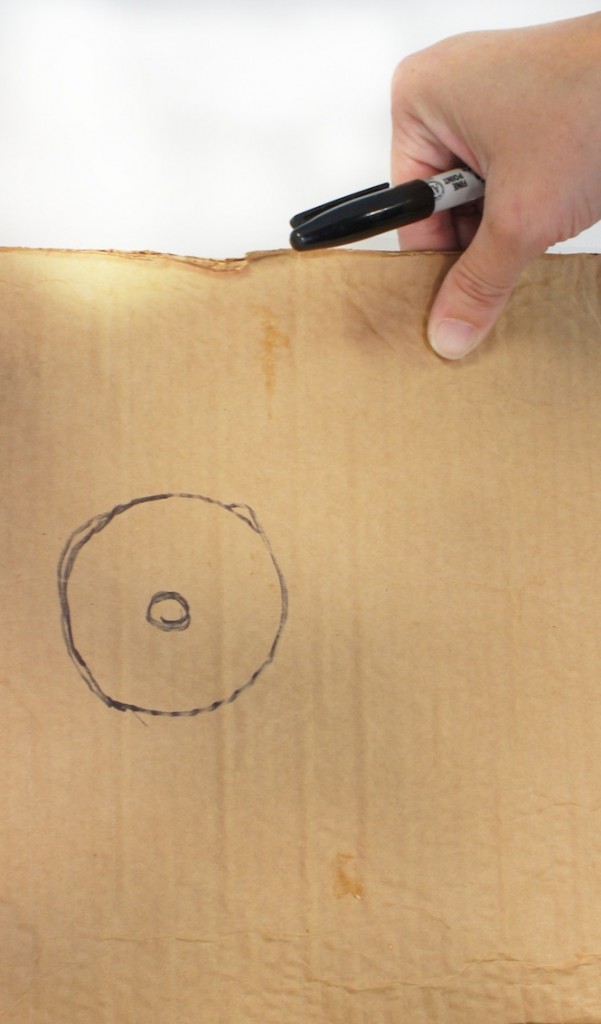
Then draw a much smaller circle in the middle.
Ok don’t even go there I know what it looks like….
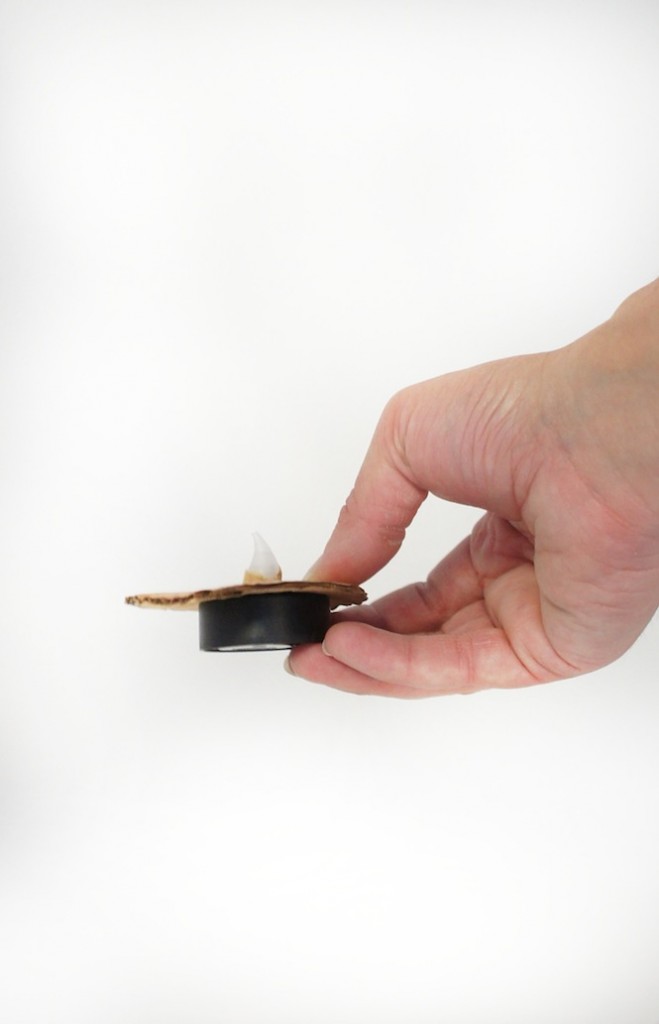
Now cut out the outer circle and poke a whole in the middle circle.
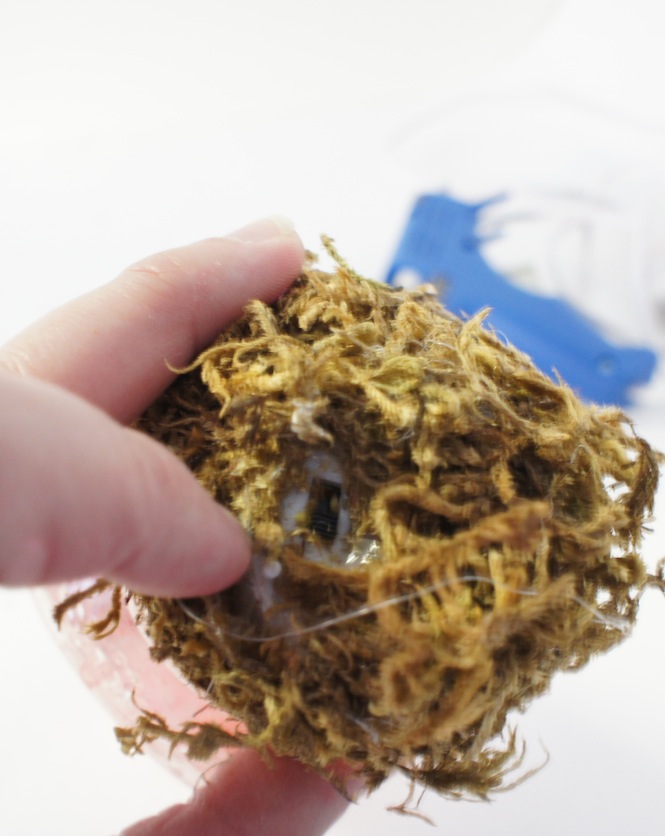
Take a battery operated tea light and shove it through the center hole.
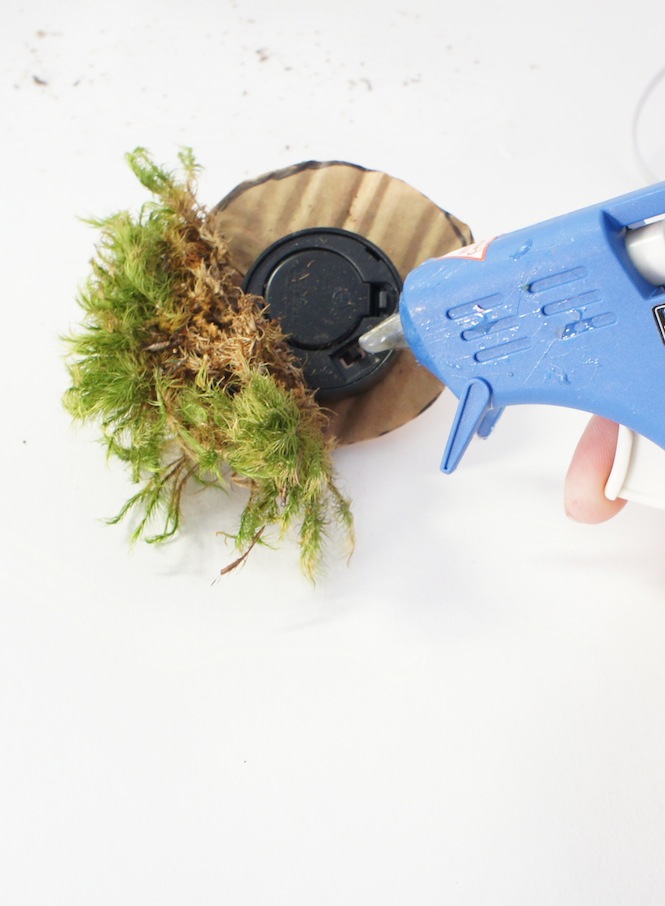
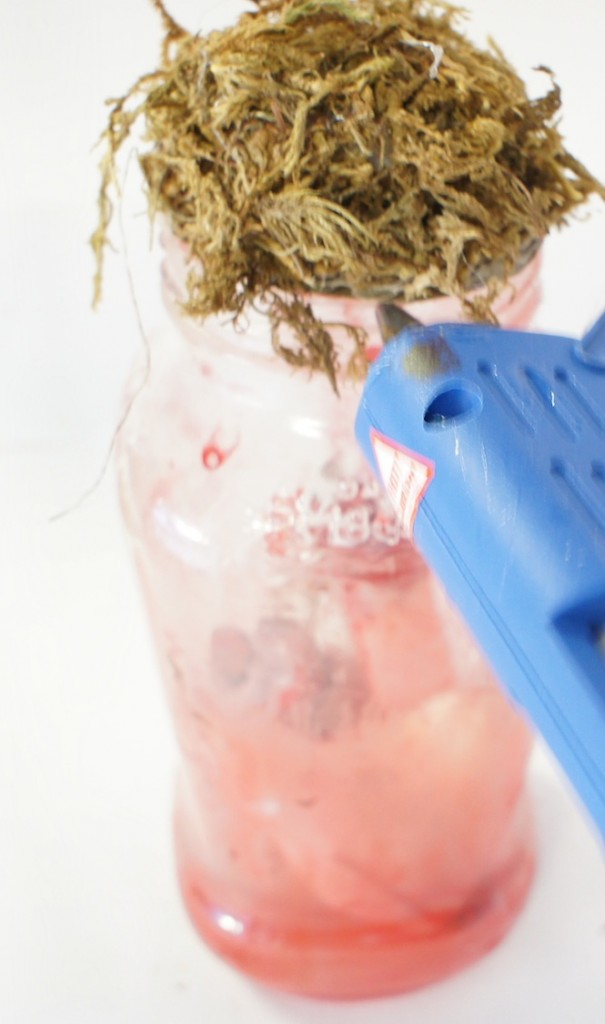
Use moss to generously cover the light and the cardboard. Don’t cover the on and off switch though.
Now add your plastic fingers or eyeballs (we used bouncy ball eyeballs).
Glue your lid on to the glass.
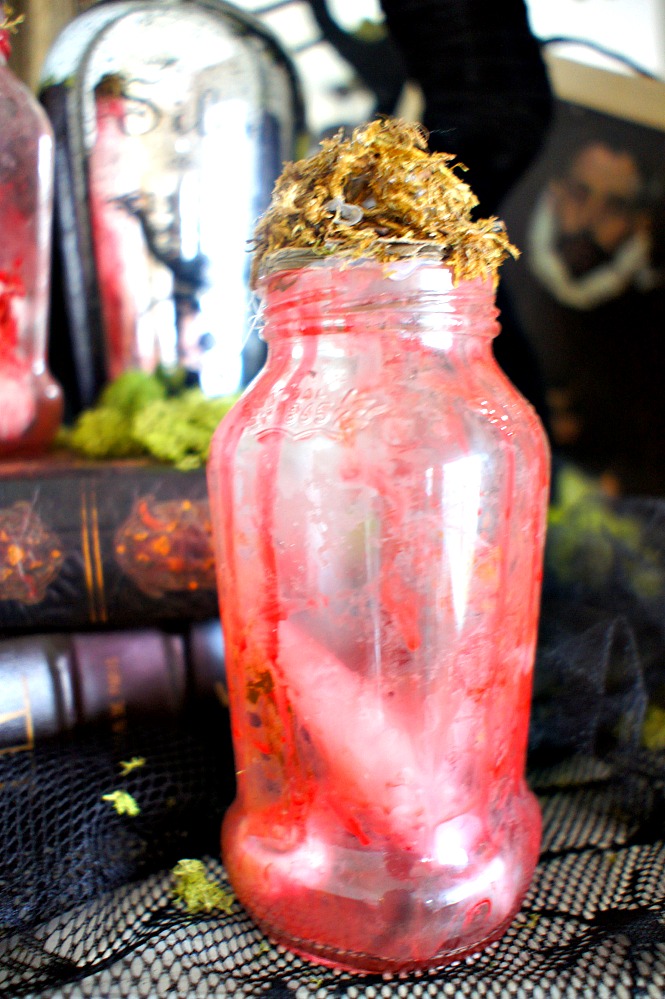
See how I left the switch uncovered. Now you can switch it on and off. And they are so awesome when they are lit up .
You can make several of these for very little money. Most of the supplies you can by at the dollar store.
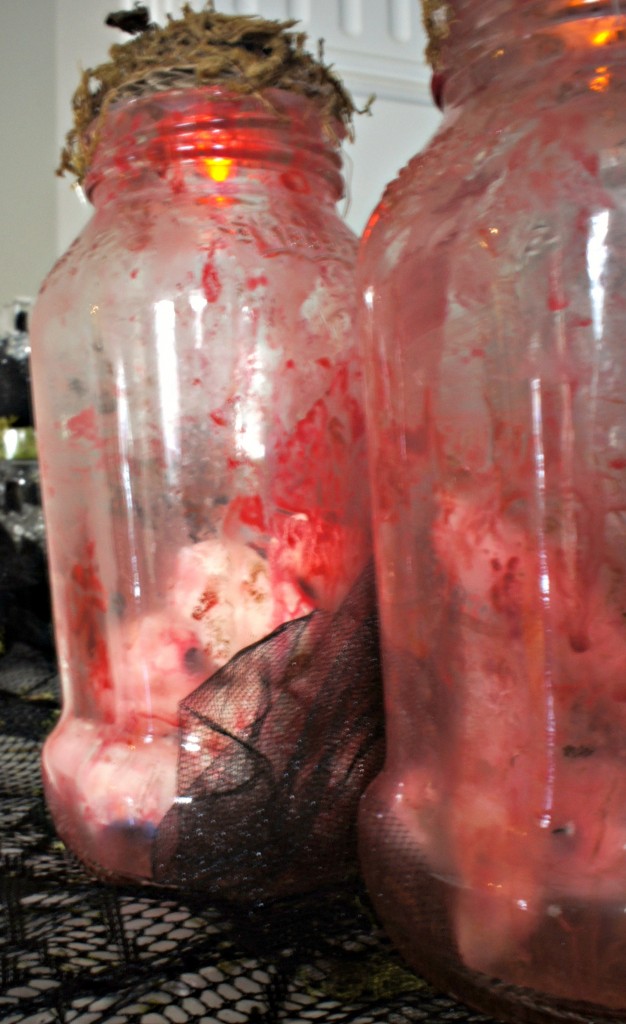 I personally think they are super realistic looking and my
 victims guests did too!
We save our spooky Halloween decor for Halloween night and place it on the porch. We use a big black tarp to section off the porch. I really try to be considerate of little ones because although scaring is fun we don’t want to seriously disturb younger kids.
I made these several years ago and they have held up very well. I hope you have fun making some of your own, let me know if you have any questions.
Here’s a list of Supplies from Amazon in case you can’t make it to the Dollar Tree: (affiliate links below)
Pin this idea for Later
PS Make sure you subscribe to our newsletter and get your free Fall Printable!
Oh Wow I love these!! And I already have the jars!! I would love it if you would link this up at my Halloween Linky, the link is on my sidebar. New Follower!
Kim
Thanks Kim. I added it on your link up as well!
I wish I could figure out how to pin this to my Halloween file! They are fantastic!