Growing up in a house with two creative parents my brothers and I were always encouraged to create things. We have always made age-appropriate materials available for our kids in our house and boy does Jude take full advantage of it. Jude will literally sit at the kitchen table for hours and write books, draw and paint.With all of this artwork, we found that we really needed an attractive Kid’s Artwork Display.
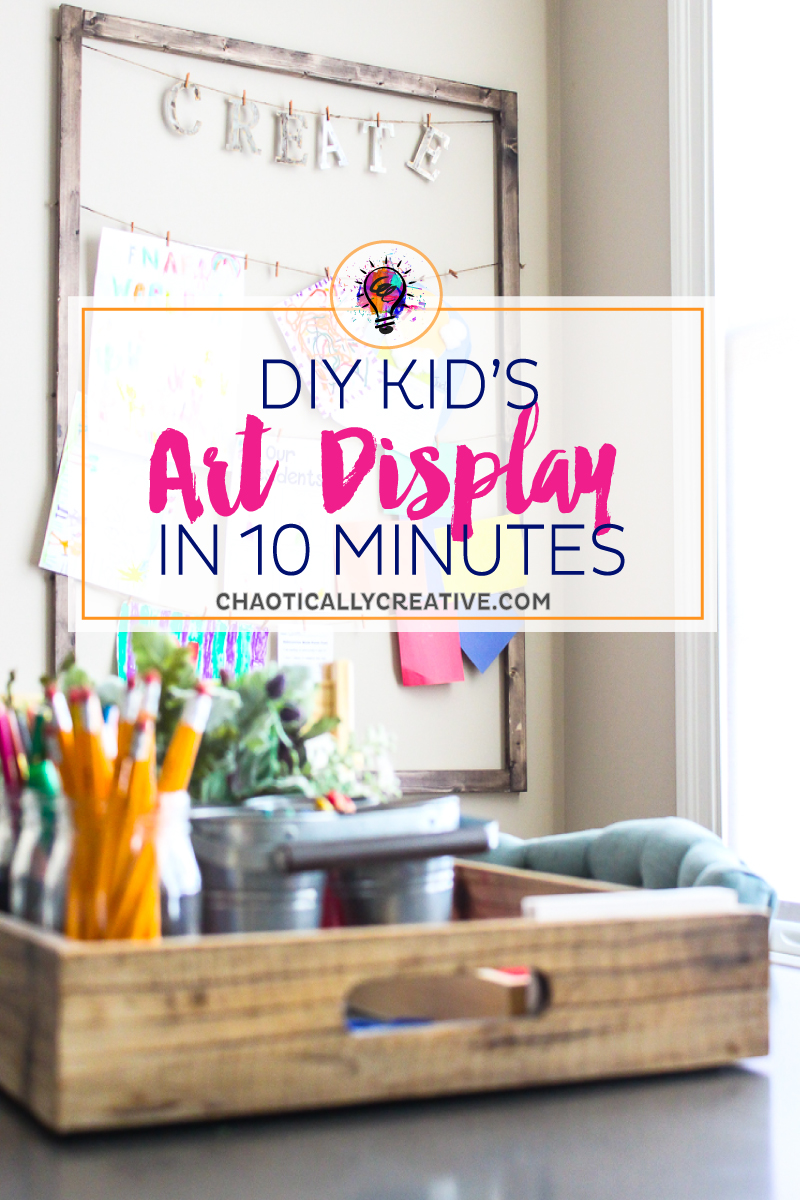
This Kid’s Art Display is one of the easiest and fastest projects I’ve ever built. It’s also really inexpensive to build and hold’s a lot of artwork. But I have to be totally transparent, I originally built this to be a Christmas card display but then decided I loved it so much that I wanted it to be on the wall year round.
Materials needed for DIY Kid’s Artwork Display
- Kreg Jig and Screws
- Drill Bit (1/4 inch)
- Wood
- Jute String
- Saw and Miter Box (I love this one and use it all the time)
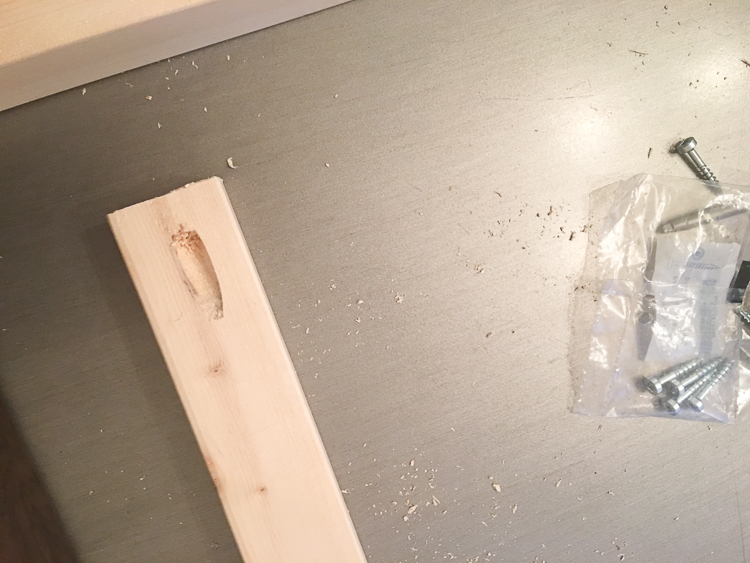
Saw your wood into 4 pieces into the size you want for your frame. You can make it as small or as big as you want but make sure the sides are the same length and the top and bottom are the same length.
Next, with your Kreg Jig create pocket holes on both ends of the top and bottom pieces you have cut.
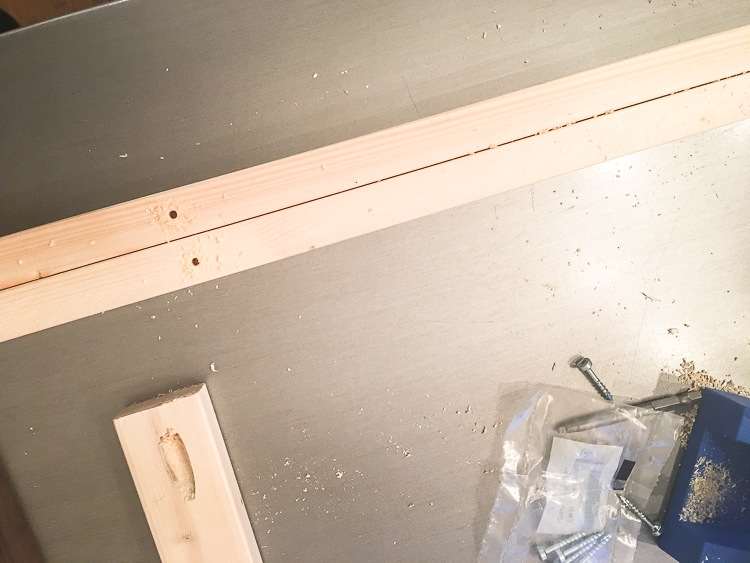
Next, take your drill bit and drill 4 holes on each of the side pieces. These holes are going to be what you pull the string through.
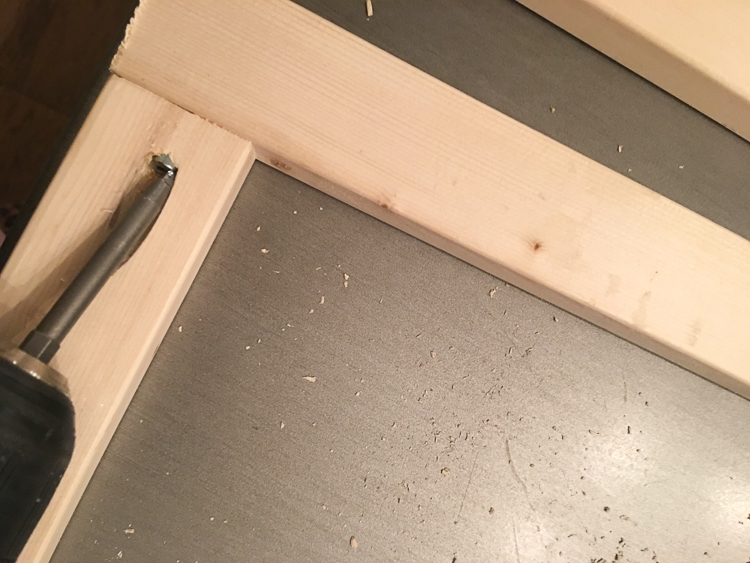
Flush the side piece of wood to the top piece and drill your screw in through the pocket hole. Repeat 3 more times until you have a rectangle frame.
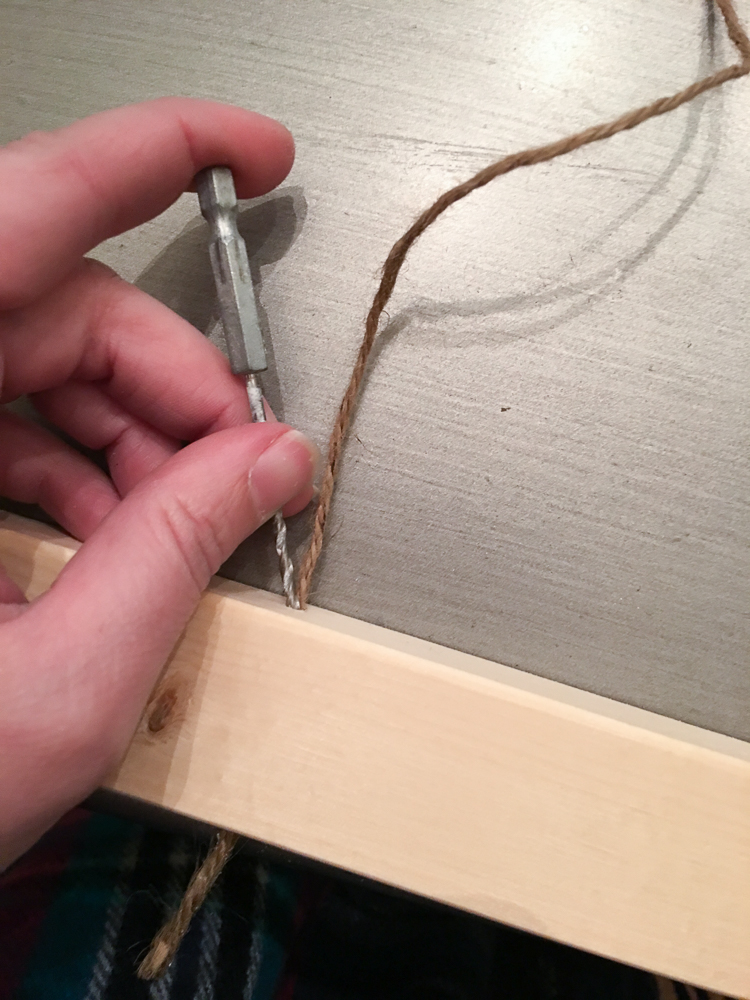
Lastly, push the jute through each hole and tie a knot at the end. Repeat this on each end for each row.
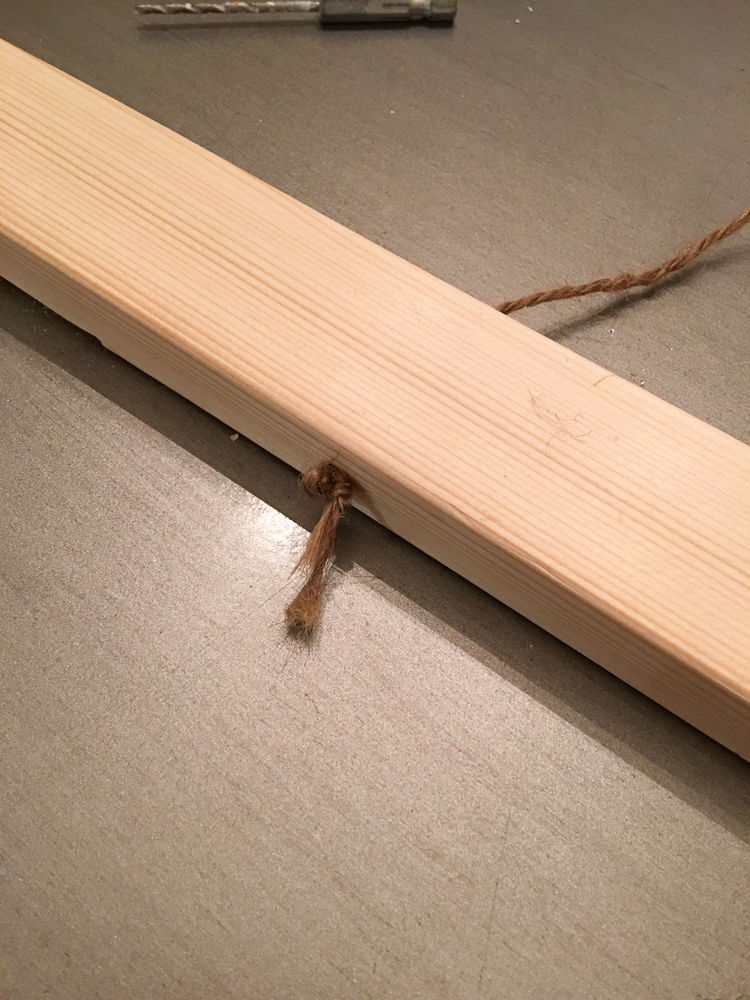
You may have to tie the not a few times so it doesn’t slip through the hole. Lastly, paint or stain your frame any color you would like.
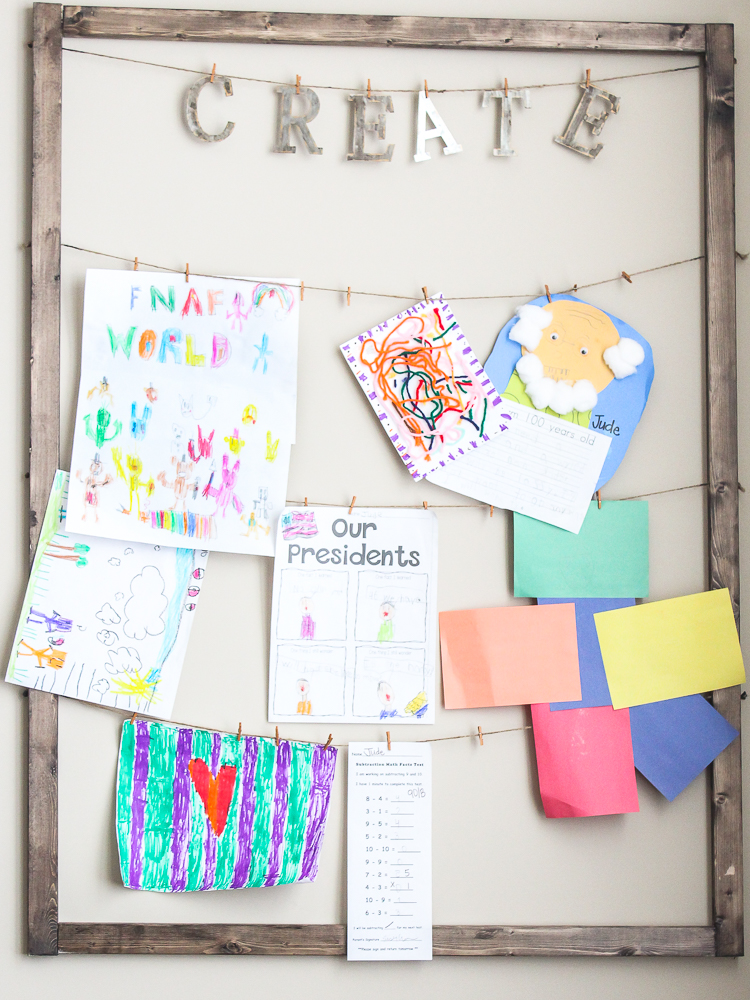
I used a small picture hanging brackets like these to hang the frame on the wall. We absolutely love how it turned out and Jude has no problem filling the “clotheslines” up with his awesome artwork.
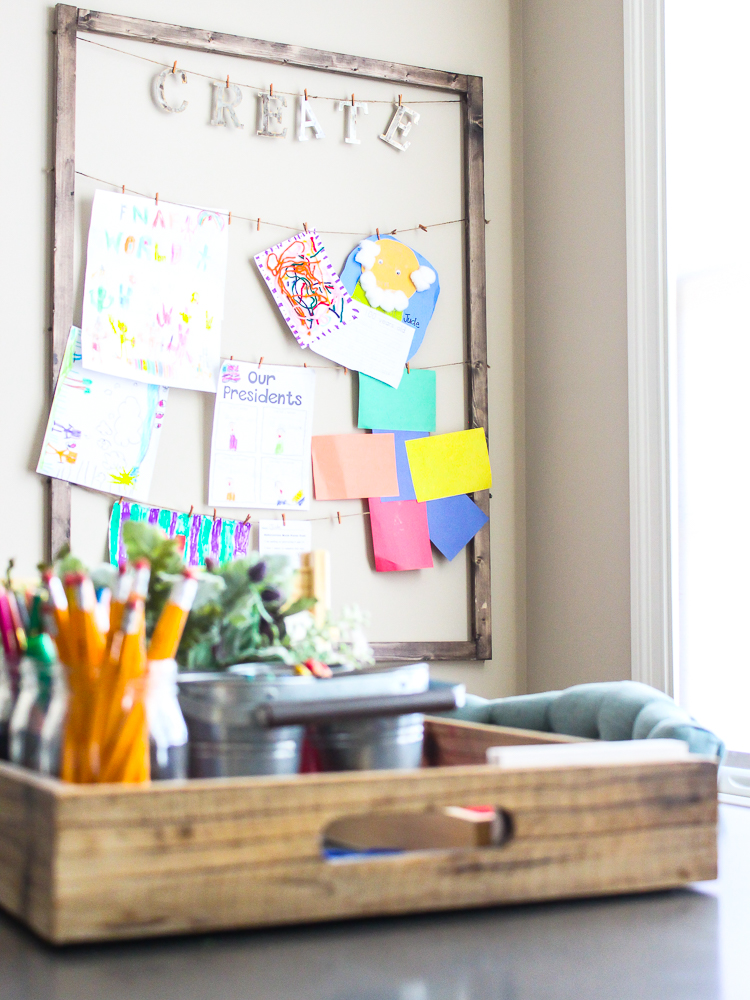
For the finishing touch, I wanted to carry some metal elements from the table and homework station to the frame. I found the light weight metal letters at my local craft store to spell out the word “create”.
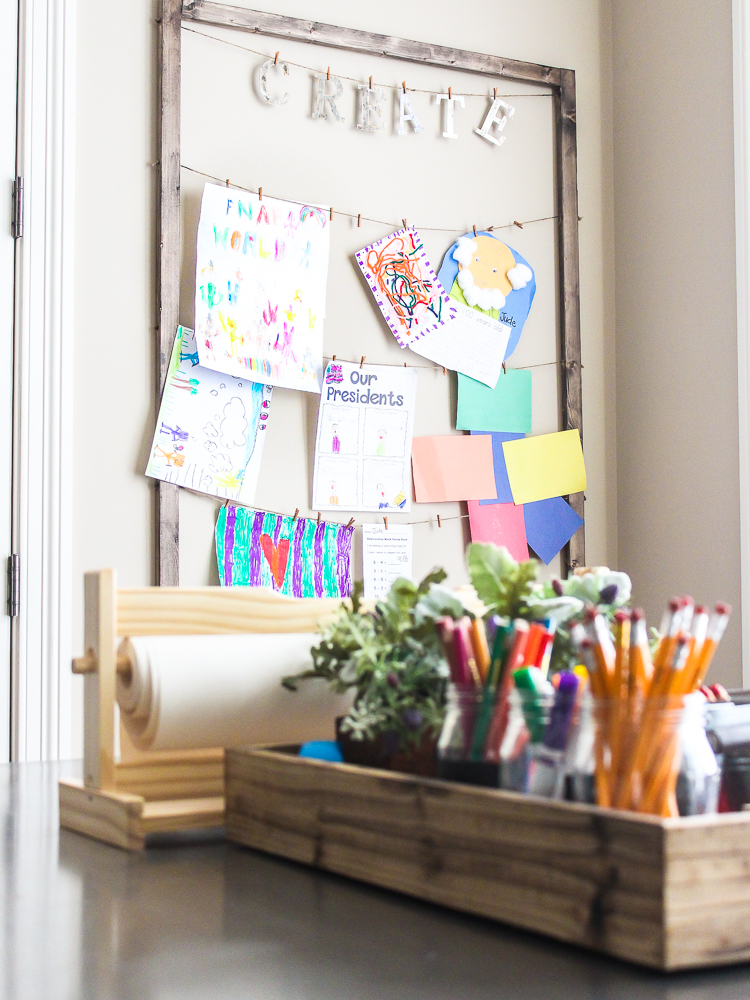
In our other house, we displayed artwork in a totally different way. I loved our artwork gallery wall but in this house, I’ve been a little more careful about putting holes in the walls.
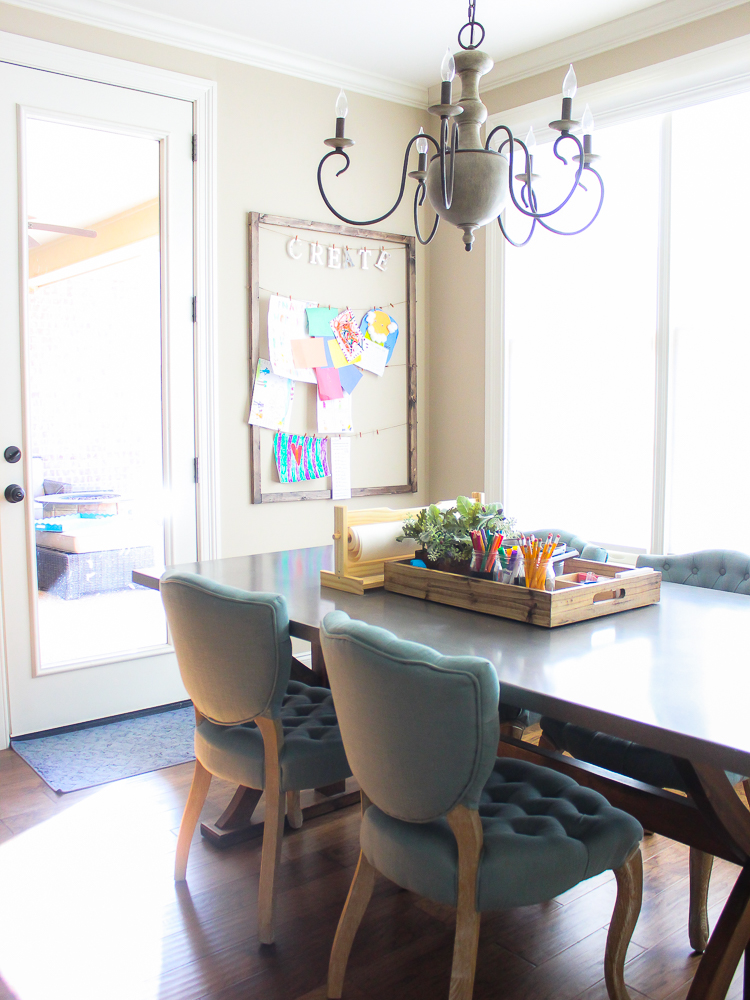
If you don’t have a dedicated space for your kids to freely create artwork I highly encourage you to carve out a little area even if it’s on the kitchen table! You may be surprised all the incredible things your children will create. And remember having materials accessible helps encourage your kids to practice their writing skills!
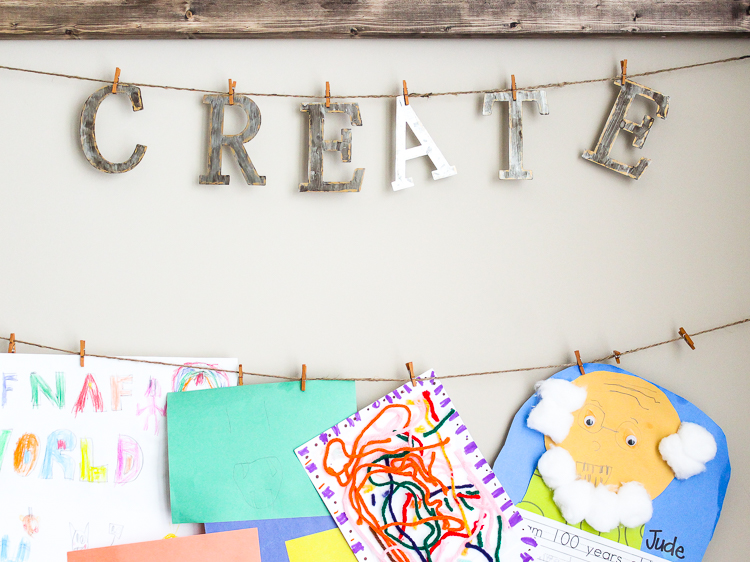
What do you think? Do you have a space for your kids to create? How are you displaying their art? Do you think this kid’s art display would work for your home?
Love those tiny clothes pins. Great Idea!
Oh thank you so much Barbara, and I completely forgot to mention, I found those little cuties at Michaels Craft store. They came in a rainbow of colors!