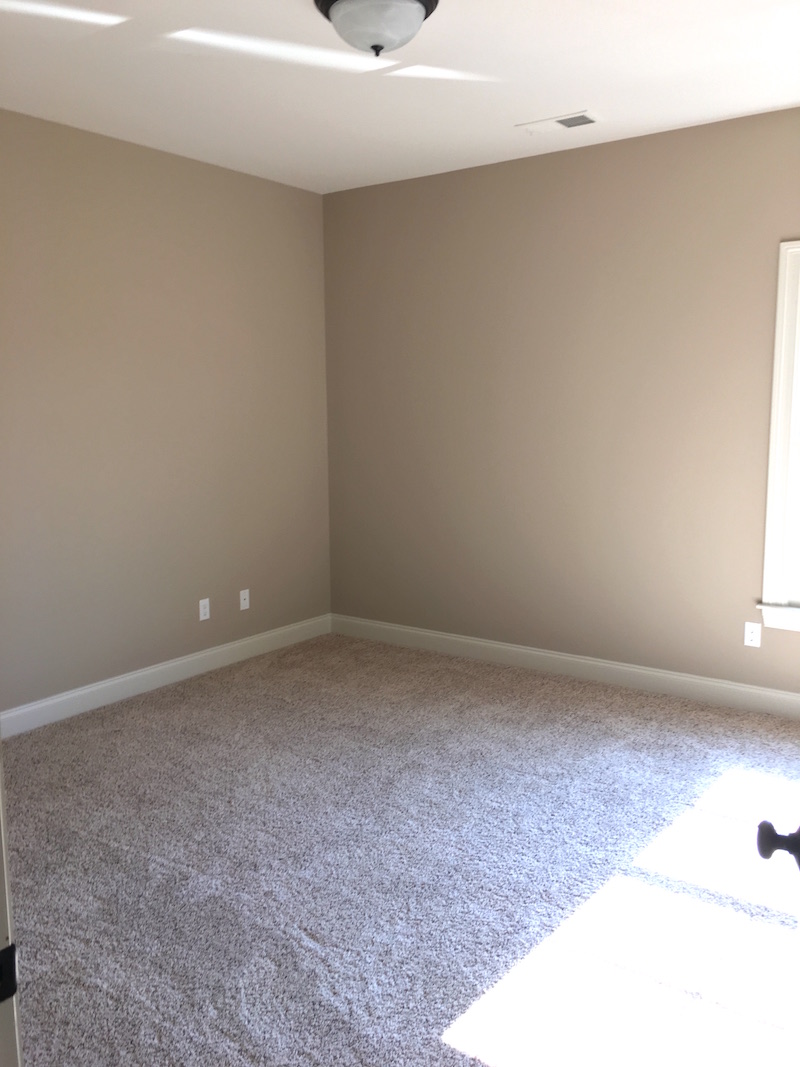
When we moved into our new house the kids quickly claimed their new rooms. Gavin waivered back and forth between the larger bedroom or the smaller one with an on suite bathroom. I know that at age 14 I would have chosen the room with the bathroom because after all, I spent most of my teen years sharing one with 4 brothers. However, Gavin, the low maintenance teen, opted for size instead of convenience. That being said, it’s challenging to have such a large space and make it feel warm and cozy. After searching for all sorts of ideas like a reclaimed basketball court floor to using pallet wood, I decided on pre-cut and stained planks from Home Depot. This choice seemed like the easiest and most affordable way to plank a wall. And you know what I think I made a good choice!
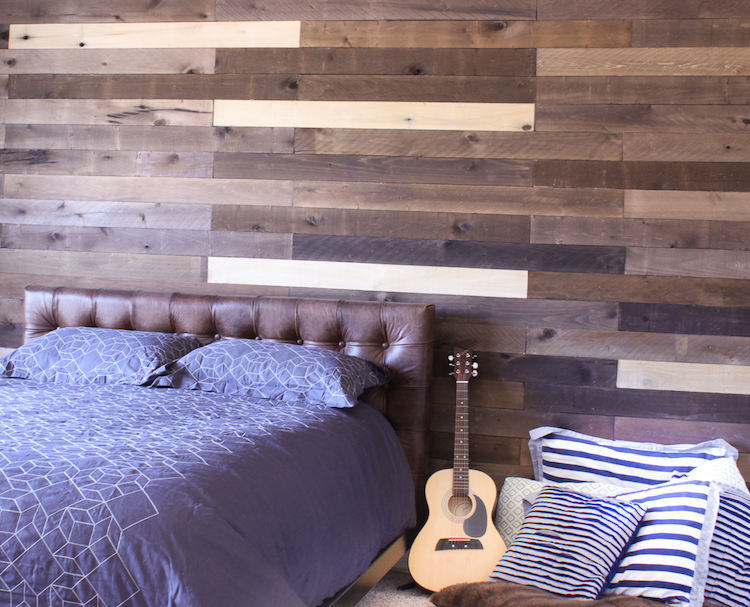
I know what you are thinking. I love texture and rustic charm but this looks expensive. I’ve got great news, it isn’t. This whole project can be done for under $350 and in less than 5 hours. Keep in mind the cost will vary depending on the tools you have and the size of your wall. Gavin’s wall is HUGE and we had to buy a few tools!
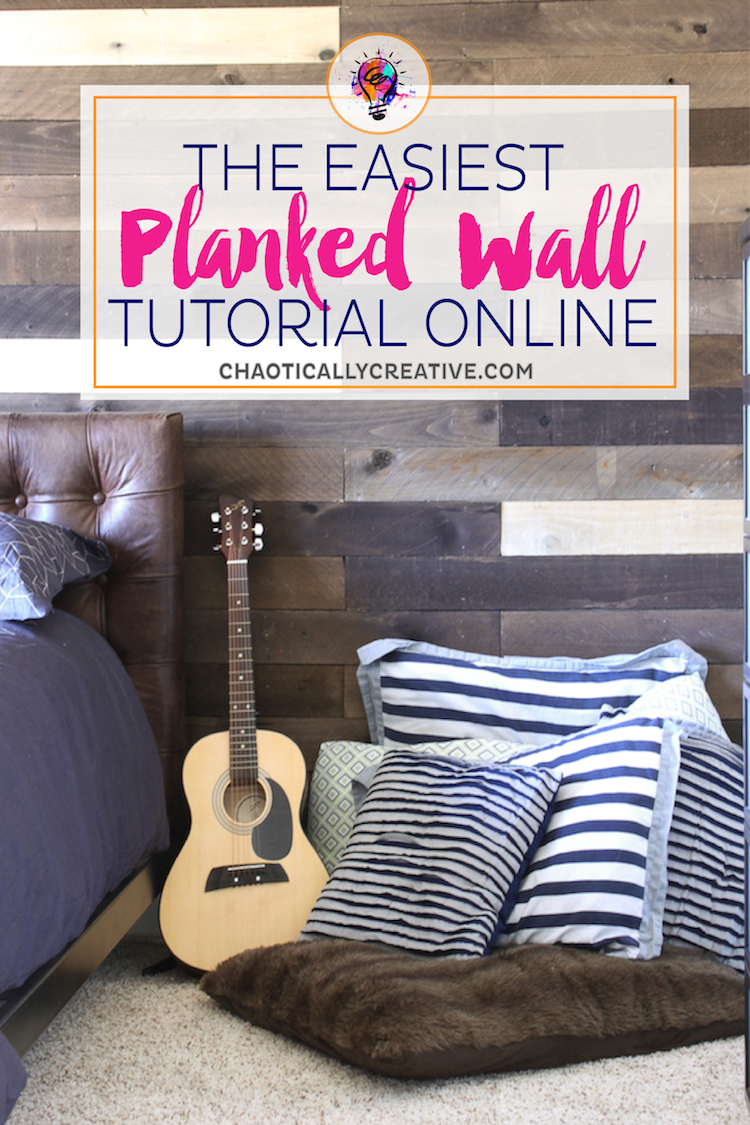
Tools Needed to Plank A Wall
- Stud Finder
- Level
- Pencil
- Large T-Square or Straight Edge
- Nail Gun
- Miter Box and Saw
- Weaber Hardwoods Weathered Wall Boards
How to Plank A Wall
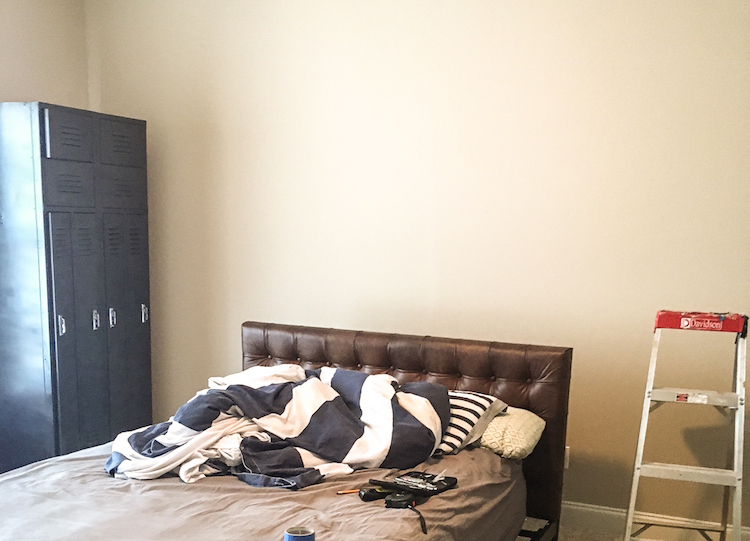
Step 1: Calculating the Amount of Materials Needed
- Measure the square footage of your wall by multiplying the height of the wall by the width.
- Each box of weathered wall boards covers 10.5 Square.
- Divide the square footage of your wall by 10.5 to find out how many boxes of weather wall boards you will need. For my wall which is 9 X14 or 126 square feet we needed 13 boxes. I bought 14 to have extra for mistakes.
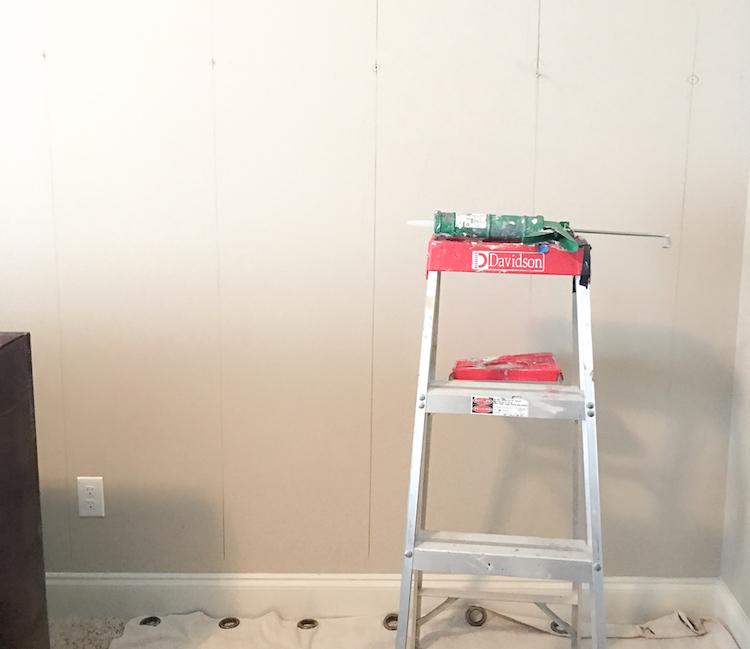
Step 2: Preparing Your Wall
- Using a stud finder, locate all of the studs in your wall and mark them with a pencil.
- Next, take a level and a straight edge and draw vertical lines where each stud is located. This helps with making sure you are staying level and that you are nailing into studs.
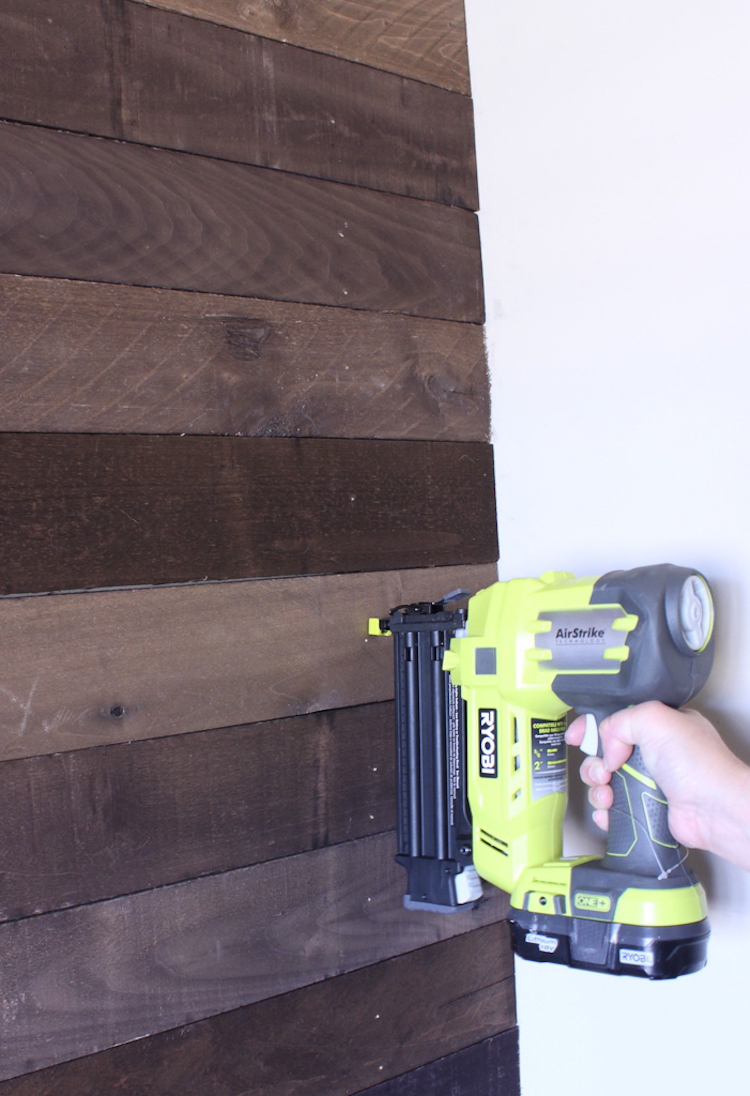
Step 3: Securing the Boards to the Wall
- Using a nail gun, secure boards to the wall on the studs, starting at the top of the wall. Work your way to the left or right, not up and down.
- Make sure you get the top row completely level or else it will throw the rest of the rows off.
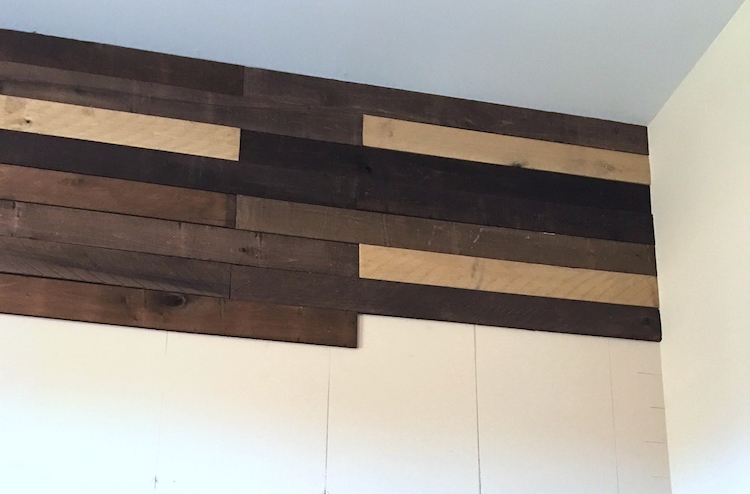
Step 4: Cut End Pieces
- In order to create a simple pattern we choose to cut the first board in every other row in half.
- You will also need to cut boards when you end a row.
- Use a miter box and saw to easily cut boards to achieve the look you want.
- After you make your cut you can nail it to the studs.
I would not suggest pre-cutting any boards. Cut them as you are ready to hang to prevent mistakes.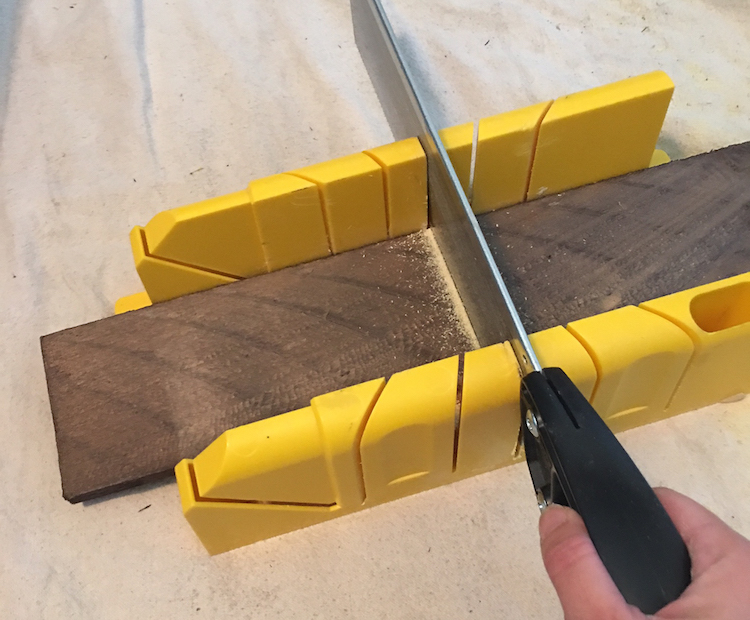
Step 5: Cut the Last Row
- When you get to the very last row it is possible you may need to cut your boards to fit. We were fortunate that no cuts were needed.
- Determine the amount needed to cut off.
- I would use a table saw with a guide to cut off the excess amount.
- Mount to wall with nail gun.
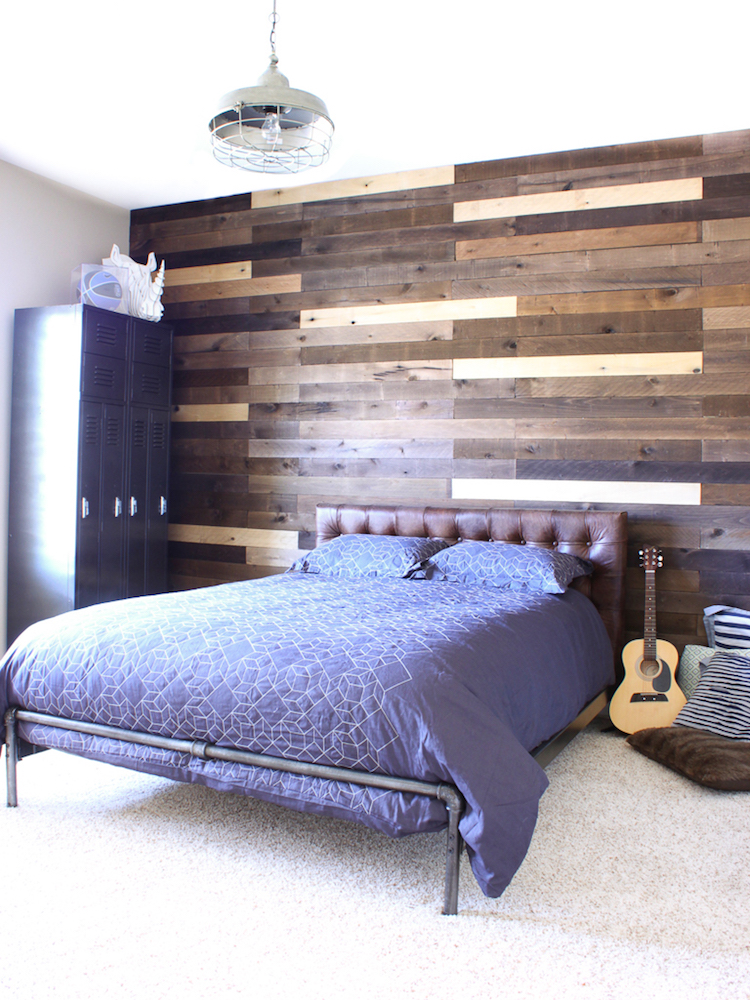
Step 6: Clean up and Decorate
I know this last step seems a little obvious but I sometimes have the tendency to skip it. Then when it’s time for a new project I can’t get started because I don’t know where my tools are. (check out this tool storage my Mom created in her closet) My Grandad was just like this… that’s why he ended up with 52 hammers. He’d just buy a new one when he couldn’t find the old one.
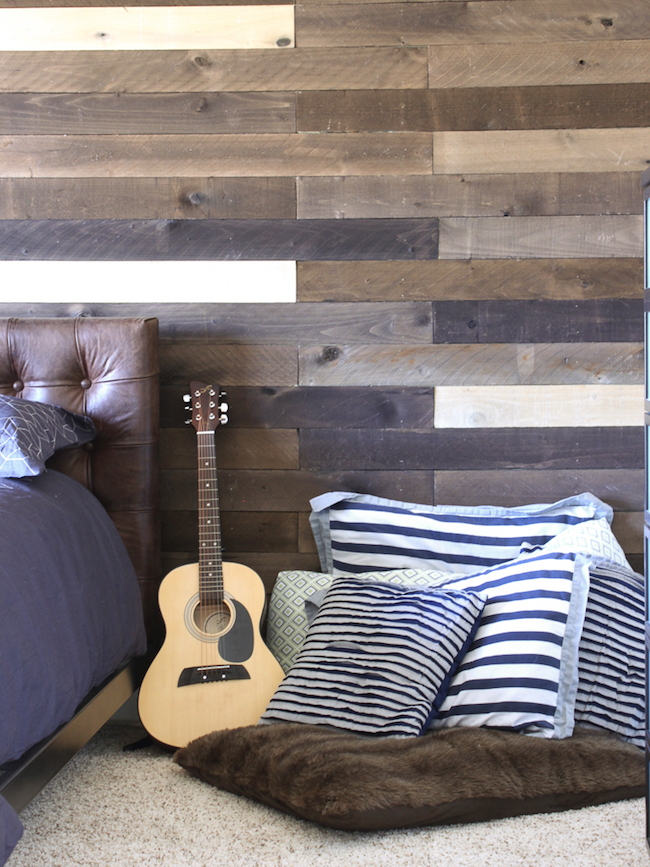
In order to move to another project it’s important to see your current one all the way through to the end.
- Make sure you clean up all of your tools and return them to the proper places. Here’s a great storage system for tools.
- Save any scrap wood for other projects. I have plans for mine! (see how I used them here)
- Vacuum sawdust and any other debris.
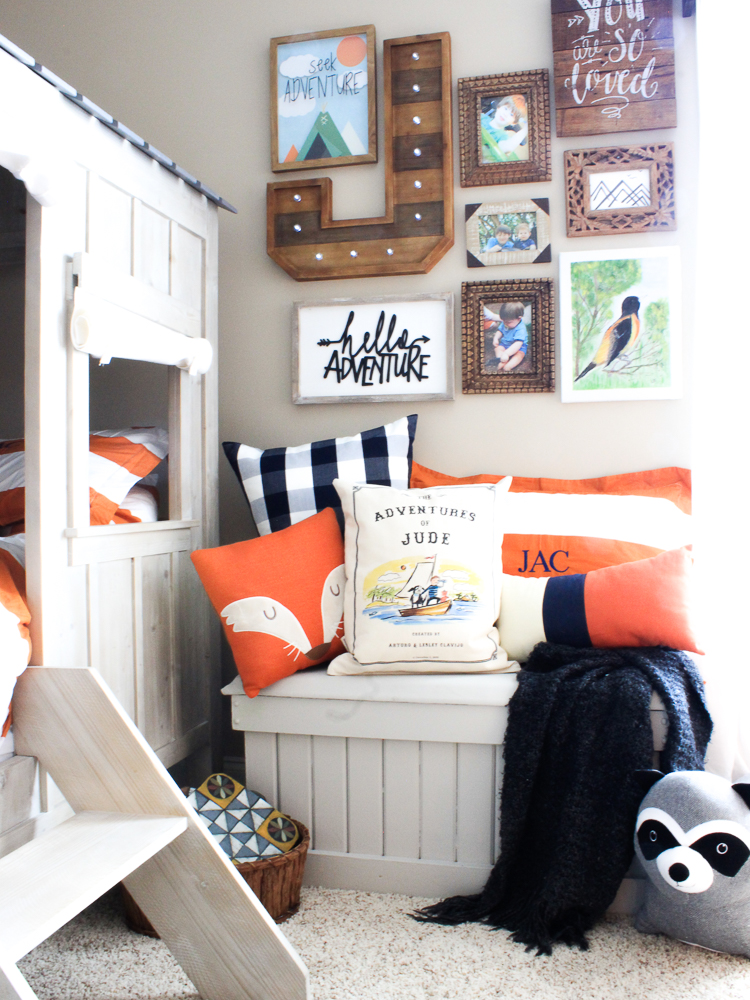
- Have fun decorating by adding other personal touches!

Want more Ideas >>> Click Around!
