I have to start by saying stomach viruses are bad… very bad. It’s one of the only things that can take me out completely! After several days of nursing Jude’s stomach virus I seemed to have caught it. As you can imagine I haven’t accomplished much at all, other than cleaning up vomit and sanitizing the house.
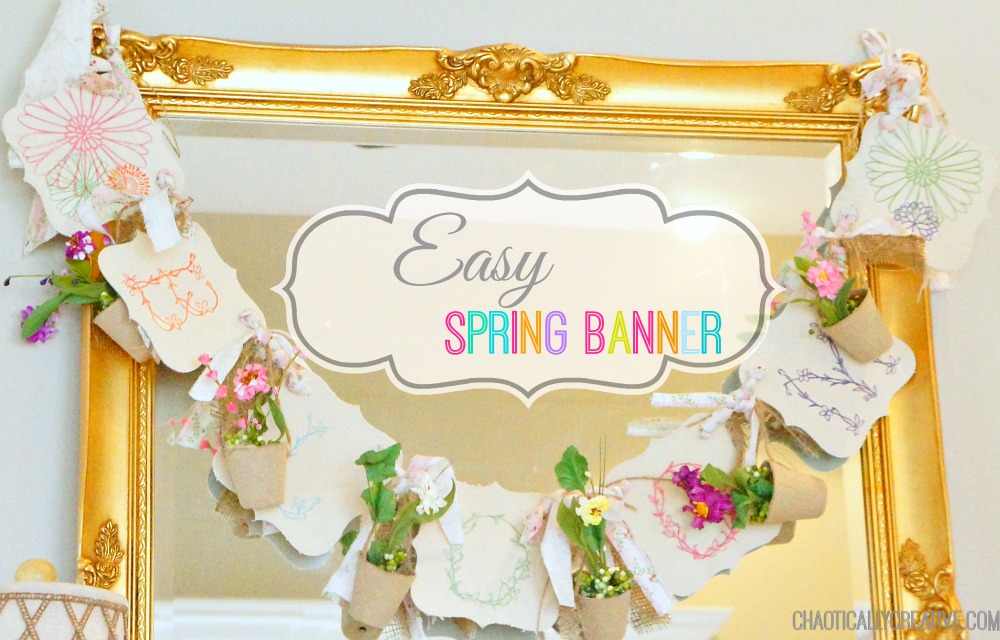
Before all the icky, yucky virus hit I did start on this super Easy Spring Banner. I wanted to show you how to make it because really… it’s just so easy.
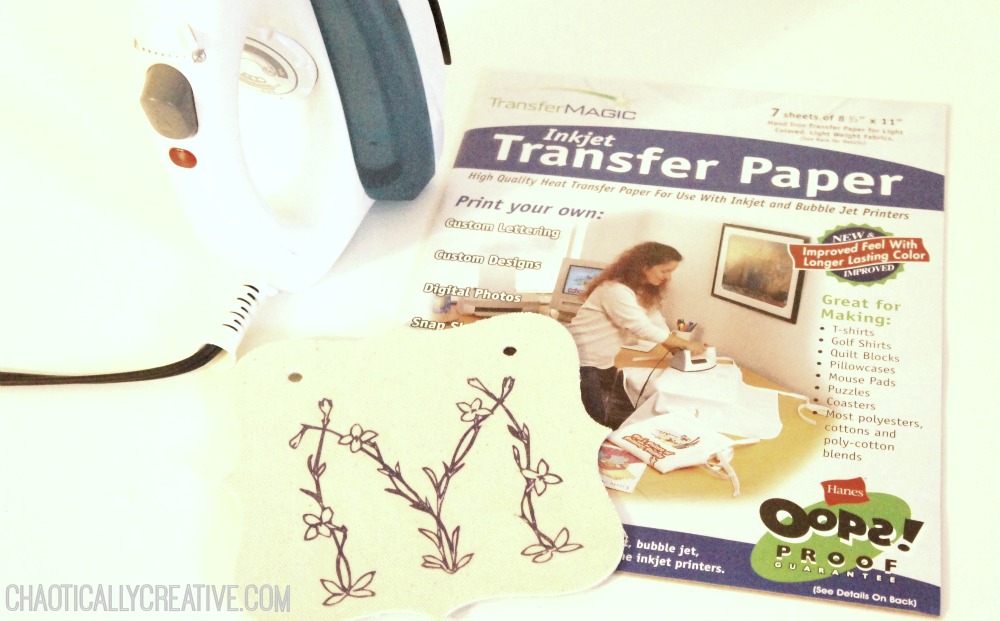
Items needed for Easy Spring Banner
- Iron On Transfer Paper for your specific printer
- Labels made out of canvas like mine (bought at Michaels)
- Scissors
- Iron
- Scraps of fabric and burlap
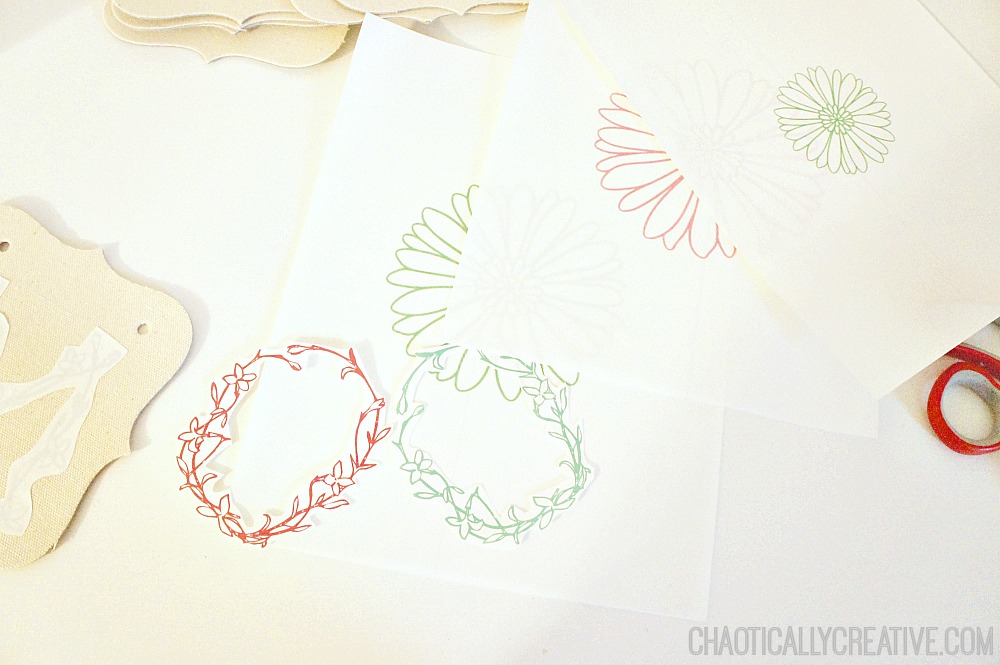
How to make an Easy Spring Banner
- Now in your PowerPoint or Keynote for Mac start creating your letters. You can download a font like I used here for free.
- Once you have created all of your letters and saved them on to your desktop as a png or jpeg.. open one up at a time and then click on tools. Next you want to flip them horizontally and save them.
- Double check that you have flipped your images correctly before printing. Why? … Because you want the mirror image so when you flip them over to iron them down they are facing the right way. I always forget this part and end up re-printing… all except the O’s and M.
- Print your letters on to your paper making sure you have inserted the paper correctly in to the printer. There is only one right side to print on.
- Next, cut out your letters and images. Try to trim close to the image or letter. The less paper the better your transfer will look.
- Lastly, with a medium to hot iron firmly press and rub the letter on. Let it cool for just a minute and then peel back a little.
- Using scraps of paper or ribbons tie your banner together.
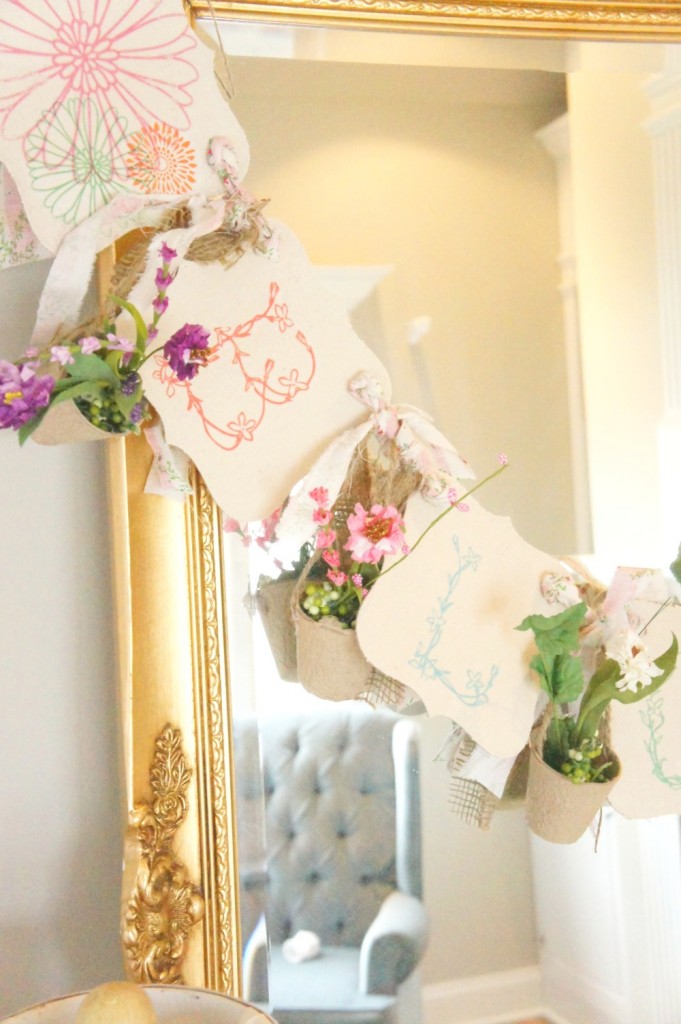
- Add faux seedling pots to each ribbon.
NOTE: If all of the image or letter transfers then you are ready to remove all of the backing. If it did not transfer you will need to apply more heat.
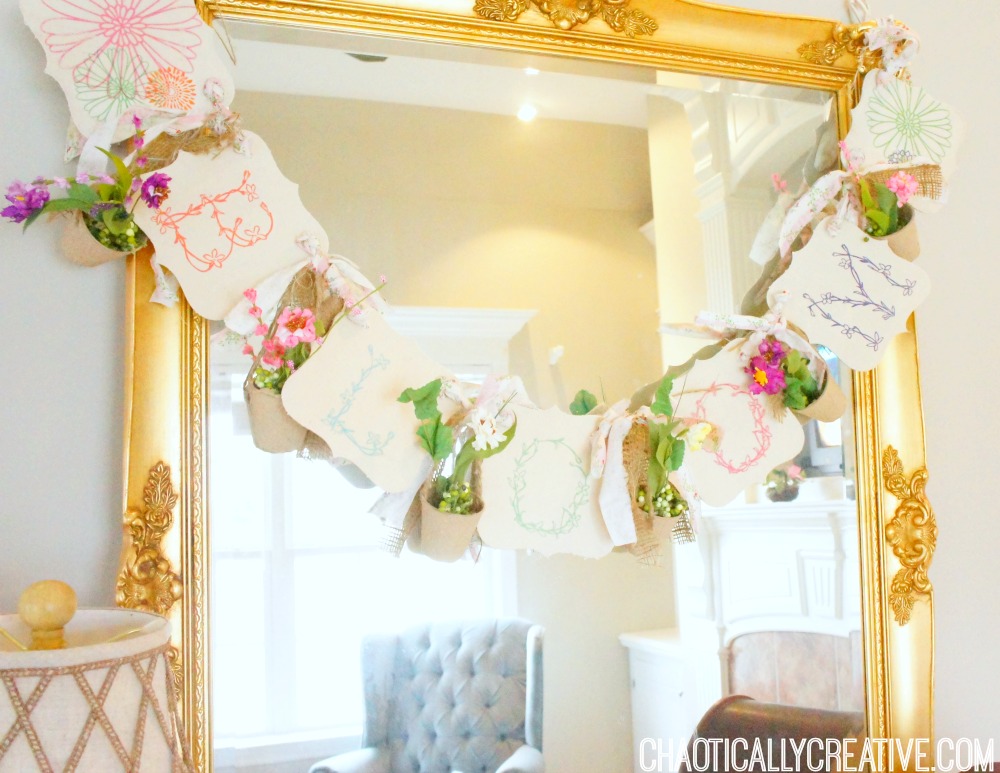
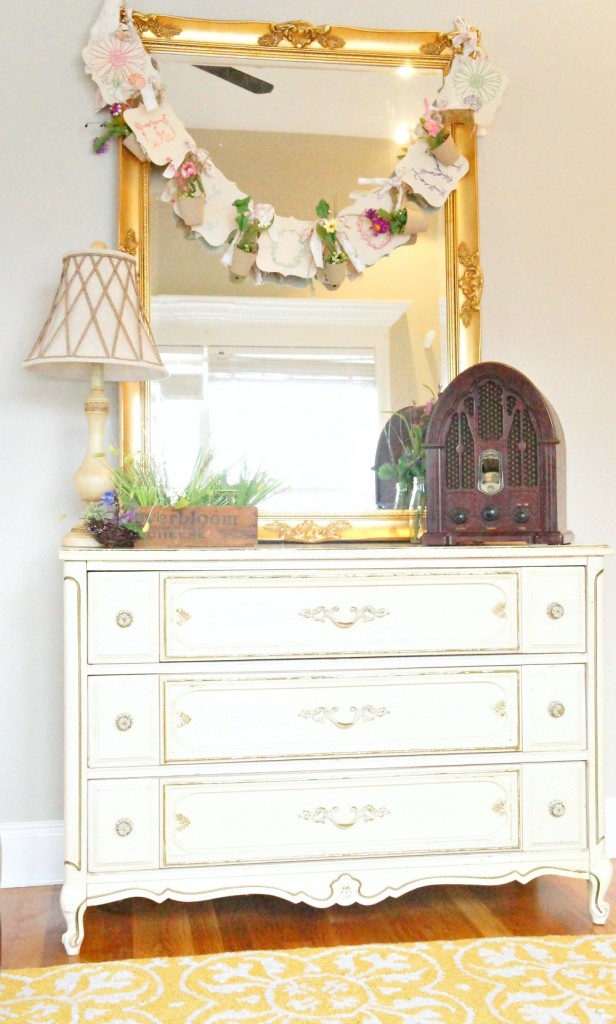
I tied my banner together with vintage fabric scraps and strips of burlap but you can use anything you like. Re-using and Re-cycling is key to budget friendly seasonal decor.
The little faux flower seed pods were left from our spring tree last year. It’s always fun to get out the old seasonal decor and find new uses for it all. See how to make those here.
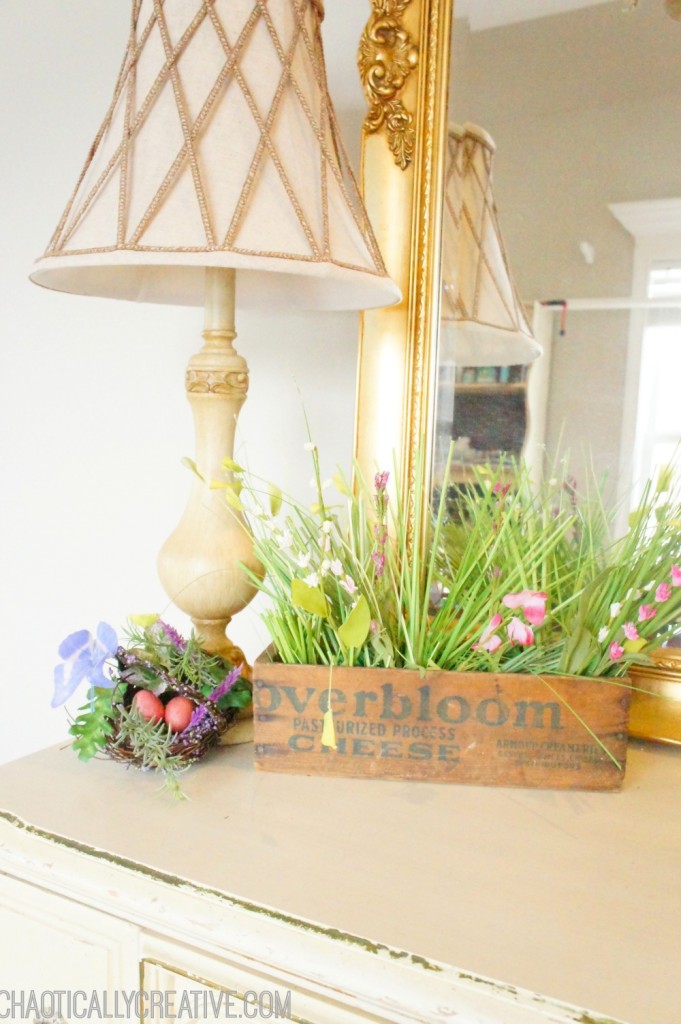
I just love it when things just seem to work out. It was a total coinky dink that the word “bloom” was on the little wooden box I decided to use. Nothing like carry the theme all the way around, right?
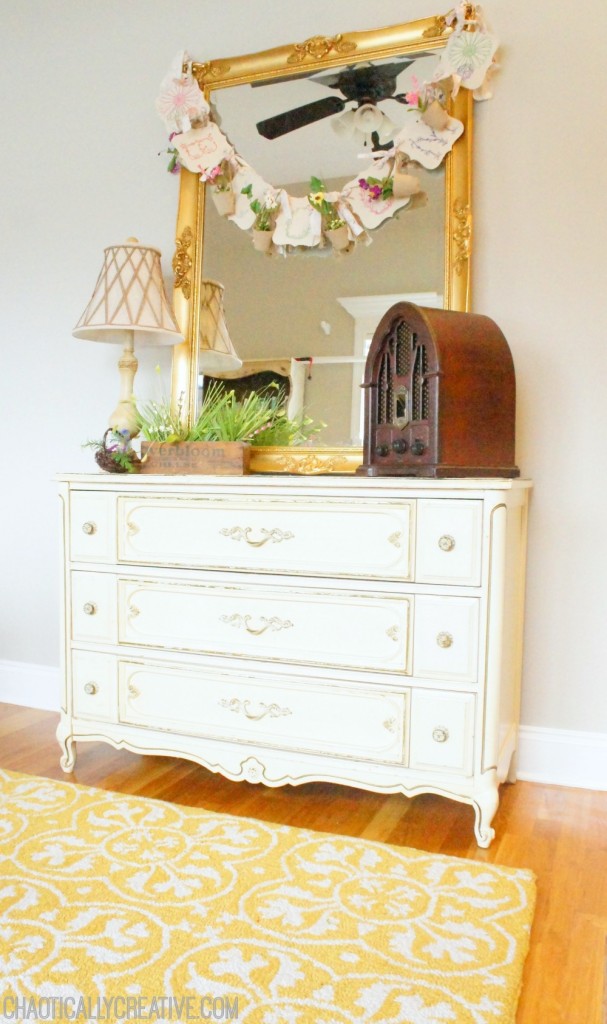
This whole set-up was free. I used all materials that I had in my home and in my craft collection (which is tiny, don’t get jealous.. it’s really quite pitiful…I wouldn’t even call it a collection)
The combination of these few little spring touches and our new area rug from Target just really get me in the mood for warmer weather.
The new paint in our room, Revere Pewter by Benjamin Moore, is so calming and very easy to decorate with. It provides an amazingly neutral backdrop.
We are ready for Spring and we are feeling much better now! Bye Bye nasty stomach Virus!
The only thing left to do is join Jude in his little happy dance. Bring on the warm weather!!!
Who else is ready for Spring?
What are you doing to decorate your home?
Do you re-cycle old decor in to something new?

Can you help me when I try to save a letter it copies the whole page what am I doing wrong?
Love this… by the way
Judy, I’m sorry I’m not sure what you are asking. Are you trying to install the font that I used? Explain to me a little further what’s going on. So I can walk you through it. Also tell me what kind of computer you are on. Thanks Lesley
What the cute! This is totally my next project! except I will probably be making one for fall instead of spring.