We moved to a suburb of Nashville back in August which brought us closer to my Mom. I am very lucky for this because now she is only 2 hours away instead of four. Last week I was feeling a little overwhelmed so it was time for Mom to come out and visit. All I had to do was pick up the phone and she packed up the car and she was out here. It was great to have her here for a couple of days. The boys love spending time with her and we were able to discuss some blog business and work on some projects including this Easy Distressing Paint Technique.
I was so glad to have an extra pair of creative hands to help me get ahead on my back entryway renovation. I know what your thinking how complicated is a stinking back entryway. Well, everything at my house seems to take forever. Especially when you have to stop every 5 seconds to change a diaper, let a cat in to walk through the house to go into the garage, get a sippy cup, go to the bathroom, answer the phone, you guys get the point. I know you can all relate in some sense, we all have chaotic lives. So back to my point…. although this project has been drama free, unlike my laundry room, every project in my house takes forever.
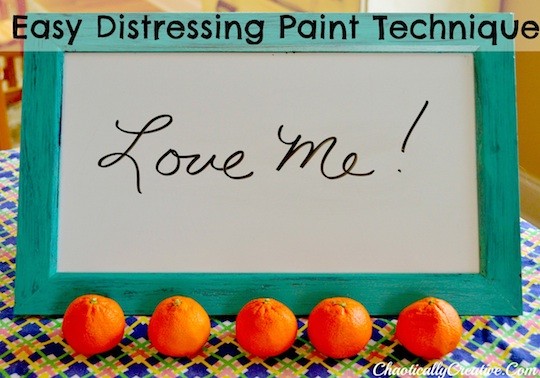
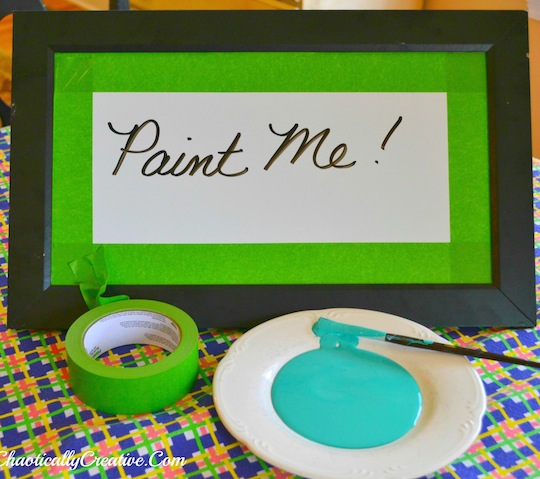
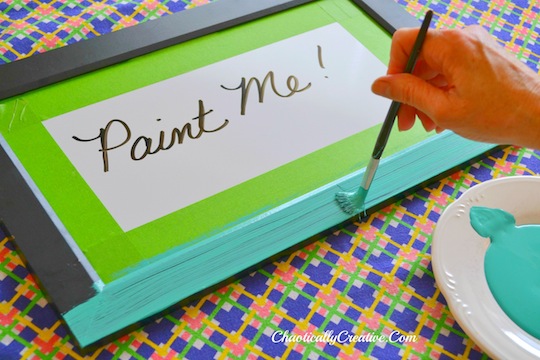
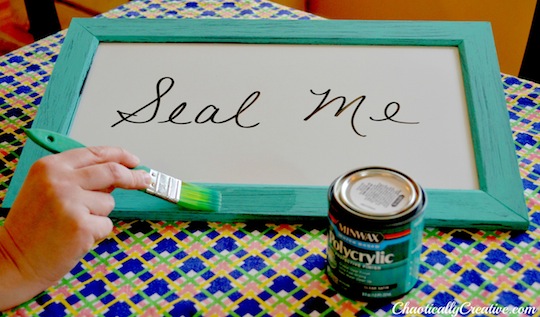
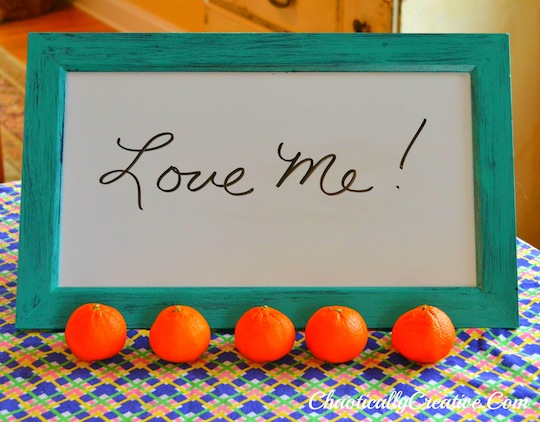
With my Mom here as reinforcement I asked her to take on the task of repainting my wipe-off calendars, bulletin board, and memo board. All of these were all originally framed in black but against the new chalkboard wall they will just blend in. I wanted to paint them an accent color that would really pop. Mom found that by simply taking some craft paint that I mixed up (sorry guys it was a combo of three different colors) and dragging it slowly across the frame it created a distressed look. She then sealed it. When she sealed the paint it removed too much of the teal paint, so we simply painted it again, let it dry and sealed it again.
I wanted to make sure this technique worked on other frames and not just on these specific ones. I took another black frame and repeated the same process. The results were the same. I have distressed frames and other wood products using many other techniques but this by far was the simplest process which yielded really nice results. Keep in mind that we used frames that were already painted black, results will vary depending on the original color of your wooden frame.
Come back on Friday for the Back Entryway Reveal to see these frames displayed in their new home ! You won’t want to miss this Reveal!
Love this! I’ve done something similiar and it looks great!
Thanks, Lindsey! It was so easy!