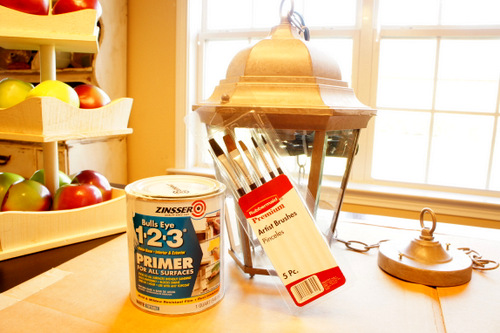
 I found this new light fixture at my local Habitat Restore for $15 and although it is a beautiful silver I wanted to paint it yellow to coordinate with the vintage suitcase storage that I made for the laundry room.
So today we are painting lights…
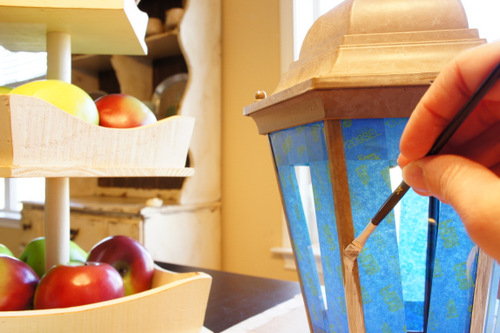
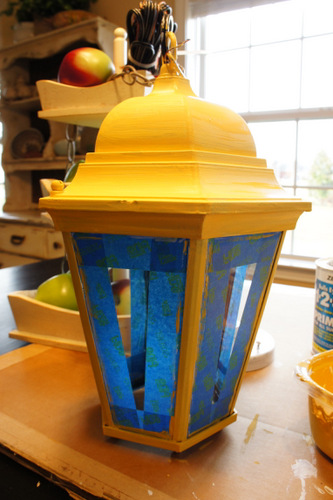
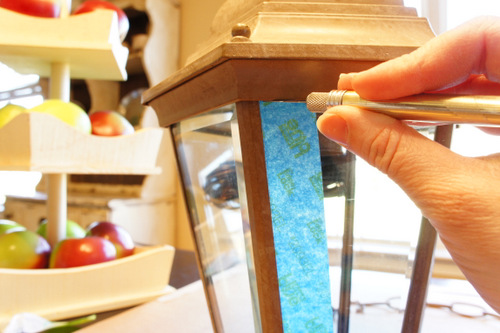 The first thing I did to prepare was tape out all the edges so that paint would not get all over the glass and I used a razor blade to cut off the excess.
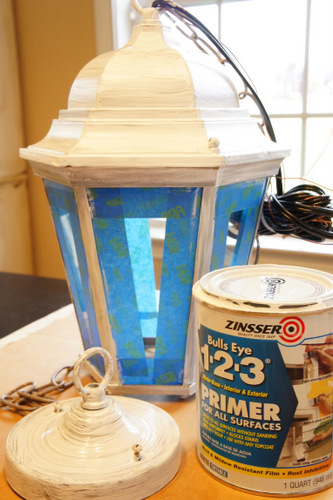
Next, I painted on Zinsser primer and let it dry.
I mixed up a custom color to match the suitcase with these two craft paints.
I painted all of the fixture with the custom paint mixture. After it dried I sealed it with a clear coat of sealer.
And there ya go. A beautiful custom painted fixture.

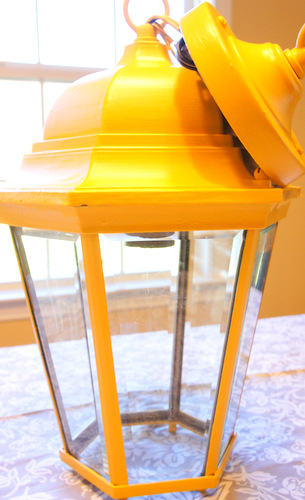
I love the custom yellow! It always amazes me what a little paint can do. 🙂
Thanks Janet. I loved the original color but really needed to carry that color into one more thing in the room I am decorating. Sometimes I forget that I can just paint things, the miracle of primer, paint and sealers go a long way you are so right! Thanks for coming. Come back soon or follow along. Hope to hear from you again.
Hey Lesley!!
I can’t believe I found a post on how to do this! I am getting ready to do a front porch makeover and our porch lights are a cream color while all of the trim is white and it drives me crazy! Thanks for the post! BTW, your blog is adorable and I do love the bright colors on yours too!! I’ll be following you too!!
Lindsey, I am so glad you stopped by and found something useful. Just don’t forget the last step which I did not take a picture of. Use a good sealer especially if your fixture is outside. Let me tell you we beat this yellow one up after I painted it. The paint held up just fine through taking it apart to look at the wiring and installing it about 50 times to the ceiling. Good luck!
Yellow is my favorite spring accent color. Well done!!
That’s awesome! I love yellow too! Thanks so much!