I was invited to participate in the annual Cornstalk Heights Christmas Tour. On December 8th and 9th, our home will be decorated for Christmas and open for people to tour. Yikes! I better get busy.
I decided in addition to the tour, I will attempt to blog about the process ahead as I strive to accomplish several projects at once. Let me also say, that I am attempting to add holiday cheer and decor in problem rooms and areas that have not been addressed yet. So, you are going to witness some make-shift solutions.
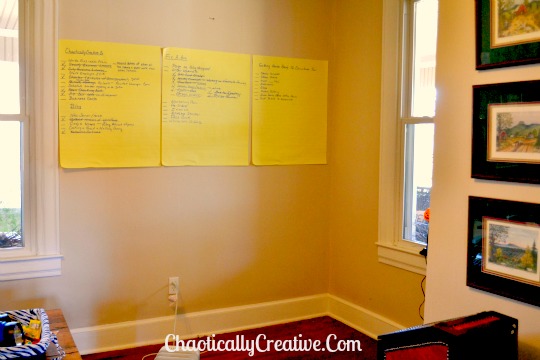
With all that we have going on, some project management is in order. When things get extra chaotic, nothing works better than a big giant sticky note on the wall. There is one for Fix A Bra, one for the home tour and one for Chaotically Creative Co. then of course, I have another list for all that has to be done family wise. It is not easy working from home, just saying!
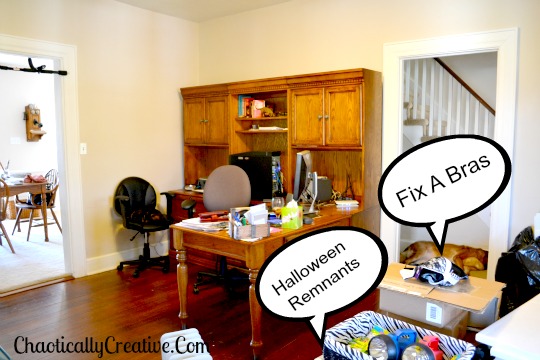
Welcome to my office, the room of chaos. One of the rooms where the furniture was plopped, electronics plugged in and nothing else done. Here we have bras used for demos and remnants of Halloween stuff along with many other things not shown at this time. Instead of cleaning up and putting away, let’s start decorating for Christmas! Let’s make a bigger mess.
Back in the 1990’s, we collected quite a bit of Department 56 Snow Village. Honestly, we had a little obsession going on. We lived in Winston Salem, NC where we enjoyed Salem Creek, a store that I miss dearly.They have the most amazing Christmas merchandise and displays. It is like going into a holiday fantasy land.
I absolutely love it, but creating the scenes gets on my nerves big time. So, the plan is to get this out of the way first. I will be creating a Snow Village scene for the first time on top of my office furniture. Down in the basement is a trash bag full of Styrofoam pieces being hoarded for this purpose. Let the sculpting begin…
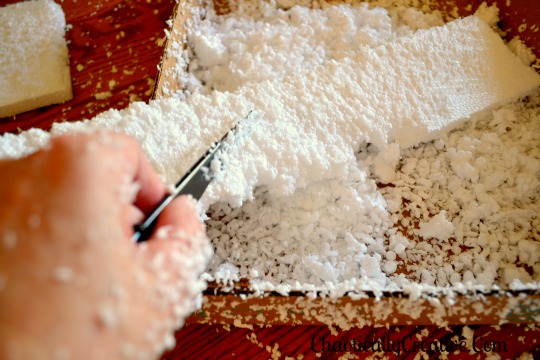
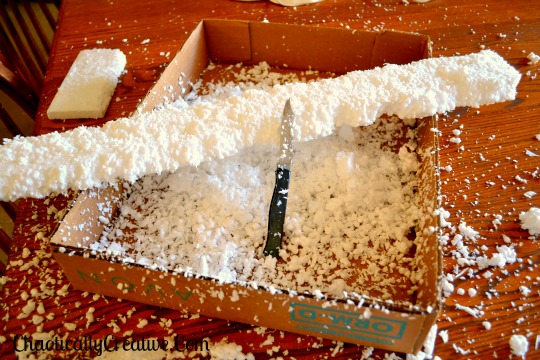
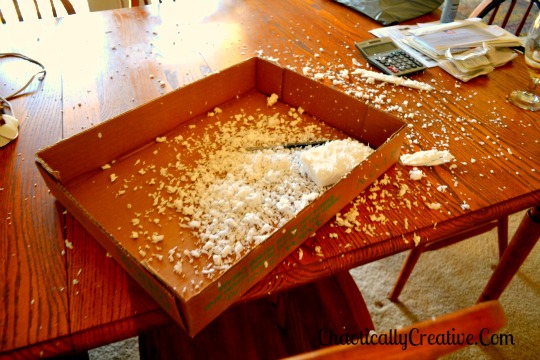
After creating a level surface on the top of the furniture with flat pieces of Styrofoam, an icy boarder is created. This is accomplished by taking a knife and simply scraping and sculpting the long strips to make them look like ice. Notice in the picture how the flakes stick to my hand? Well, beware, they stick to everything!
After the dining room is completely destroyed….
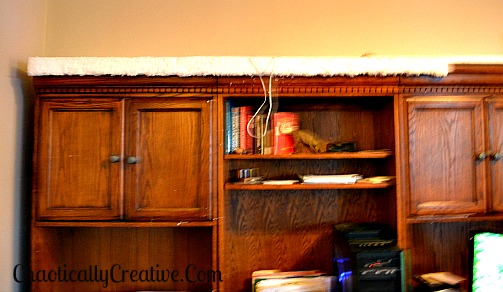
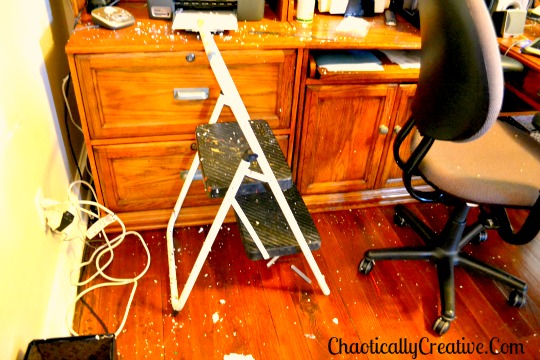 I move the operation into the office. This step involves hot gluing the long strips of Styrofoam, not to the office furniture, but to the edge of the flat SF surface I created. This went rather well, but still made a huge mess.
Now, after this point, I stopped taking pictures. It got so bad that I thought I was going to have to ditch the project. I am intensely interested in knowing if any of you have had this kind of experience with a DIY project. It would serve as good therapy for me to know that I am not the only one. I wanted to pitch a giant fit and throw this thing out the back door and then jump up and down on it. You get the picture. This chaos and mess brought me to my breaking point, but me, the Dyson, sticky rollers and canned air got through it. Oh and all the pets were covered with this mess as well…
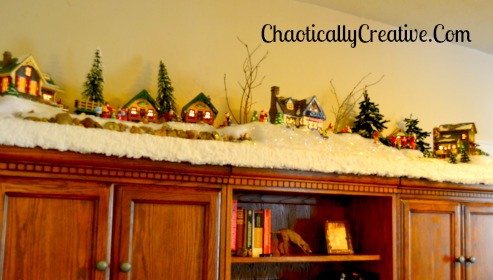
And so a snowy village is created and that’s all I have to say about that…
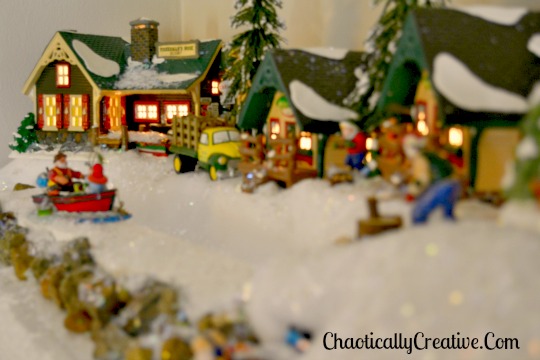
Enjoy a few close ups of the project
Fisherman’s Cabins
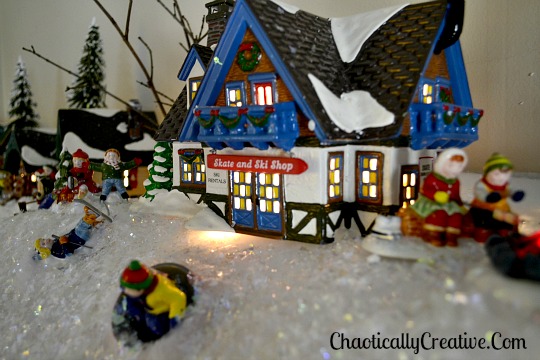
Skate and Ski Shop
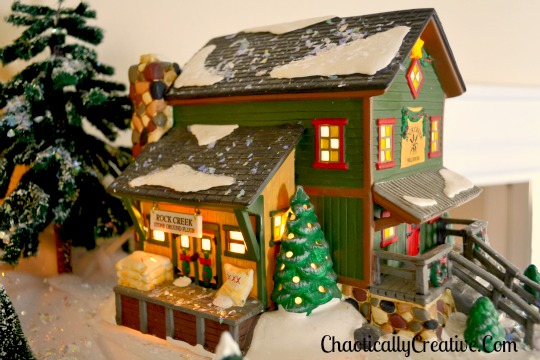
Rock Creek Mill
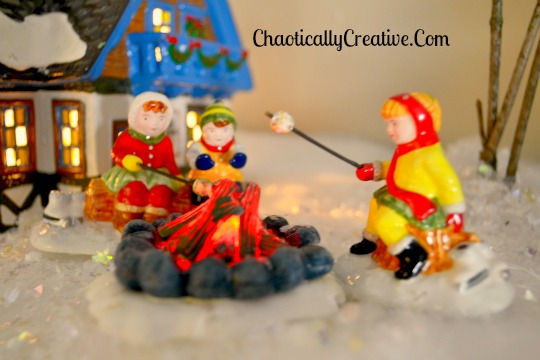
Marsh Mellow Roast
Nick’s Tree Farm
