The last time we talked about Garage Organization, we took an in depth look at some ideas on how to make your garage more functional and organized. Now, let’s address some other topics that will also help get your organization project under way.
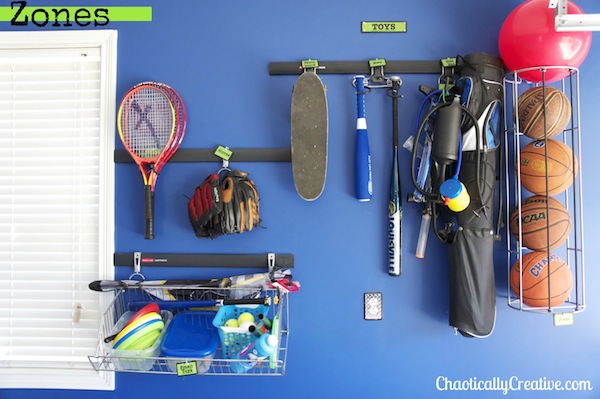
It’s important to figure out what the garage will be used for. Then determine the “zones” or areas for each use and what items need to be organized. Zones can be located on walls, ceilings, in cabinets on the floor or anywhere you create the zone. In our garage we have the following zones:
- Sport/Toy
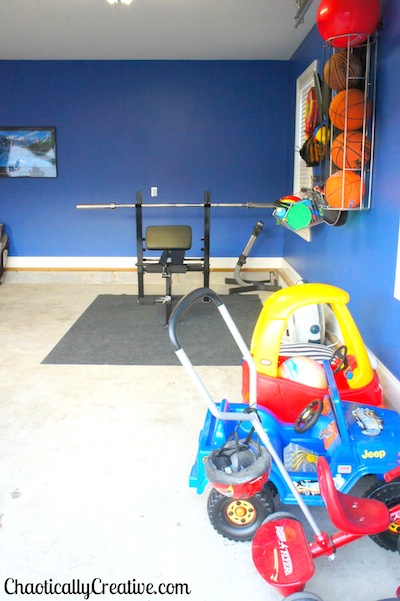
- Work-out
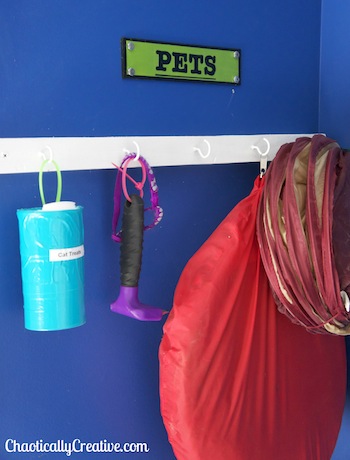
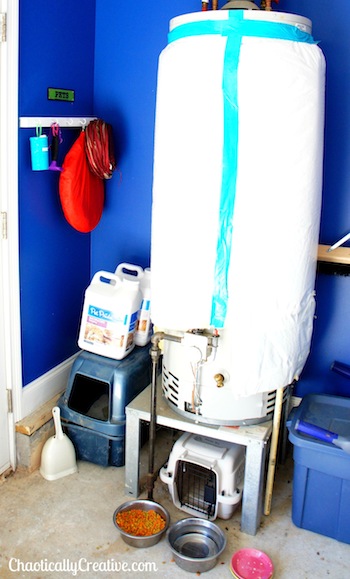
- Pet
- Tool
- Liquid and small storage
- Entry area
After determining the zones, figuring out where things go is pretty easy. Labeling the main wall zones with signs made out of thin Basswood helps everyone know where items belong. It also helps prevent other items from getting mixed in and creating chaos again.
We have three indoor/outdoor cats. Their litter box and all of their supplies are located in the garage. All of the small crevices around the water heater were used for storing their items. It is very important that I have this space organized because when we travel I have a neighbor who takes care of my cats and this organized pet zone makes it very easy for her to access all of their supplies. I own 3 kennels, but only leave one in the garage for emergencies. The rest are in the attic. The large blue bin stores all of their dried food and keeps it clean, dry, and safe from other animals that may want a meal. *Off Subject Side Note* It’s often recommended to cover your water heater with insulation for the winter months. Blue duct tape optional, LOL, that is the only color I had.
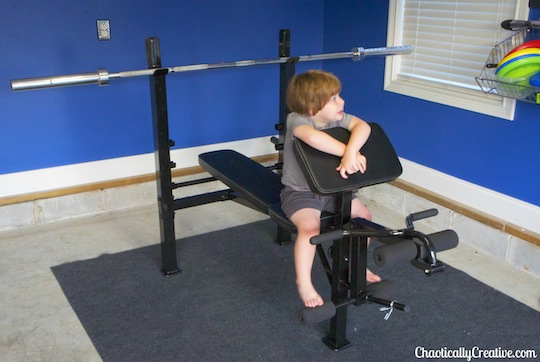
We are adding a work-out zone in our garage. For father’s day, Gavin gave his dad a handmade coupon for a weight bench (awww) and he was able to cash it in for this beauty. He got a great deal on the bench for only a $100 bucks. (Dick’s Sporting Goods) He also bought the weight pole and storage rack for the weights for $35 at a second hand sports store. Now we have to buy the weights and we are ready to start lifting. Lastly, I snagged the grey indoor/outdoor rug for $18.00 at Lowes this helps prevent slipping and also defines the workout zone.
Jude loves this space and there is enough carpet around the bench that he and I can sit and play when it is not in use. Our garage is used for working out, storage, parking and play time. We have several riding toys and now that everthing has a place Jude can ride for hours. (in my dreams, let’s be honest he enjoys riding for a few minutes but still this space is lots of fun.)
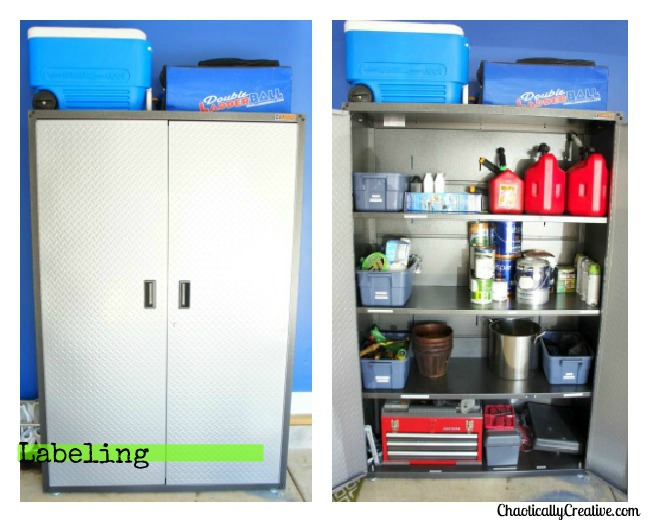
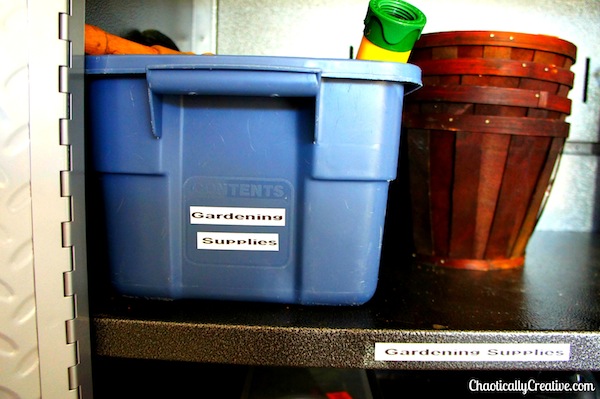
I love to label things. I think if I could, I would walk around with my label maker and label the most random things. However, I know that would just be silly. There definitely is a time and a place for proper labeling. Why? Labeling helps everyone know where items can be found and should be returned. It also helps you group like items together into bins and into sections. In the case of this cabinet I have labeled either the entire shelf as a category or half a shelf as a category. (sometimes you may not have enough of an item to take up a whole area.)
Here is how I labeled the shelves:
- Shelf 1:Right, Lawn Supplies and Left, Gas Cans
- Shelf 2: Right, Paint Supplies and Left, Paint
- Shelf 3: Right, Gardening Supplies and Left, Auto Supplies
- Shelf 4. Right, Tool Box and Left, Tools
I used coordinating bins which I labeled with my label maker to store small supplies. Larger supplies sit on the shelf above their coordinating label. The shelf labels were made with the label maker and placed them on magnetic sheeting. Then I cut them out. These shelf magnets are easily removed and moved to other shelves if needed. I do not have to worry about peeling and sticky residue.
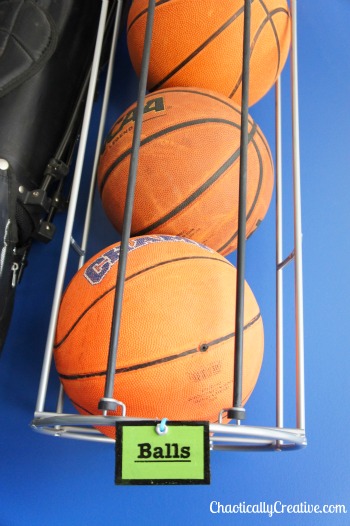
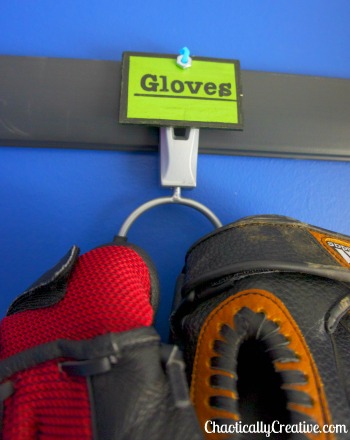
Labeling all of the toys, sporting equipment, tools, yard equipment and other supplies is the key ingredient in keeping this room organized. There is absolutely no question as to where things need to be put back. I made these bright green labels which really stand out using the same process as my Posh Puzzle Magnets. Instead of applying a magnet to the back I drilled a hole, added a nut as bling and used a zip tie to attach it to the hooks and fixtures. Do you have any other fun label ideas? Let us hear them.
What makes this room feel extra special? It’s all in the details. My husband has this thing about white plastic light plates, he despises them. How super cool is it that we found light and outlet plates that matched our new storage cabinet? These little details really pull the room together and give it that little bit of unexpected pizazz that a garage usually doesn’t have. But on a functionality standpoint we no longer have dirty white light plates in our garage! Yay!!!
 On Monday there will be one last part to the Garage Organization series however it’s a little different. We have been invited by Olioboard along with several other bloggers to be a part of a Blog Hop dedicated to Organization. Come back on Monday to learn the sources of my Garage along with other ideas on how to organize your garage. You will also meet several other talented designers and see their Organization ideas on many other areas for your home. You do not want to miss this one.
Have any of you tackled any organization projects lately? Do you use labels? Let us know some of your ideas and feel free to leave links.
For More tips on Organizing your Garage Check Out:
Garage Organization Part 1

Love your sport zone! Especially the ball storage piece. What is the name of the track system you used?