You don’t need a Greenhouse to grow plants!
Get a head start on your summer garden by starting plants from seeds indoors.
Items Needed:
- Seeds
- Seed Starting Mix
- Potting Mix for transplanting
- Tray with Clean Cover or Glad Press and Seal
- Packing Tape
- Styrofoam Cups
- Plastic spoon
- Warmth, sunlight and water
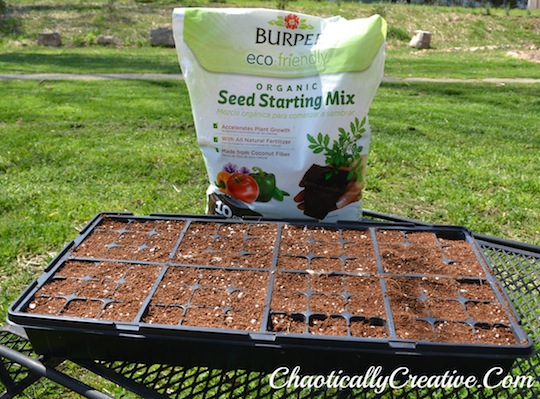 I prefer the starting trays that have small individual sections. This allows each emerging seedling to develop a strong root system. These can be purchased at Lowes or Home Depot and used for many seasons. If the tray was used the previous year, be sure to clean with soap, water and a little bleach. Rinse, dry and fill the tray with fresh starting mix.
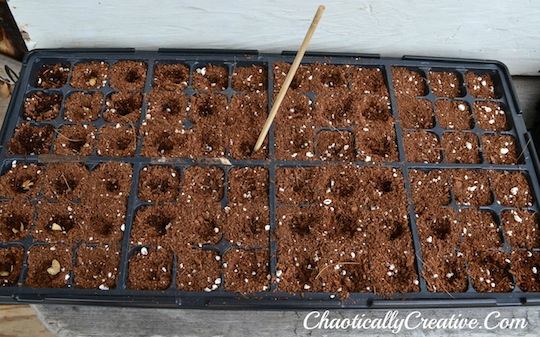
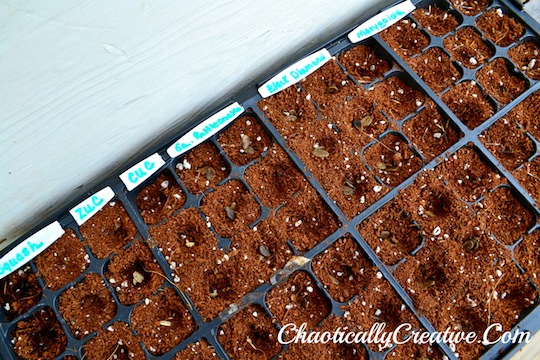
Make a small indention in each section. I used a chop stick or you can use your finger.
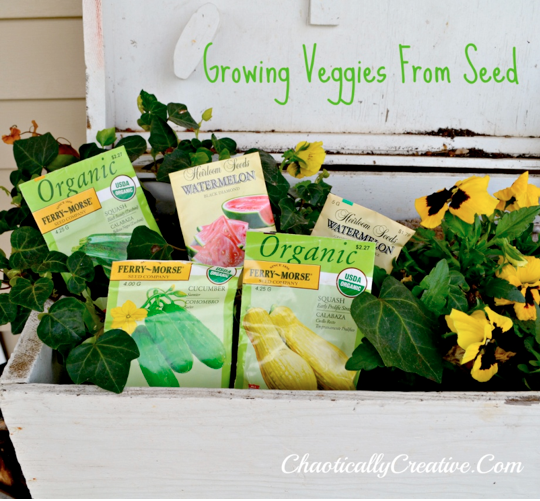
Place the seed in the indentions. Make waterproof labels for each type of seed. Tomato, squash, zucchini, and peppers are examples of seeds that I have had the best success starting early. Some seeds are sewn directly into the garden such as beans, peas, lettuce and spinach. The back of the seed packet contains information on which seeds can be started early indoors. This year I am trying watermelon for the first time. Wish me luck and if you have any tips, I would love to hear from you!
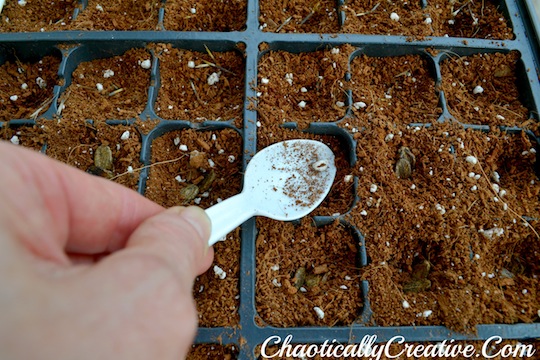
Lightly press the seeds into the soil and cover with the potting mix. Water thoroughly.
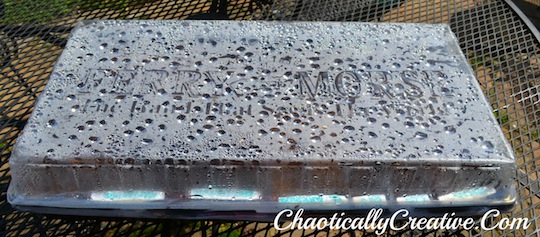
Place the clear cover on the tray. I also seal the tray with packing tape. You can also use Glad Press and Seal if you do not have a cover. Place in a warm dark place in order for the seeds to germinate. You will quickly start to see beads of moisture forming on the cover or plastic wrap. This provides enough humidity for the seeds to grow. While your waiting you can work on starting a compost bin, or a solution for how to keep track of gardening tools which will come in handy later on.
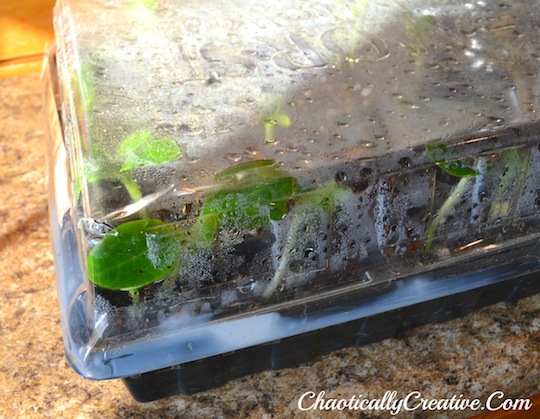
In about a week or so, you will see the seedlings emerge. When they are bumping up against the top of the tray, it is time to uncover. At this point, you will place them in a sunny location and water regularly, making sure they do not dry out. There may be some that have not sprouted, so be sure and continue keeping them warm, giving them light and water. (Note: Some seeds will spout and wither and some just won’t sprout at all.) If it is warm enough, the tray can be placed outside, but not in direct hot sunlight. A covered porch or under a patio umbrella works great. The seedlings are not strong enough and will burn. Bring indoors at night so they do not get too cold. They also LOVE rain water. I collect rain water from a bucket placed under a down spout next to my porch.
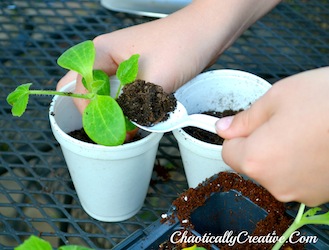
Once the seedlings are big enough, it is time to scoop them out of the starter tray and into a Styrofoam cup. Using a plastic spoon, go all the way under the plant and attempt to remove the entire square of dirt along with the seedling. Sometimes this works and sometimes it doesn’t. Just handle the tender seedlings and their roots very gently as they will easily break. I like to transplant them into the next bigger size container, nothing too big, so that the root system grows strong.
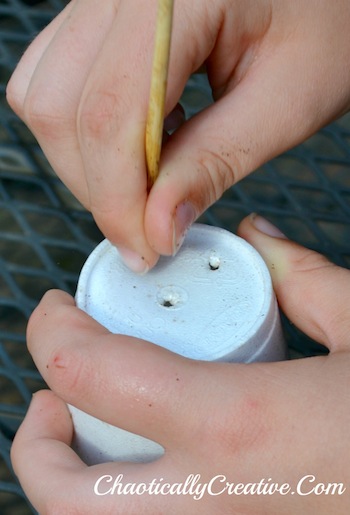
Poke holes in the bottom of the cup for drainage. Seedlings need to be kept moist, but not soaking in water. Then place a little dirt in the bottom of the cup for the seedling to sit on.
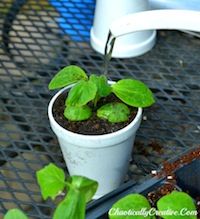
Gently press the soil around the seedling and water. I place the newly transplanted seedlings under a table on my porch to provide extra shelter while they recover from being transplanted. If they wilt or show other signs of shock, bring them indoors, place in the kitchen sink and gently spray with water. Within a few hours they should recover if the root has not been damaged. Now the seedling is ready to grow to the next level.
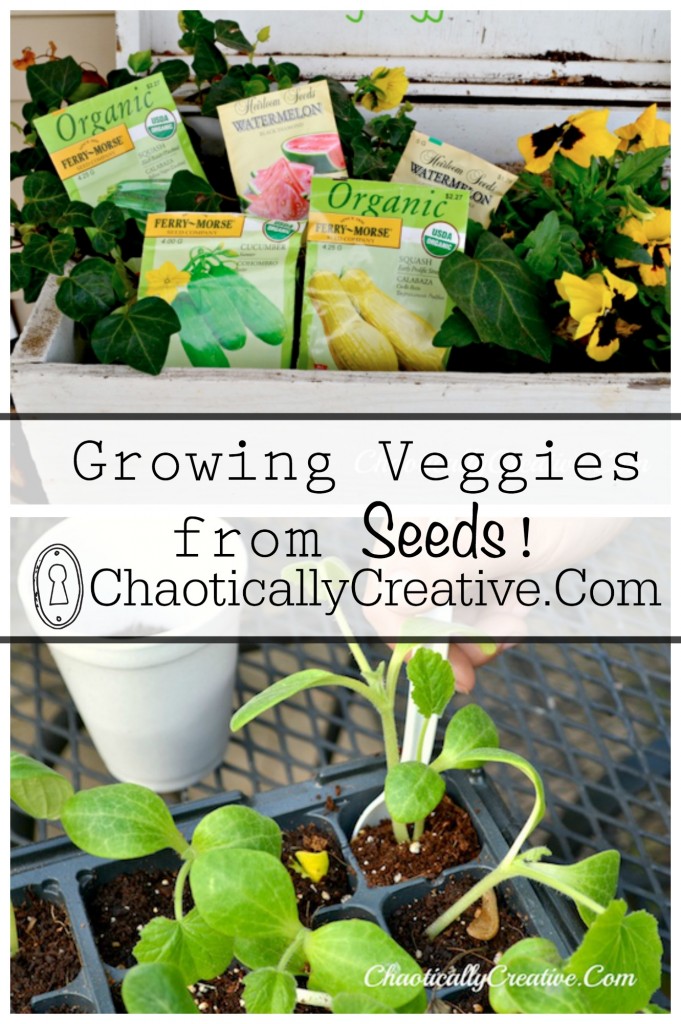
Seedlings in different stages of growth all started indoors from seed. They are sunning on my covered back porch getting accustomed to the great outdoors. This is another important step before transplanting to the summer garden as they need to “harden” against the elements, one step at a time.A special thank you to Gavin for helping me transplant seedlings and take pictures! Good luck everyone and hopefully we will have some great garden success to share with you in a few months!


Awesome! Now I think I can tackle this!
You can do it Rachel! It is fun and can be rewarding. Oh, and it is addictive.
I think i can do this now. I did some strawberries and i got nothing:-( but by it being late summer what can i plant i’m in Memphis,Tn
Hi Tiffany, my son and I just planted some pumpkin seeds directly into our garden. It is a little bit late I think, but we are hoping to have them by Halloween. You can also start some flower seeds such as Purple Cone Flower in the fall.
You can also reuse your empty toilet paper rolls… They can be planted directly into the ground they are green verses using those cups…take a paper towel and push down inside to hold the dirt in… Hope this help you…
Hi Deena, I tried this one year and all my plants got a fungus that started on the rolls. 🙁 I thought it was a great idea too, but now I afraid to try it again. Thanks so much for stopping by!