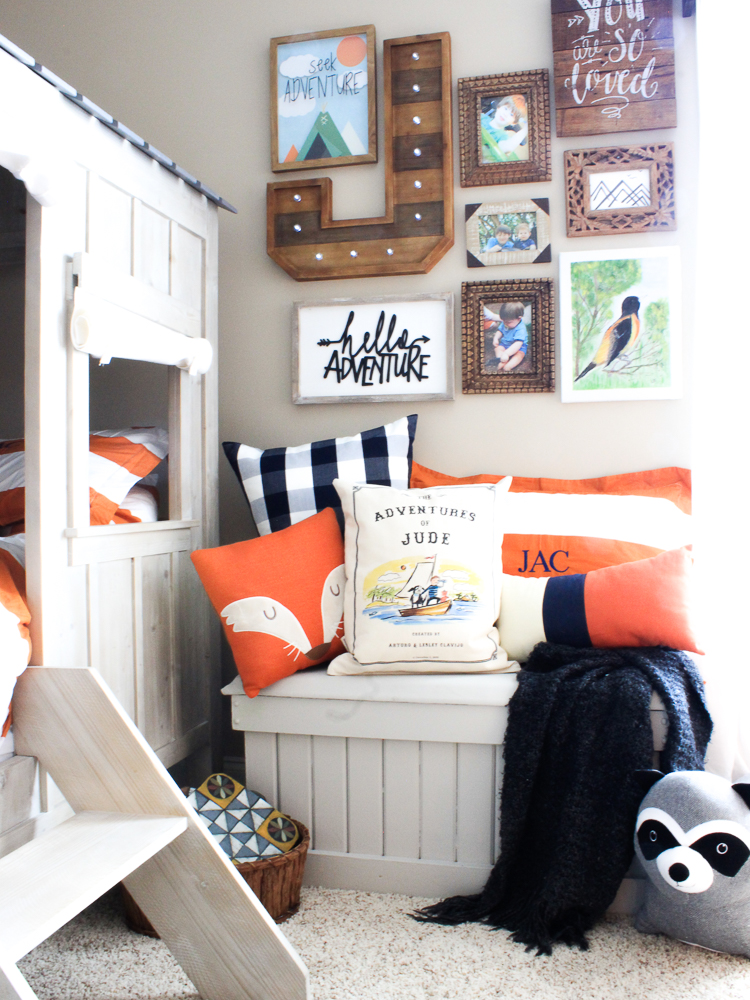
This summer we traveled around to various places while waiting to move into our new house. We went antiqued and thrift shopped at a lot of new places. However, Jude and I spotted this awesome mantel at our favorite Antique Mall in Knoxville, TN and we knew it was just perfect for a DIY Faux fireplace for Jude’s adventure room. So far we’ve added a whimsical feature wall and built rustic wooden window cornices to go along with the Rustic Adventure room theme.
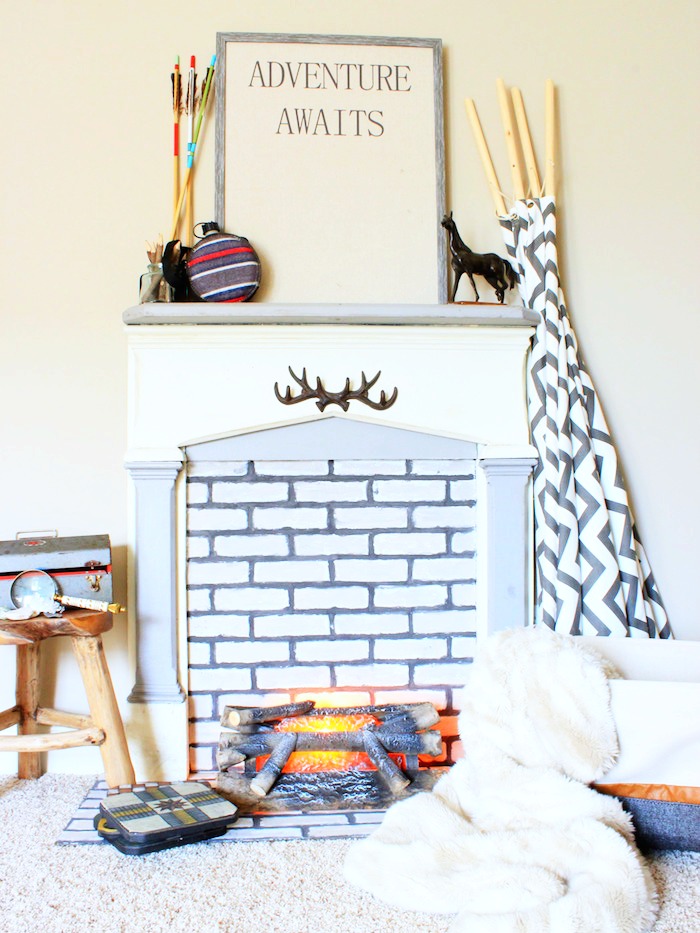
Every week for the past 4 weeks we have participated in the One Room Challenge. Each week I have a new project that brings us closer to the full room reveal. This week I want to show you how easy it is to turn a fireplace mantel into a real looking but faux fireplace complete with “real” burning wood logs.
Supplies for DIY Faux Fireplace
- Wooden Fireplace Surround (look for these at architectural salvage, thrift, or antique shops)
- Faux Brick Paneling
- Jigsaw
- Nailgun
- Paint
- Mortar (if you want a realistic look)
- French Cleat Wall Hanger
- Faux Logs
Steps to Build A DIY Faux Fireplace
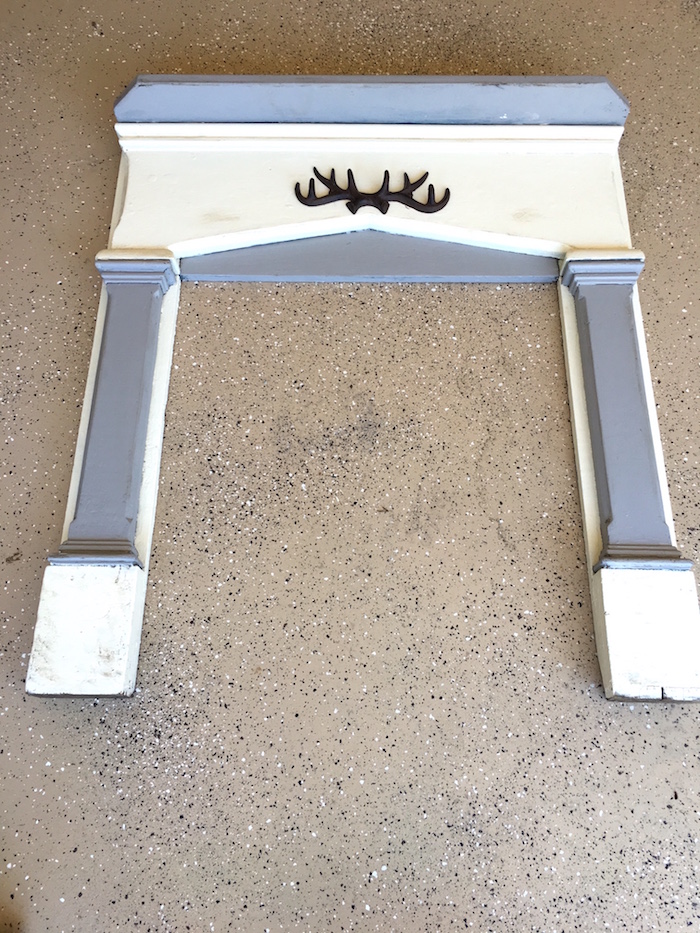
1) Purchase a Fireplace Mantel Surround and Clean it or Paint it if necessary
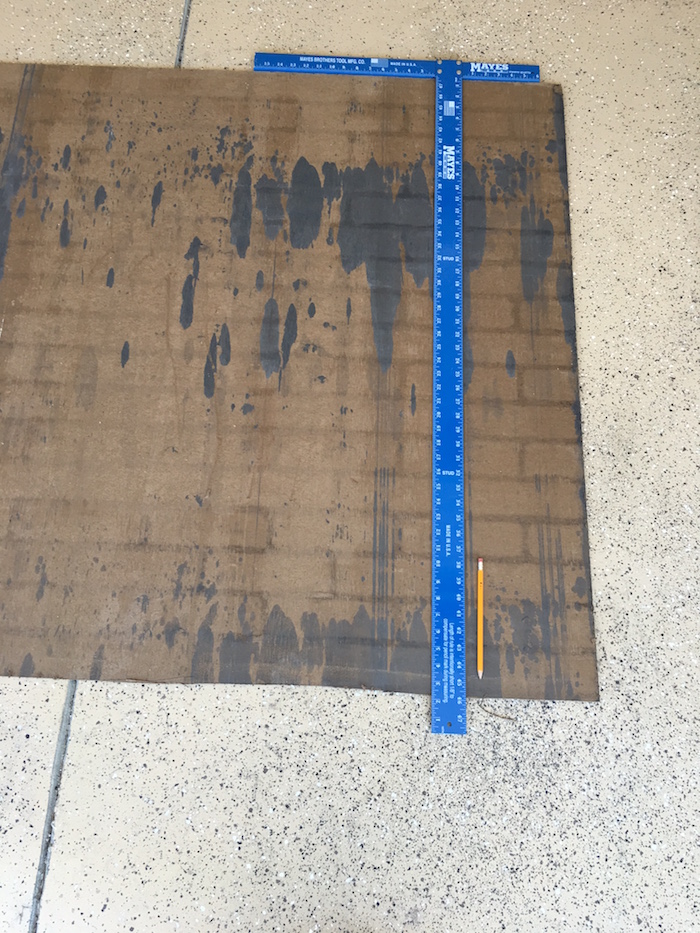
2) Place the mantel on the backside of the faux brick and trace. 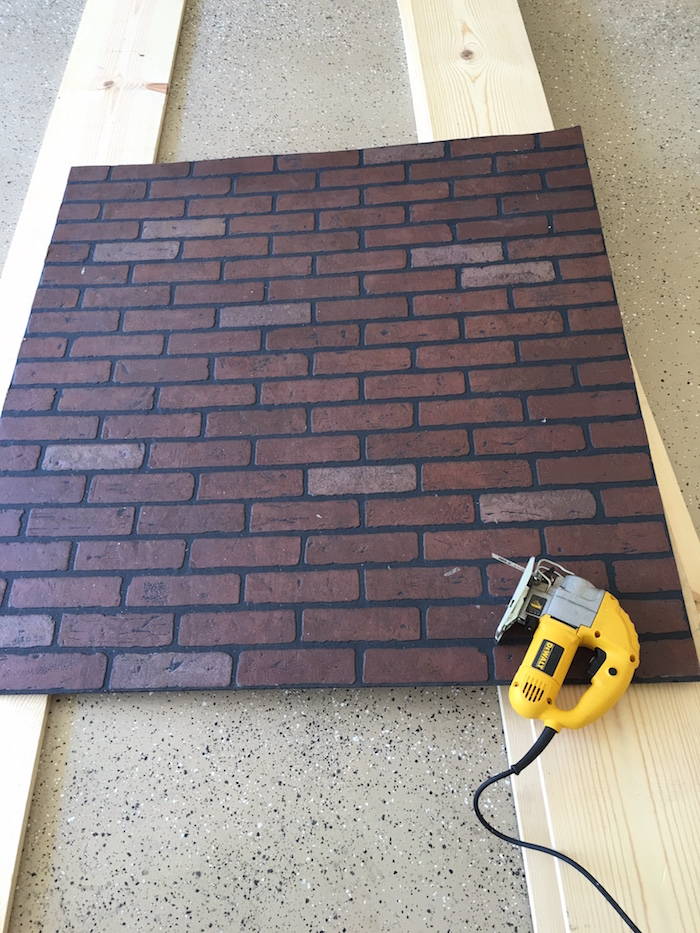
3) Using the jigsaw cut brick paneling. You will also need to go ahead and cut a piece to go on the bottom which the fireplace will just slightly hang over.
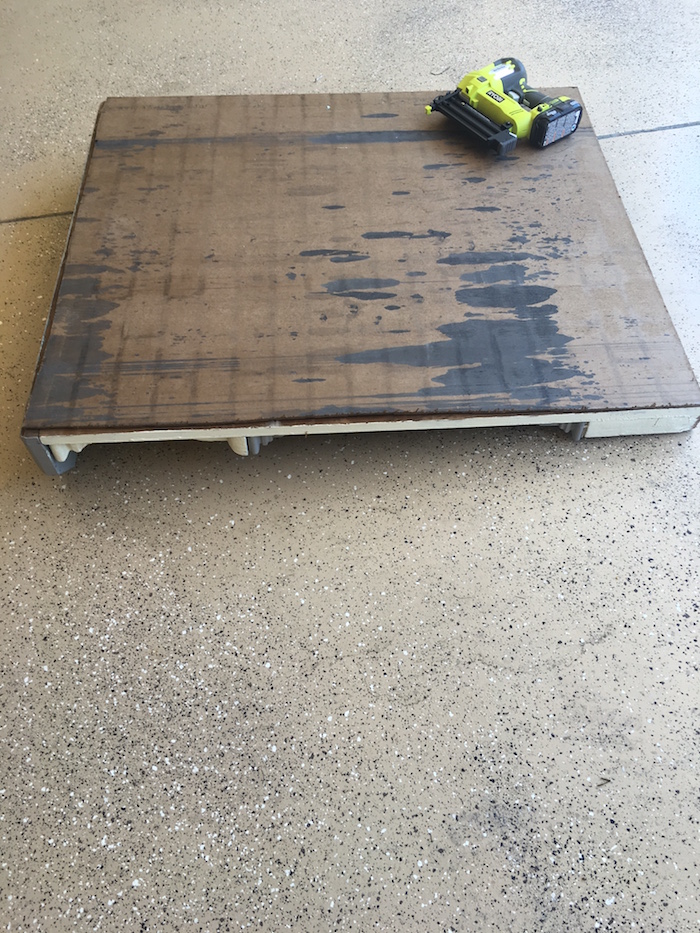
4) Using a nail gun attach the faux brick panel to the back of the mantel.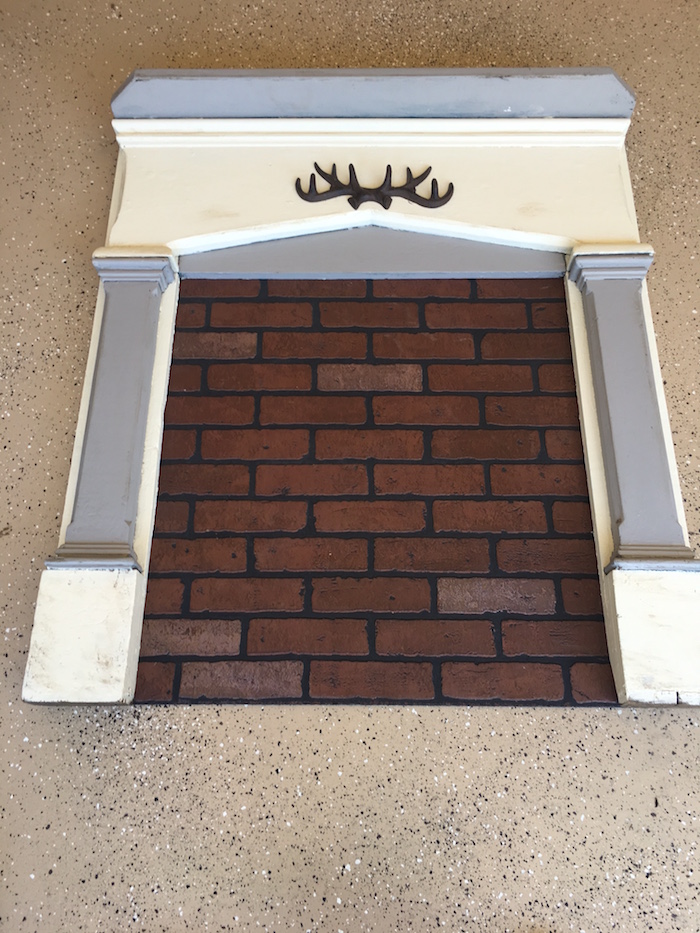
5) Flip mantel over and insure brick looks like it’s in place correctly
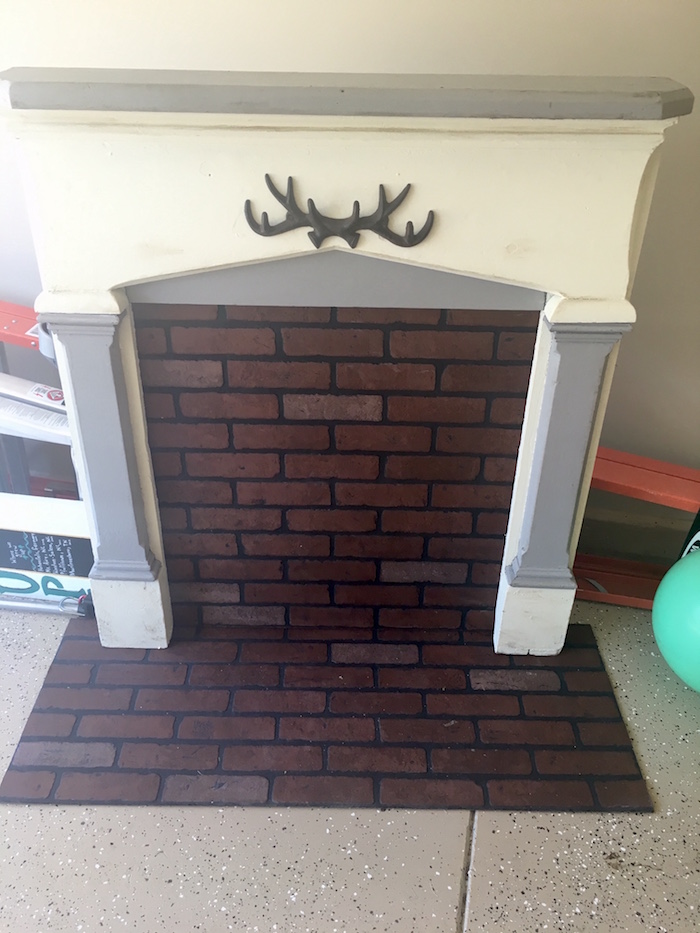
6) Lean mantel against the wall and place floor piece underneath to make sure it’s cut to the size you like. If not you can cut it again to your preferred size. I contemplate making mine the same width as the fireplace but ended up liking it wider.
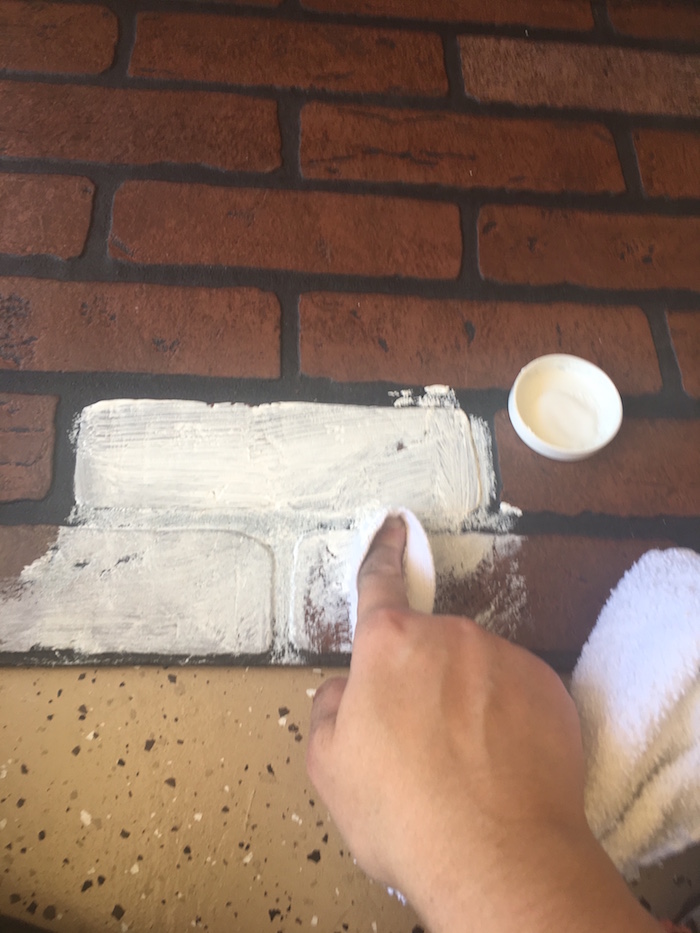
7) Using a paint brush or cloth apply paint of your choice. All over the faux brick panel.
8) Next I took a greyish beige paint color left over from my grey rooms and created highlights around each brick.
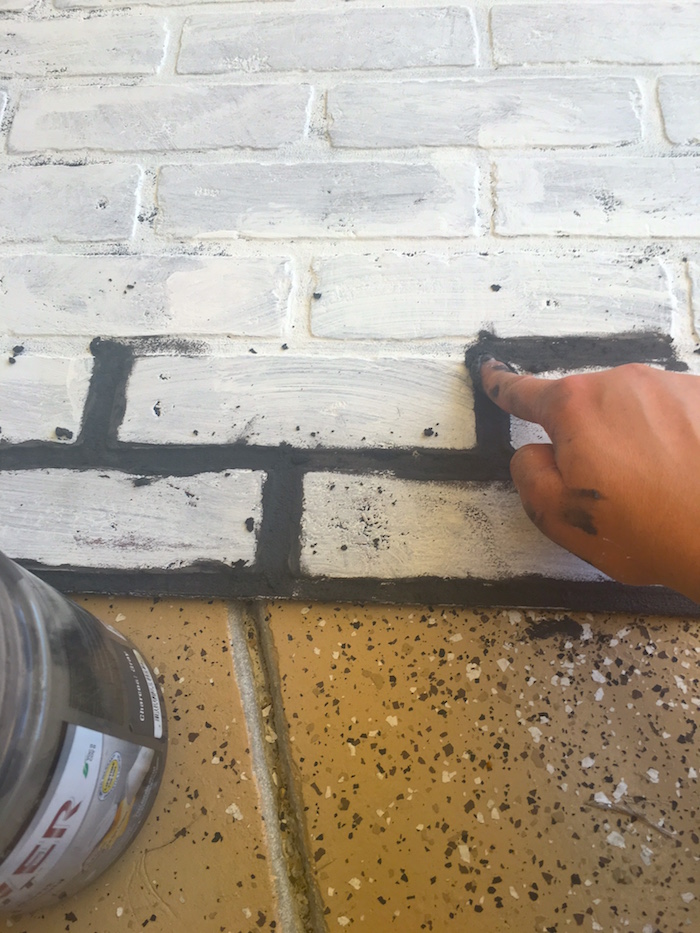
10) You can either paint lines, leave them as is, or for a realistic look you can use mortar or grout. I used leftover grout and applied it with my finger. It gives the fireplace a great texture.
11) After the paint and grout are dried you will mount the fireplace on the wall with a french cleat. This helps raise it off the floor just a little but even more so it secures it to the wall so it doesn’t tip on a child or pet.
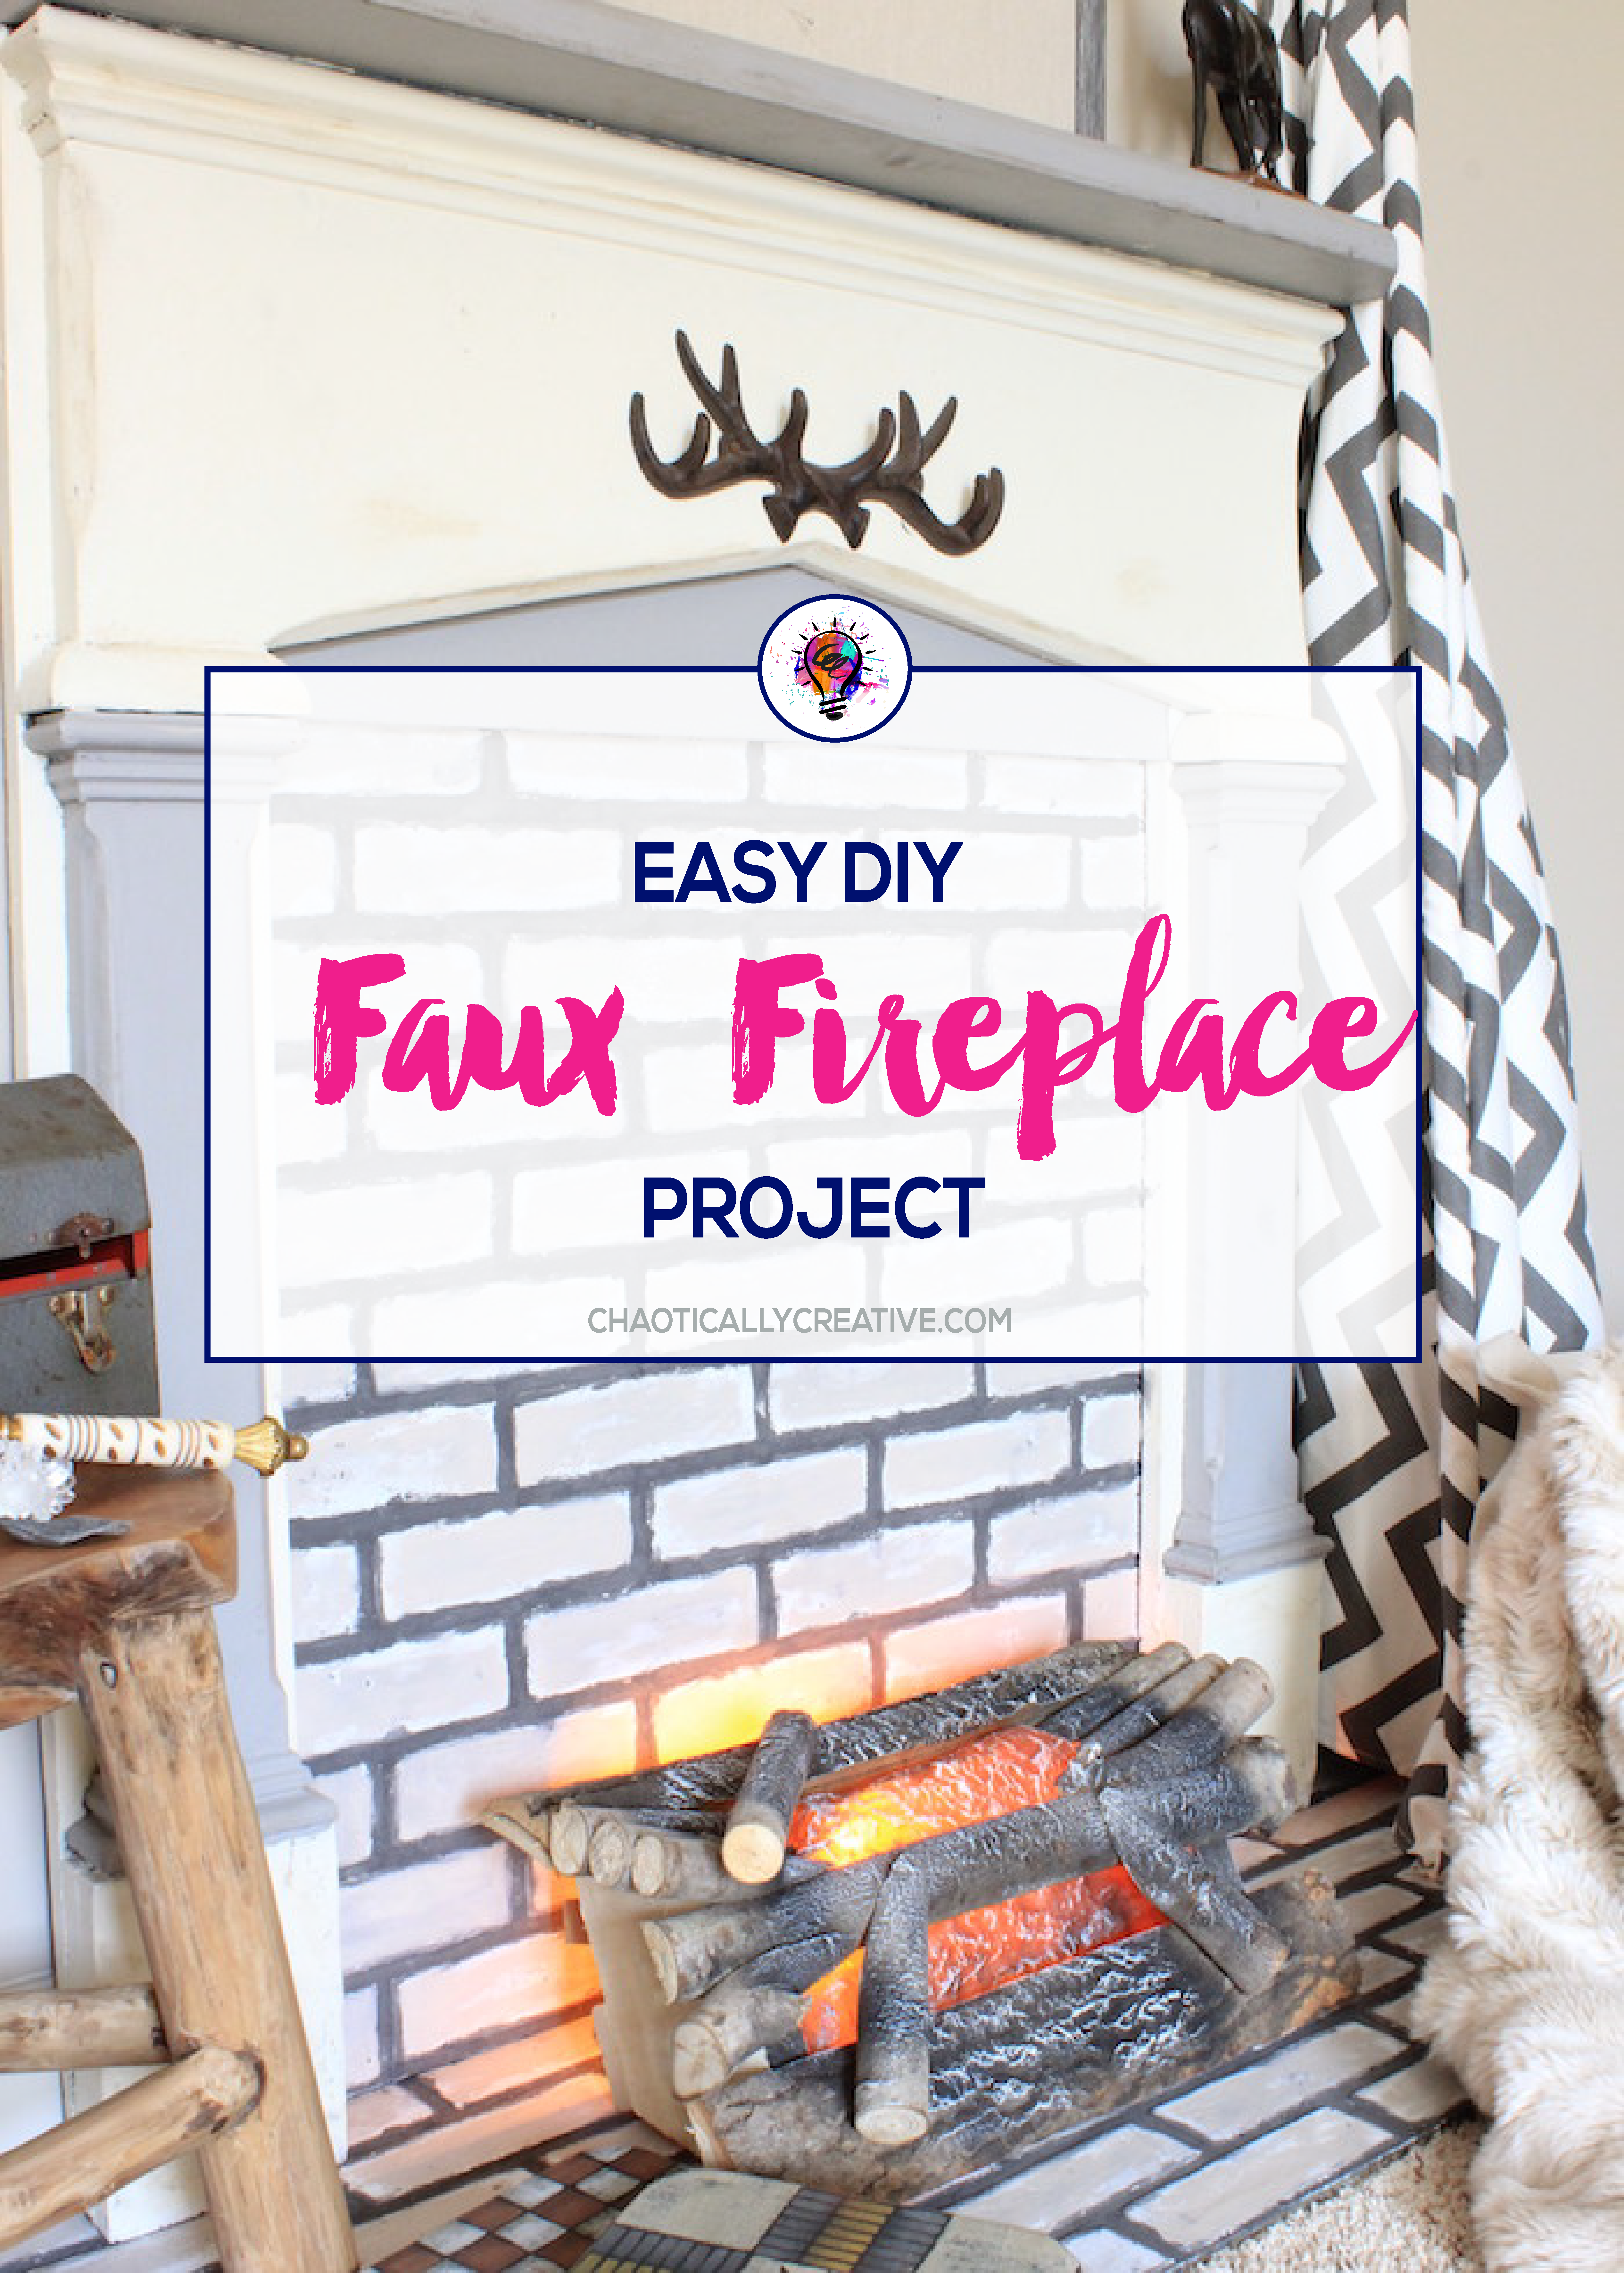
That’s it. This project was super easy and it took longer to get all the items then to complete the project itself! Ready to see the grand finale? Here it is and we are loving it!
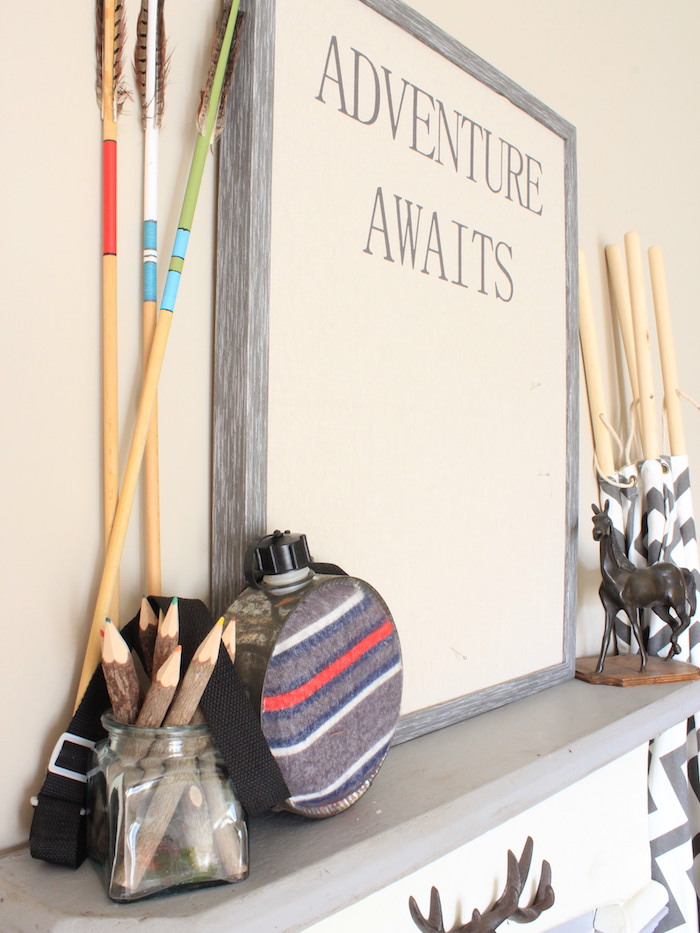
We found this bulletin board that is perfect for the Adventure Themed Room at Home Goods for about $20. Jude can add photos of his travels using small pins.
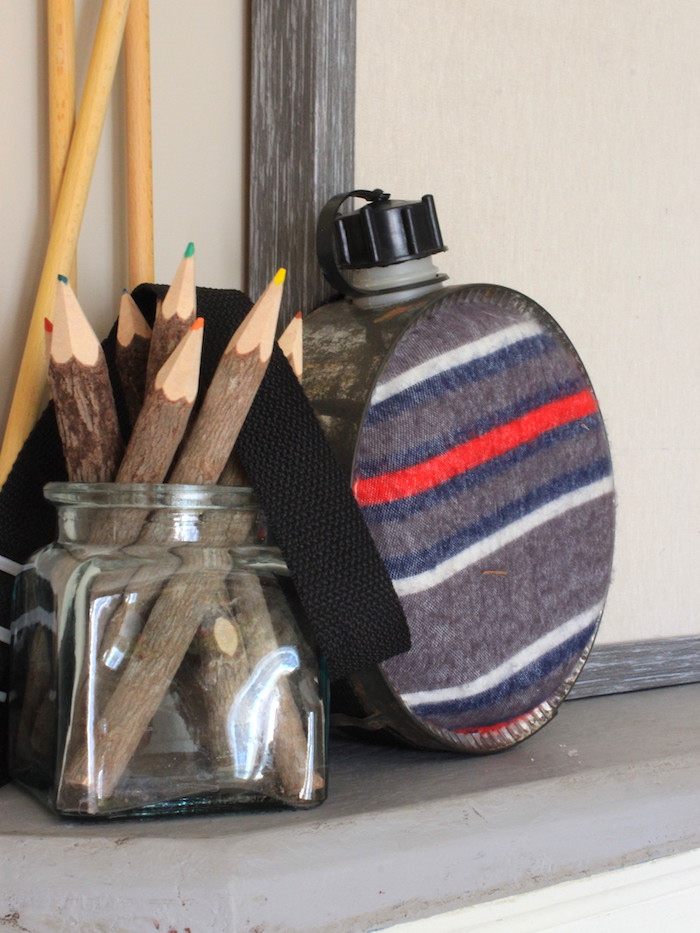
The other arrows and canteen are from our travels this summer. I purchased the wood pencils before my older son, Gavin, was born in Poland! And the horse statue is the from Jude’s Grandad who passed away several years ago.
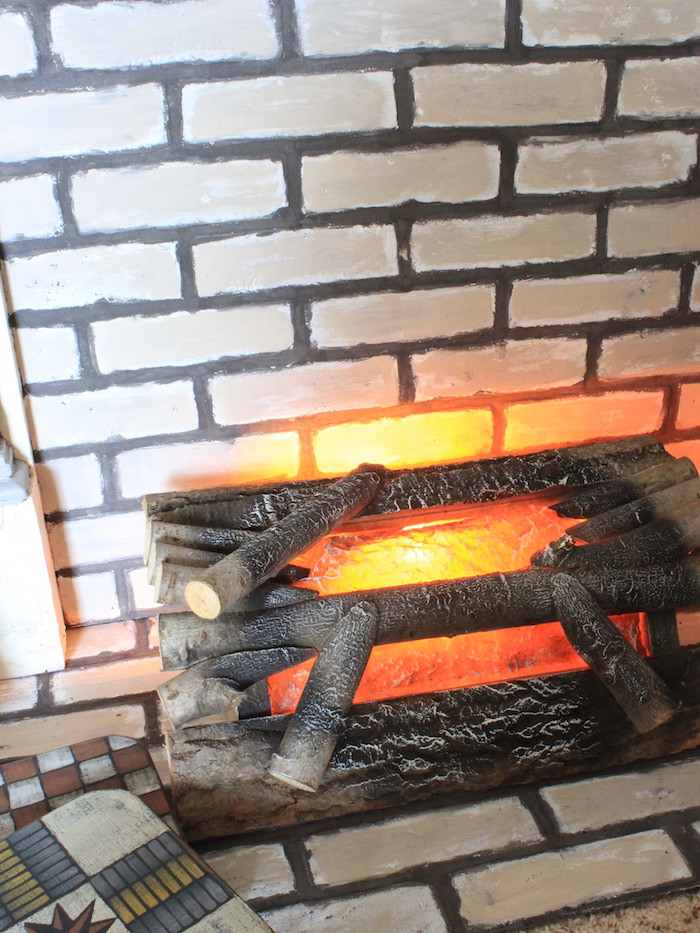
Now, here is the really awesome part about this fireplace. We added faux logs that light up and also make a real wood burning crackling sound! It’s so fun!
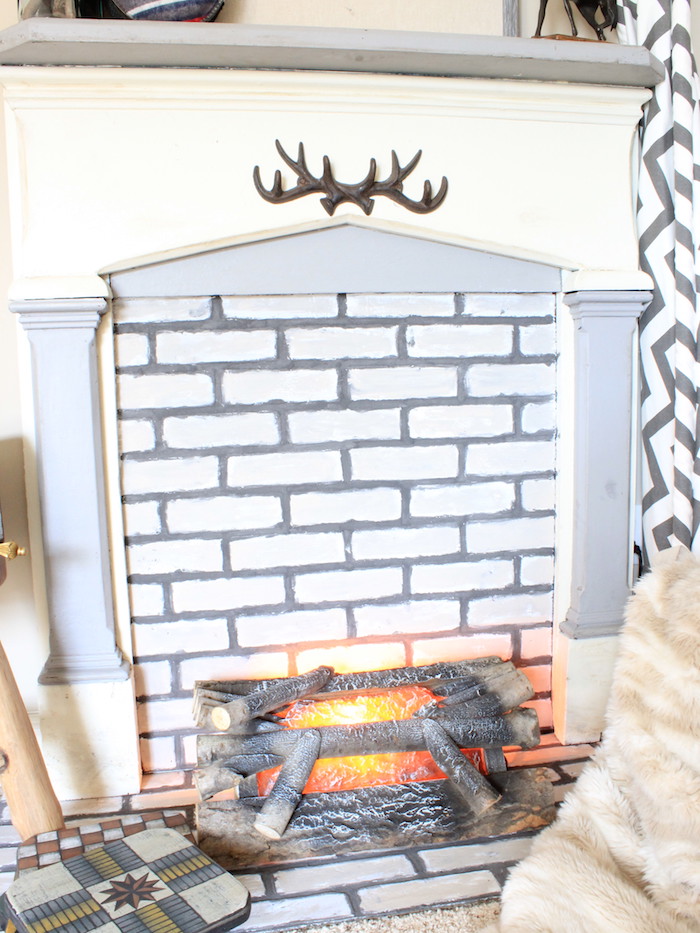
This project was extremely easy and makes a huge impact in Jude’s room!
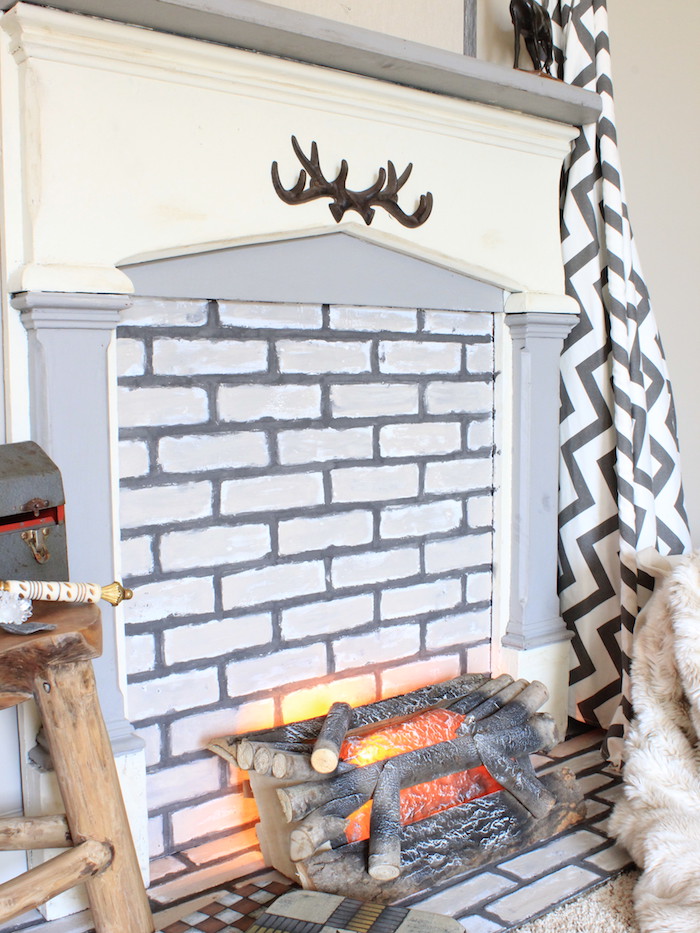
Not only does it provide texture but a sensory expereincing with the crackling wood.  We are so excited about showing you the big room reveal in just 2 more weeks! Now it’s your turn to get out there and find a wood mantel surround and add it to any room in your house. Christmas is approaching and this project would be great for homes with no fireplace mantel!

If you want to see what the other participants are doing in the challenge click here! And catch up on all of the Adventure Room post below!
Week 1 Decorating Kid’s Rooms (The Adventure Room Design)
Week 2 Creating A Whimsical Feature Wall
Week 3 Easy DIY Wooden Window Cornice
Week 4 Easy DIY Faux Fireplace (that’s this post)
Week 5: Designing Spaces for Kids to Provide Security and Self-Confidence (Gallery Wall)
Week 6 The Final Reveal



I LOVE this fireplace! I didn’t even know they made such affordable faux firelogs (that crackle too!).
That canteen takes me back to my childhood. 🙂 My dad had one exactly like that. We used it all the time when we’d go camping. Ah, the simpler days…
I can’t wait to see the whole room reveal.
Thanks so much Heather. We found that canteen at an antique shop too! Oh and I forgot to add the video of the crackling logs. I just added it but yes they are awesome !!!!