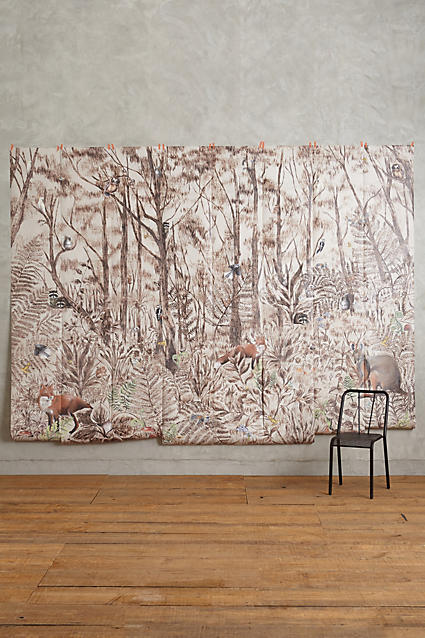
I can’t believe it’s week 3 of the One Room Challenge. We have been working on the boys’ rooms so that they have spaces they love and reflect their personalities. Jude chose to decorate his room in a Rustic Cabin Adventure Room style. After selecting the cabin bed we found the perfect enchanting woodland themed mural that is simply magical. Next, I had to figure out what to do for a window treatment after much trial and error I decided to create an easy DIY wooden window cornice.

Why DIY Wooden Cornices?
This wouldn’t be a challenge if it actually didn’t come with challenges, right? One of the issues with Jude’s room is the one window. This window is literally only a few inches from the mural wall. Which means there’s almost no room for a traditional curtain rod.
Wooden cornices are great because they:
- are affordable (about $15)
- bring texture and rustic charm to a room
- fit in really tight spaces
- hide cheap curtain rods, blinds, or curtains with damaged grommets (more on that later)

Supplies Needed for DIY Wooden Window Cornice
- Drill
- Saw (you can also use a handsaw and miter box)
- 1×10 board (I used white board)
- 1X4 board
- 1X2 board
- 1 1/4″ pocket hole screws
- Kreg ( I have this Kreg Kit and LOVE it)
- Paint Brush
- Stain of Your Choice
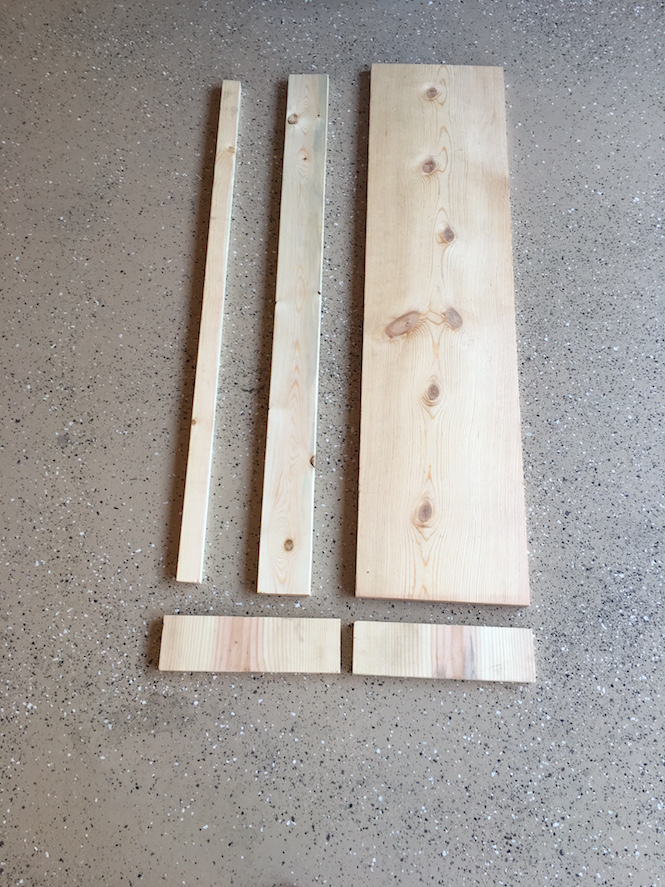
Cuts to Make
- Cut the 1x1o the width of your window plus a few extra inches
- Cut two pieces of the 1 x 10 to 3.5″
- Cut the 1×4 to fit the inside of the cornice
- Cut the 1×2 the same size as the 1×4
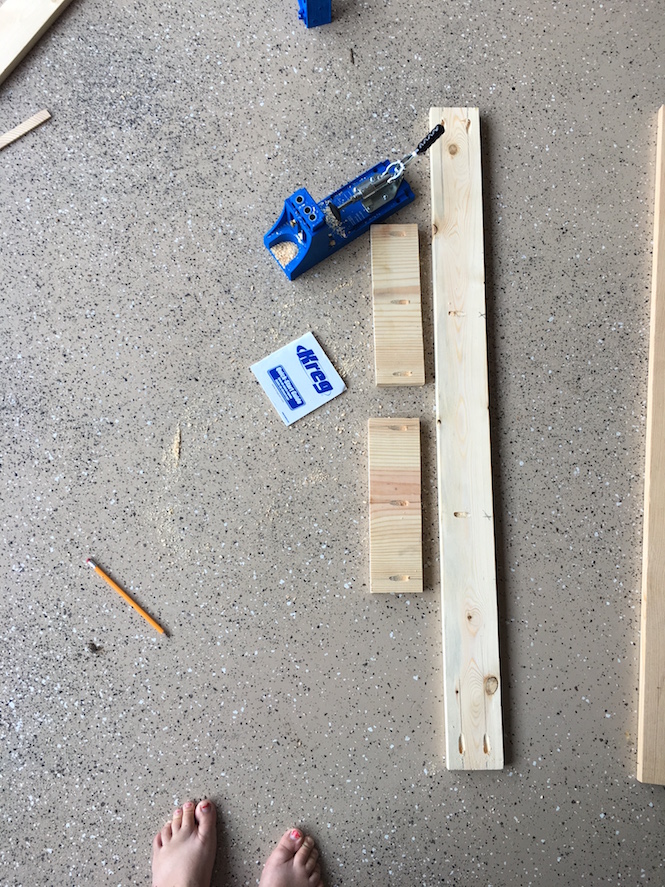
Using the Kreg make 3/4″ pocket holes on your two end pieces (3 pocket holes) Then on your 1×4 make 2 pocket holes on each end and two in the middle of the board. 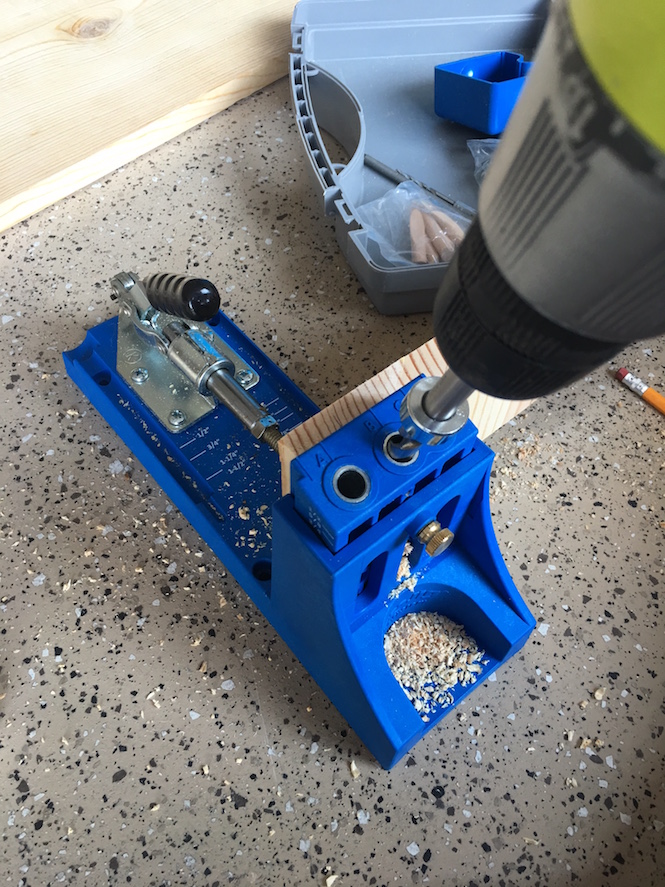
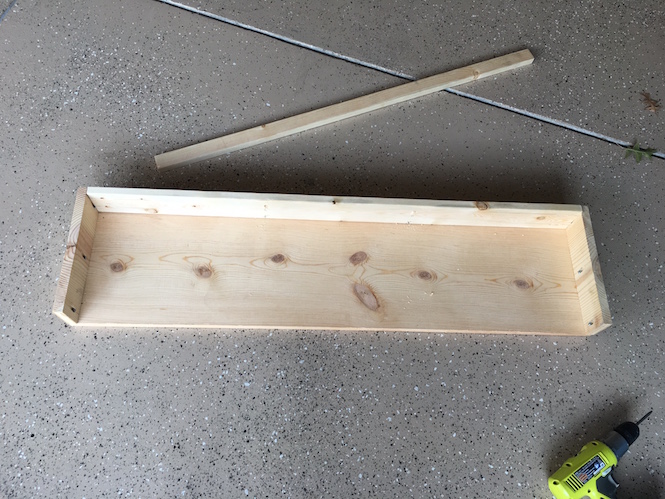
Attach the sides first using 1 1/4″ pocket hole screws. (If you haven’t cut your 1 x4 yet, you can now by measuring the distance between your two side boards). Then attach your 1×4 to the sides and to the front board.
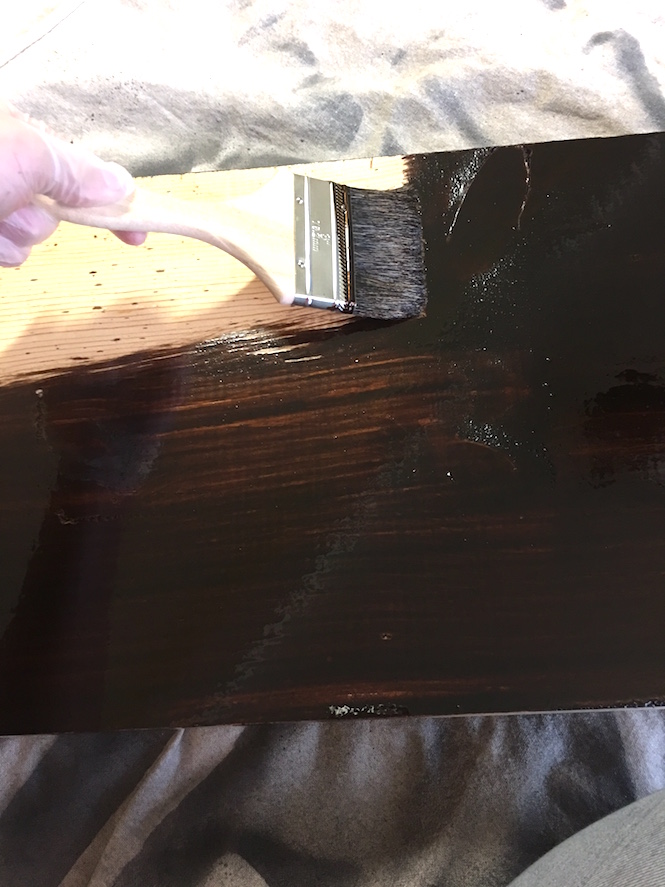
Stain or paint your cornice using whatever stain or technique you like. The last step is hanging the cornice. 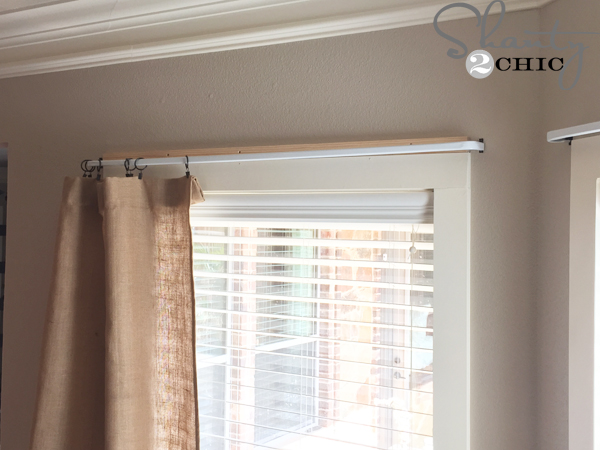
You will want to drill the 1×2 directly above your window molding. Then mount a cheap curtain rod like this one (but add your curtains first). Lastly, you will place the cornice on top of the 1×2 and drill the top of the cornice into the 1×2. Pictured above is an example of how this looks, I used this tutorial as inspiration from Shanty 2 Chic and it is as easy as they say it is.
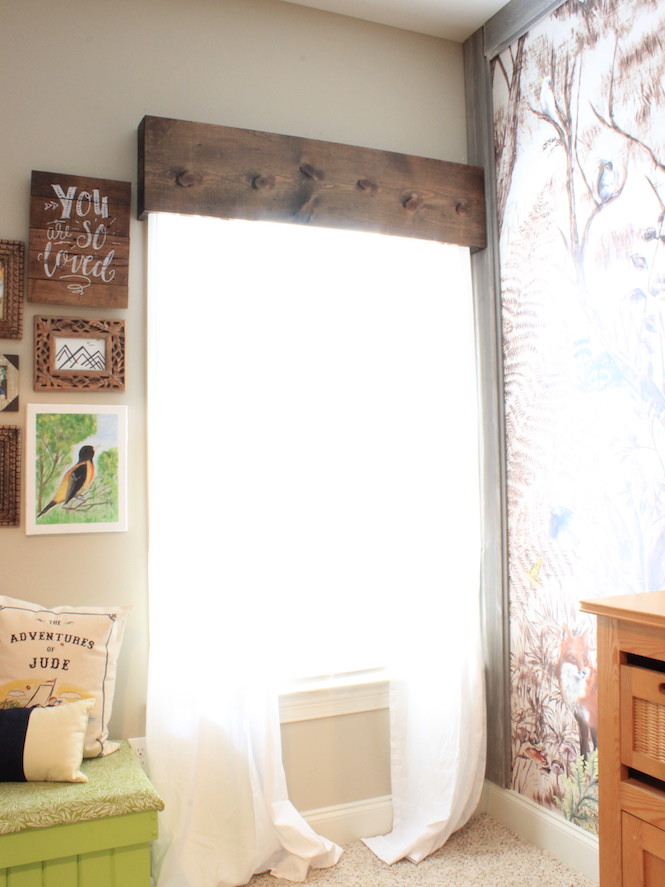
And that’s it. DIY wooden cornices are EASY, AFFORDABLE, and ADORABLE! Oh, and I meant to tell you about the curtains. Those are from Target and have big metal grommets like these. I had washed them and the grommets ripped off and made a mess of the holes. But since you can’t see that I was able to use them again and not buy new curtains. YAY!
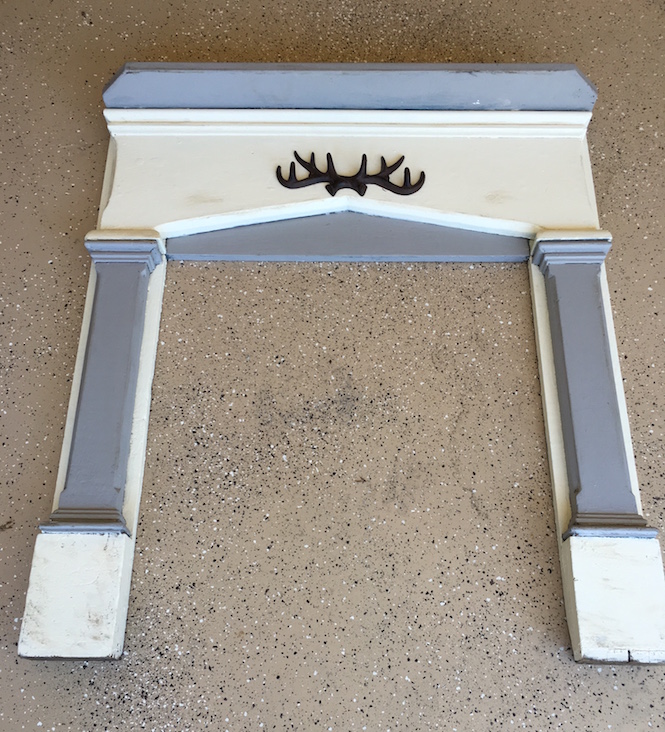
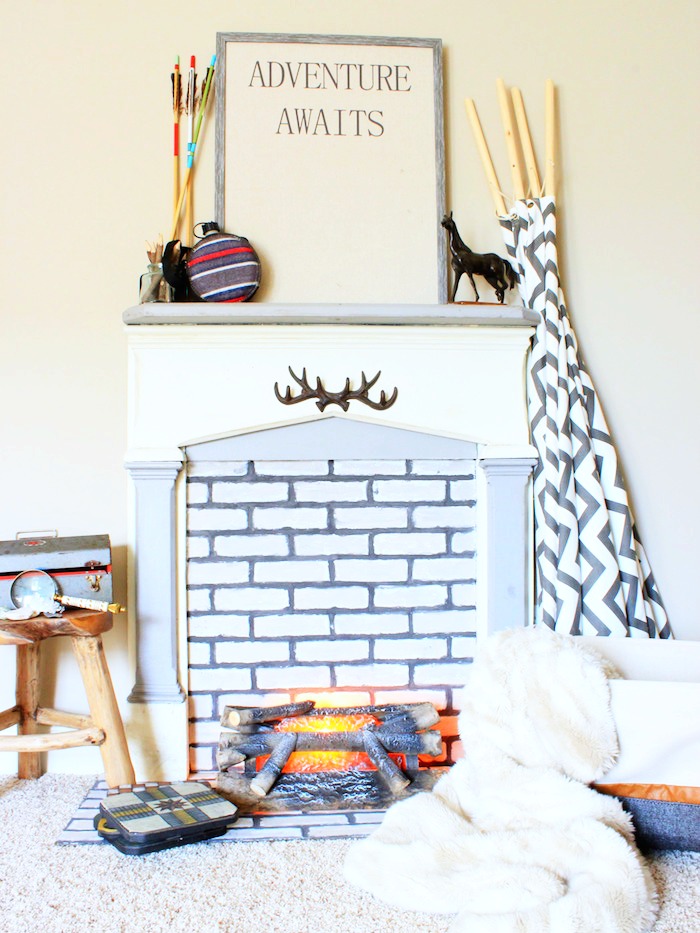
Stay tuned for next week. I’m going to show you how to turn an old wooden mantel into a real looking fireplace!!

If you want to see what the other participants are doing in the challenge click here! And catch up on all of the Adventure Room post below!
Week 1 Decorating Kid’s Rooms (The Adventure Room Design)
Week 2 Creating A Whimsical Feature Wall
Week 3 Easy DIY Wooden Window Cornice (you are here)
Week 4 Easy DIY Faux Fireplace (that’s this post)
Amazing! great idea? Can’t wait to see the end result 😉
Thank you! It’s getting so close. The only problem with these cornices is that they are so easy and so affordable I want to do them on all the windows! I may have to come up with some variations!
That looks great! And one of those ideas of “why didn’t I think of that?” My newest little guy’s room is adventure themed too. I think I may just need to do this on his windows.
YAY. and to be totally honest I had a major DIY fail first. I had tried to build a metal awning and it just didn’t turn out right. I was so frustrated but then I saw the idea for this and it was so super easy. Have fun and can’t wait to see all the Adventure rooms I think there are at least 4 but they are all so different!
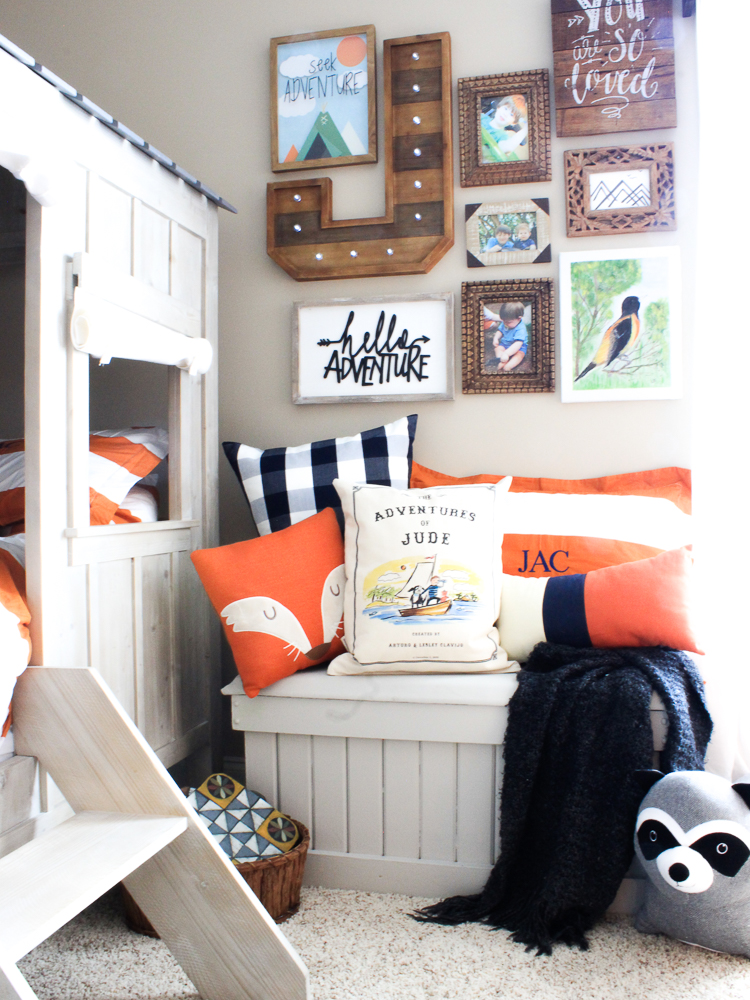
Those cornices are the cutest! And I’m loving that gallery wall! Can’t wait to see the big reveal!
Thanks so much Jen!
It looks great! A grrat way to dress up a window and not have to buy an expensive curtain rod!
I love your cabin sign on top of it as well!
-Jaclyn
Exactly Jaclyn, it was very inexpensive and easy. A DIY wooden cornice is great for tight spots too!