I love the Blog House Tweaking, because that is the word that pops into my mind every time I work on a project. Except some projects are like, “Can we forget this ever happened and start all over again?”
It start out with great excitement and a vision and sometimes we get lucky and we feel like Rock Stars. We look around to see if HGTV has pulled up out front because surely they will want to showcase our amazing talent. Then there are those times that we stand back and say…
Really? After all that this is what I get? How did this happen? I did this? But I rocked that piece of furniture last week and got a ton of page views and I was on my way to blogger fame and now this?
This has been the case with the front steps, about four times now. I have tried several different angles in writing this blog post because I just don’t know what to say, about these steps. So I am going to tell you the story about how I learned the hard way that surfaces matter and so does temperature, humidity and color.
This is my first house with wooden front steps and adding these handrails to them was our first DIY project in this house and the first time we have ever added handrails to any thing, ever.
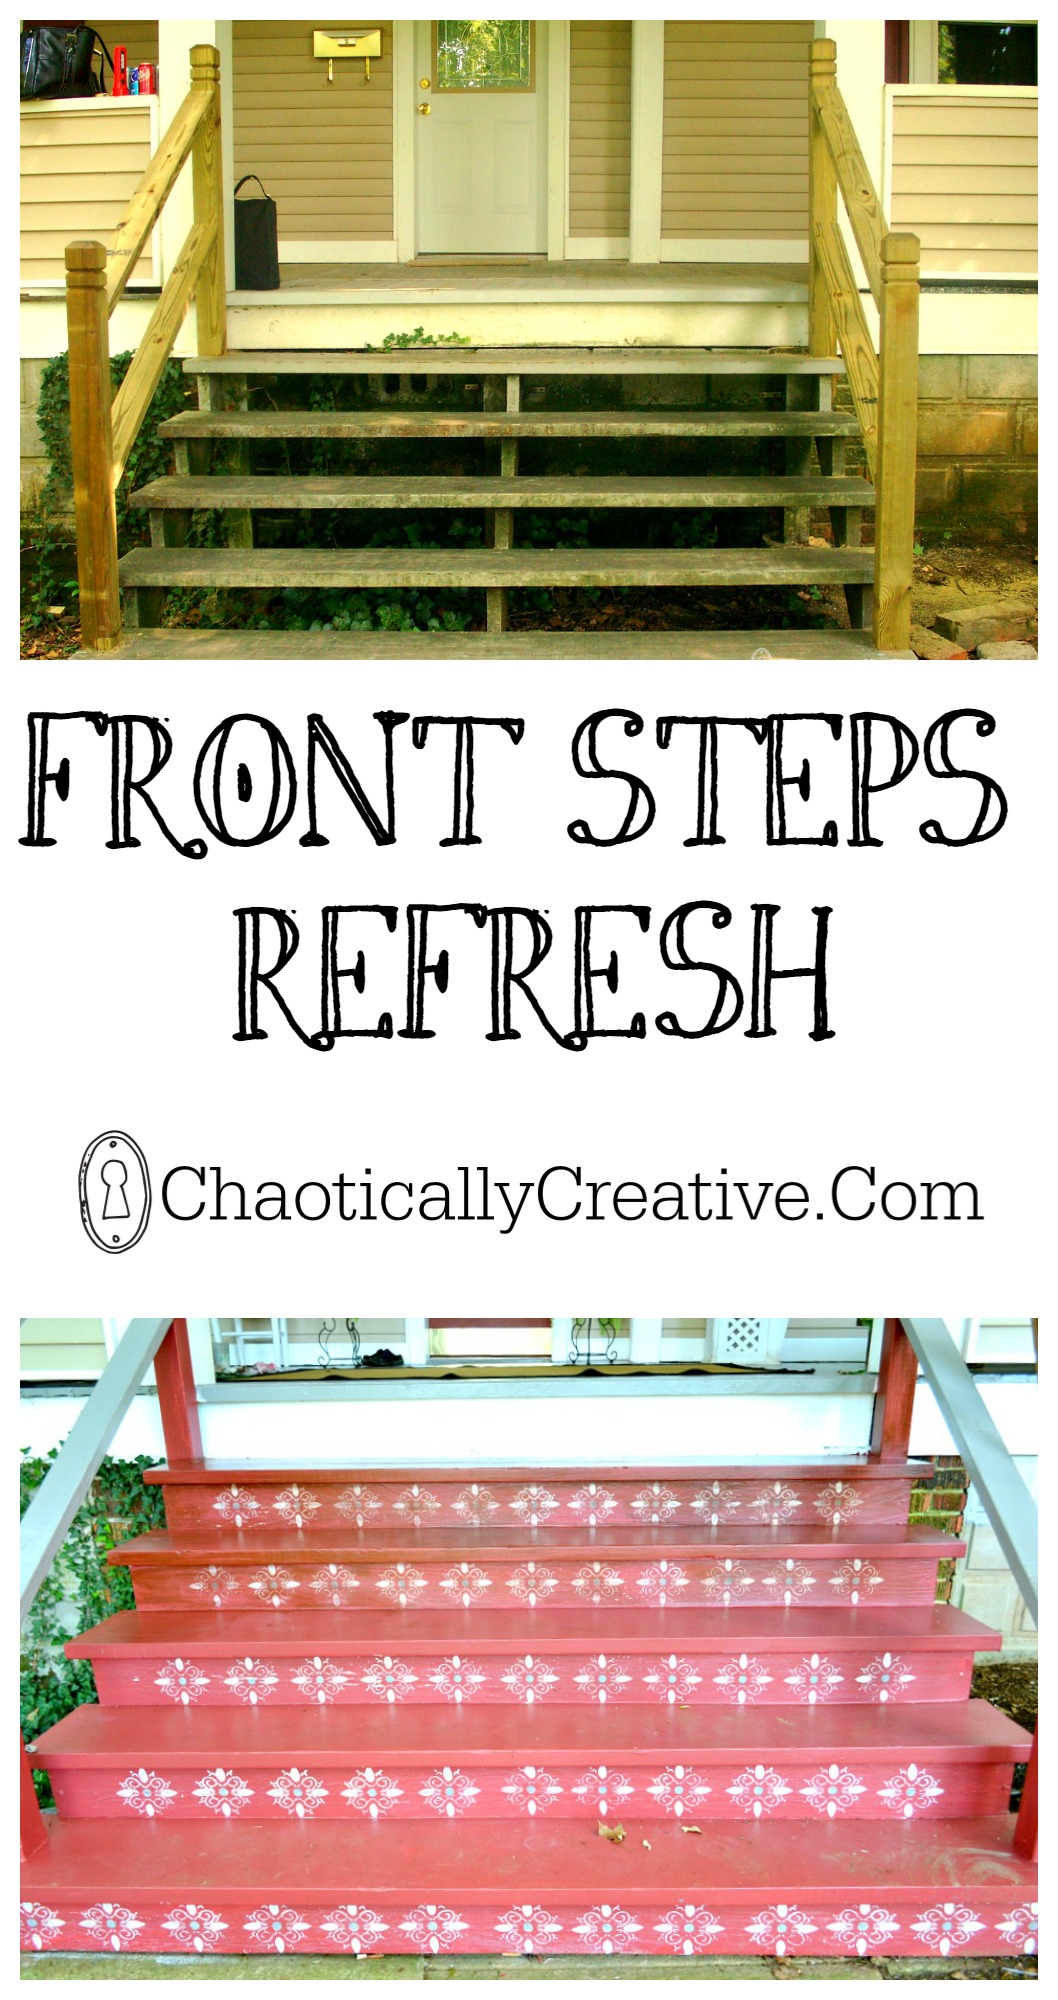
This is the way they stayed for along time….
Dirty and nasty and creepy.
Then we worked on the front porch floor, like forever. It was unpleasant and dirty and sticky and HARD. I was so elated to get finished that I actually got excited to fix up the steps. You know, it’s like when you go on a diet and lose weight and you look awesome and can’t wait to buy new clothes and makeup and hair extensions and bask in the glory of your accomplishment.
So, I add some boards (risers) to the steps and decided that I was going to do something awesome.
Then I got invited to have my house on the Christmas tour. I was so excited and honored and panicked that I kicked myself into super sonic DIY hyper drive in fact, I was in such a rush that I did not take a picture of the steps after making them pretty, I thought I had time to do that later.
So, I painted the steps with some left over red door paint and painted the risers white and stenciled a little design in the middle and distressed them. Nobody distressed their front steps right? This is going to be amazing!
And it was, for about 2 days….
The tour people came and oohed and awed and some ladies told me that they love my tole painting on the steps and then this happened…
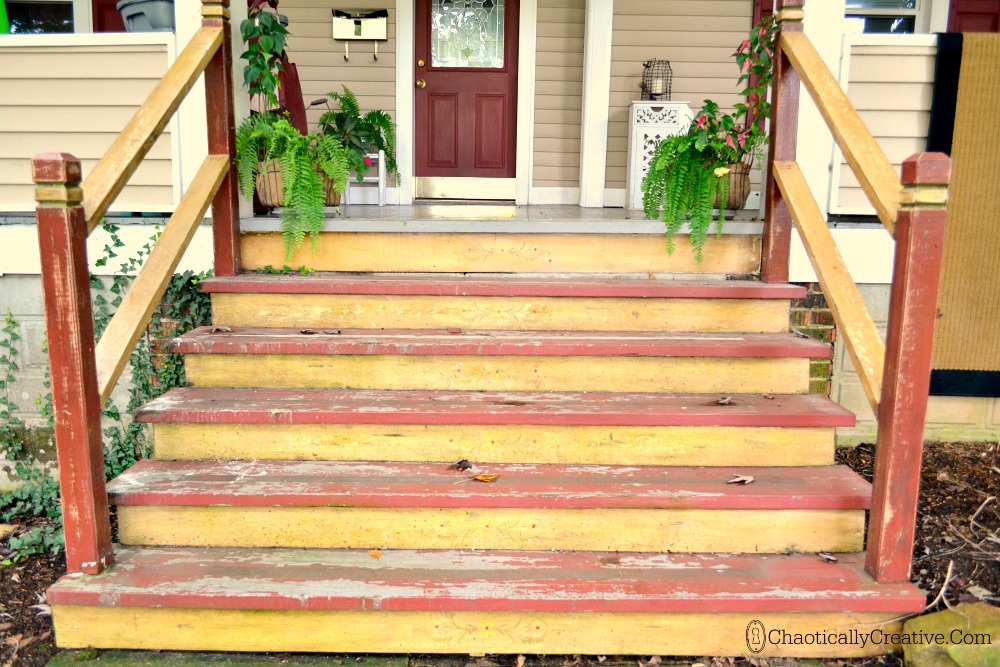
The red door paint started peeling and every time it rained little flecks of red would stick to the riser and the risers turned yellow and this is the way it stayed for a very long time…
Because I just could not believe my eyes! They were so beautiful and awesome and different and people loved them and thought they were tole painted. I was the talk of the town!
And then months later I heard someone say “paint for walking surfaces”. What? What did they say? And it dawned on me, steps are walking surfaces and the door paint, well you certainly don’t walk on the door right?
In my haste to pretty up the front steps, I forgot to consider the surface or better yet what we do on that surface and how the rain, snow, sleet and heat pound down on that surface. I just wanted them to match the door, so I grabbed the door paint.
You see, surfaces matter. Especially when it comes to paint. But that’s not all! Noooooo, we have more lessons to learn!
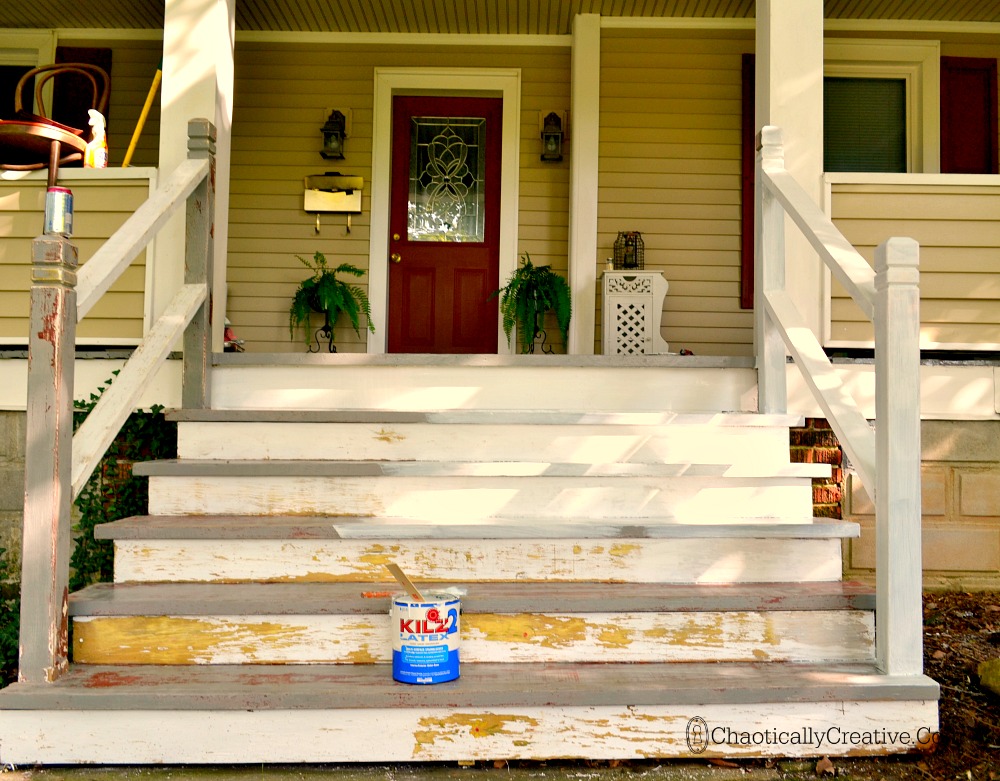
So, I sanded and scraped and Kilzed like crazy, determine to do this right.
and I painted the steps with PORCH AND FLOOR Paint
the same as the porch which was oil based…
on the hottest most humid day ever.
Then it rained…
Torrentially,
for hours.
And the next day when I looked at it, it had huge whelps all over it.
Blisters and Bubbles
As I scrapped, all paint from the beginning of time came up.
There is not a picture of this because I was in shock. Total shock and disgust.
Once all the paint from the beginning of time was scrapped off and the wooden steps were sanded again,
I Kilzed again and was tempted to leave them solid white….
and I did, for awhile…
Then one Saturday I woke up and decided to paint the wooden steps.
And I went to Lowes and got some red paint in exterior Latex Porch and Floor Enamel.
The same color as the door.
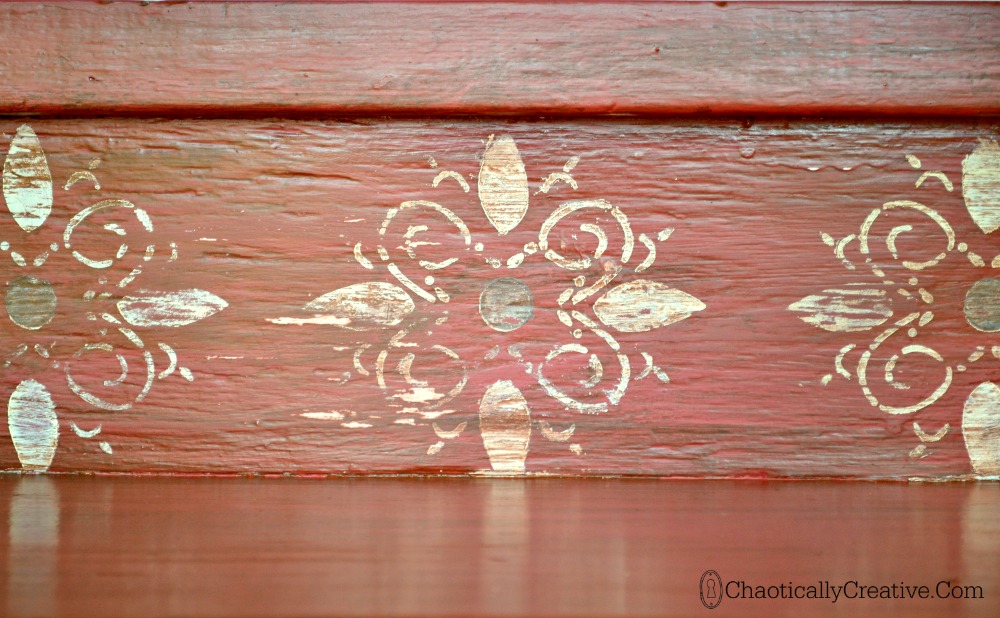
And I painted and stenciled an distressed a little and added a coat of stain.
Then I tweaked the hand rails in different variations of
red, white and gray…
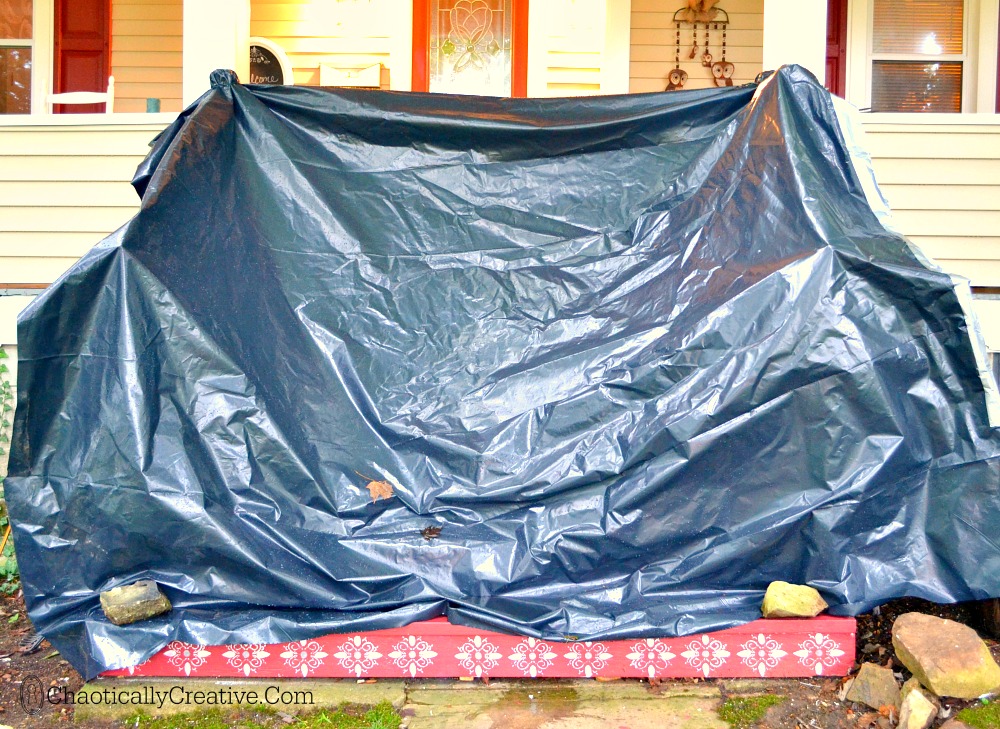
and then the steps got to sleep in a tent that night because I wasn’t taking any chances!
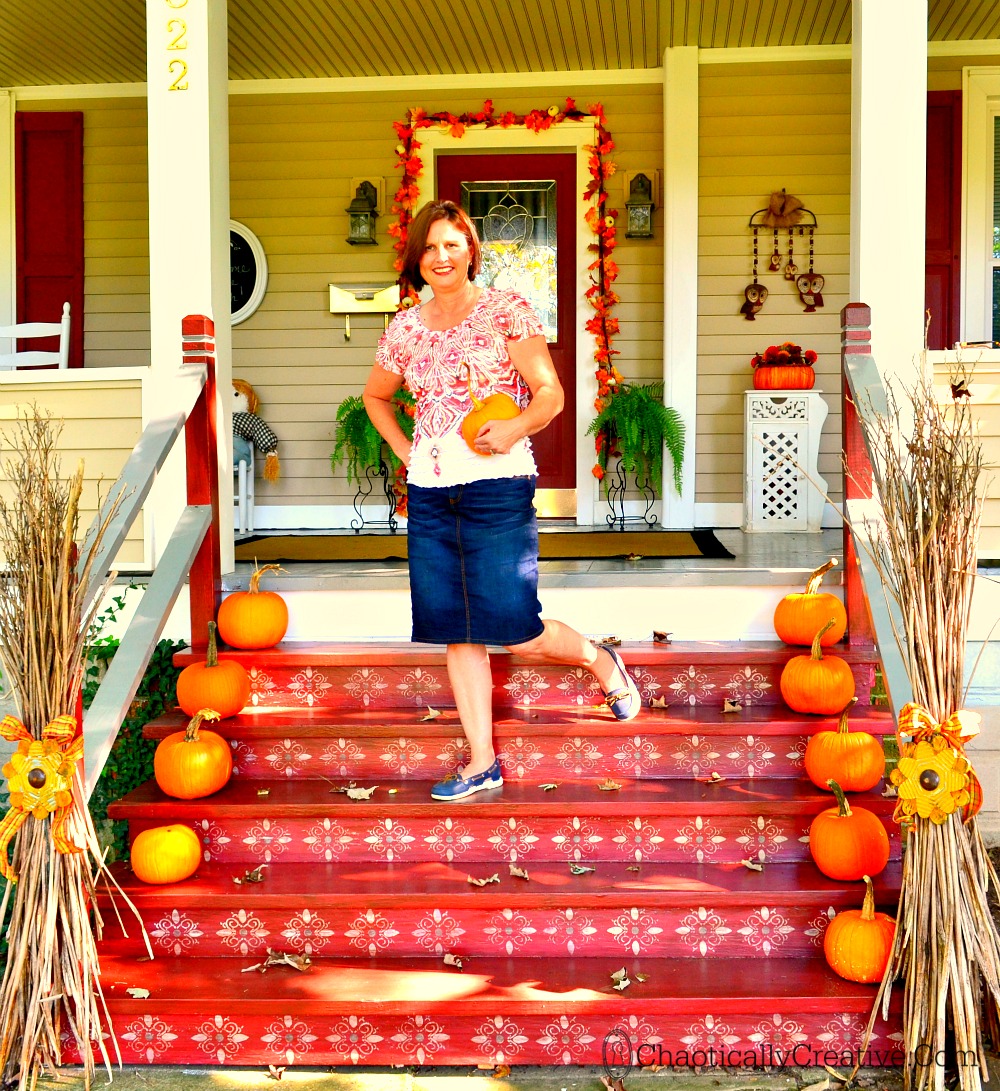
I added pumpkins from my garden and gathered stalks from my Day Lily’s and I wished that I had time to do the Christmas tour again.
As I stood back admiring them I noticed a little something off. The door seemed to be a different color. So I grabbed a brush and the red paint and tested it out on the door and it matched. It did, it really did.
Then I noticed the 2nd story shutters and the door and the steps were all a different shade of red.
Then it finally dawned on me that some were in shade and some were in sun and some were dappled shade and were all fading differently and I thought, oh well,
They are going to stay like this for awhile…

your steps look fantastic, I just love it! loved reading about your step journey too!
Thanks Denise. It’s not over yet! I am about ready to change from the red to another color all together. Eventually that is…
Thanks for stopping by!