Have you seen a ceiling that has been damaged and repaired with a sloppy patch job? Regardless of how awesome the room is, my little eye will spy the patch and focus right on it!
Our office had the mother of all patches that ran all away across the room, like a crooked road! Let me tell ya, I am ready to fix a Patched Textured Plaster Ceiling. With the poor lighting in the room it was hard to get a good picture and in my haste, I forgot to take a before picture. What this picture does not show was the attempt the patcher made to match the old texture in the ceiling with popcorn. The ceiling does have a grainy type texture, but it is NOT popcorn.
Old House Issue: Patched Textured Plaster Ceiling that looks like crap!
What I need to determine:
1. How old is the ceiling?
2. What material is the ceiling?
3. What are the options for repairing or replacing?
This is what I know:
The office was an addition in 1945. The ceiling is plaster with some type of grainy texture. There was a leak in this room from the porch roof and the leak was repaired and the damage to the office ceiling was patched. My options are to sand the entire ceiling (not happening, could be asbestos), sheet rock the ceiling (no budget) or attempt a repair that involves just the patch (Yep, this is what I do). I also know, that in choosing this option the ceiling will NOT be perfect. It will not be a perfectly smooth without flaw ceiling and I have to live with that.
My first step in correcting the patched textured plaster ceiling was to remove the offensive popcorn texture from the patch. That should be easy. I read that you spray it with water and just scrap it off. WRONG! It came off all right, along the the tape and patching stuff they used! So, I had chucks of patch falling off the ceiling. Sorry no picture, too much trauma. I immediately stopped, cut the tape to the point is was falling down and applied some Patching Plaster.
 Here is a picture of the patched hole where tape and plaster fell. As it turns out, I probably could have just removed the entire strip of tape and started from scratch. I opted to play it safe and just patch the one section. For about a week, I applied the patching plaster, allow to dry and wet sanded all the way across the ceiling. I did this about three times until I was satisfied that it was blending in nicely. The last step will be to add some texture.
 Using an old bushy paint brush to fan out the edges of the plaster patch worked great to blend it in with the rest of the ceiling.Patching Plaster and a paint brush was my best friend in the office redo! I also used this technique on Fixing Cracks in Wooden Door Panels.
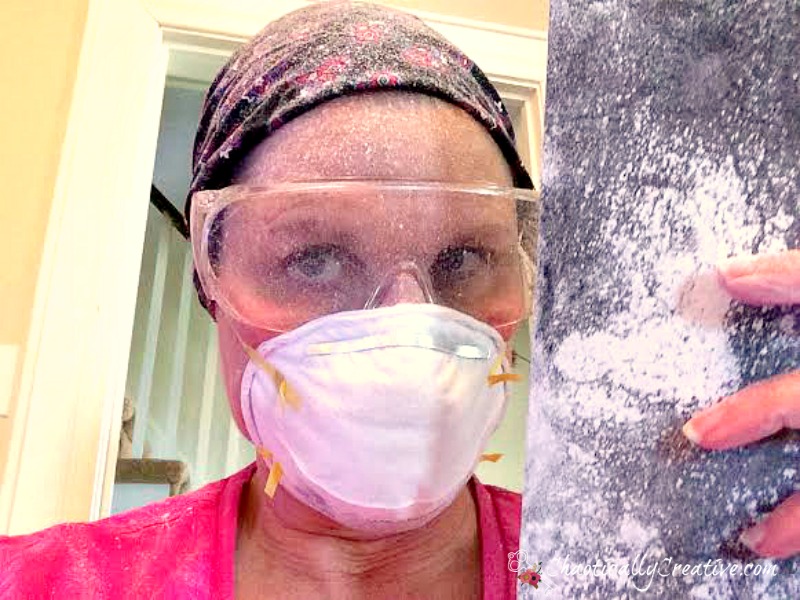
 Now for the sanding part, you will need to sport some fancy face and head attire. Now, if my husband was doing this job, he would be wearing a has-mat suit.
Because you will look like this after a short sanding session.
Now, you might be asking, “How is Denise figuring all t his out?” Well, it is research and trial and error. My neighbor is a professional painter and I had him take a look at the situation. He turned me on to this:
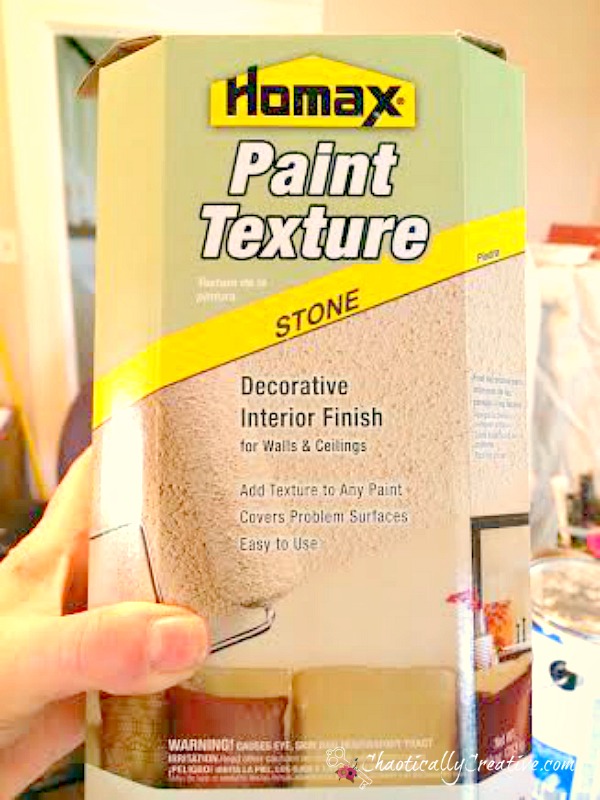 I would never in a million years thought to try this product. In fact, I was thinking of using the popcorn patch again and smashing it down flat. I am so thankful he told me about Paint Texture. It comes in two sizes, the stone which is larger and the sand which is a finer grain. I chose the stone. I like it because you add it to the paint. Not on top of dried paint.
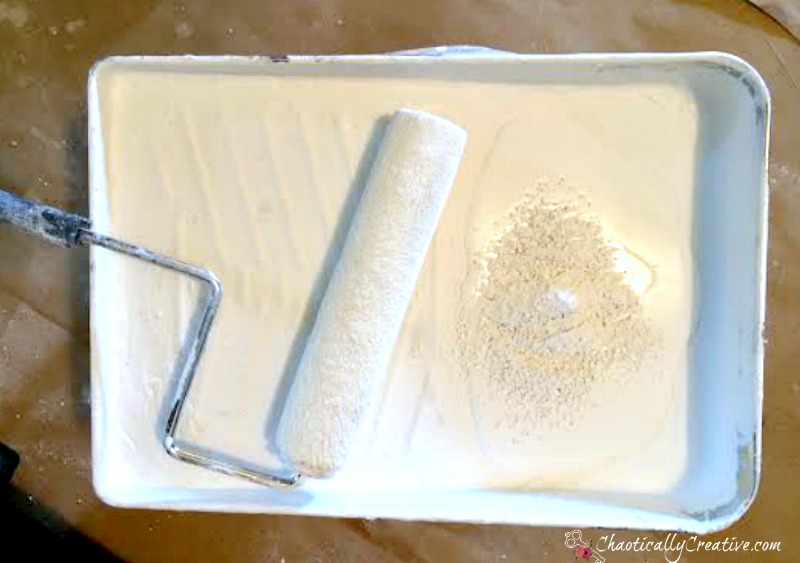
I added it to Kiltz (another best friend) and it worked beautifully.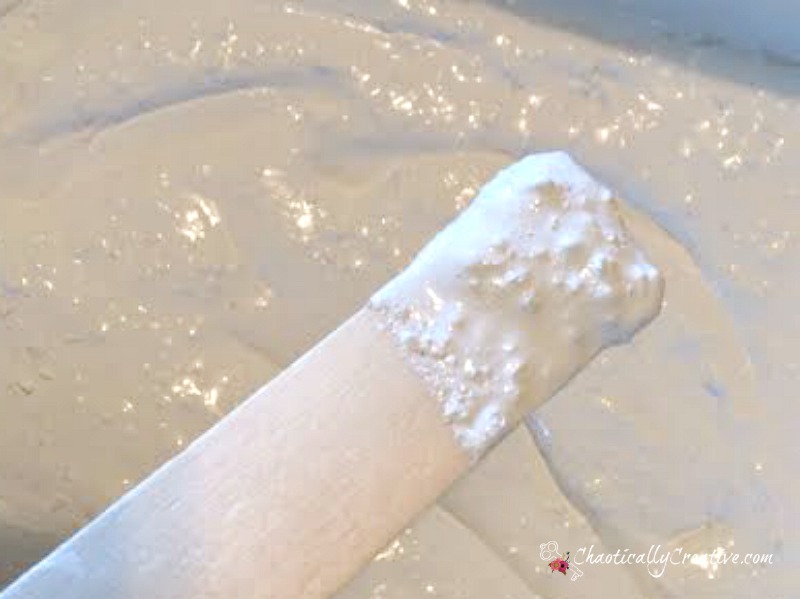 As soon as I mixed it, I knew it was going to work. I could not wait to apply it to the patched plaster ceiling.
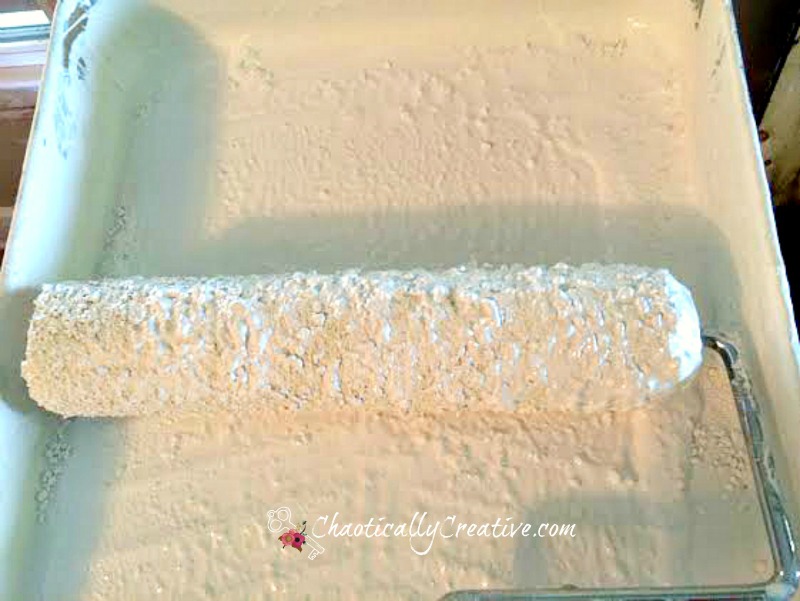 With the lumpy bumpy roller filled with paint and texture, I applied it to a small section and allowed it to dried. I wanted to make sure that the amount of Paint Texture added to the paint was correct to blend in with the old part of the ceiling. After drying it looked awesome, so I finished the rest and allowed to dry.
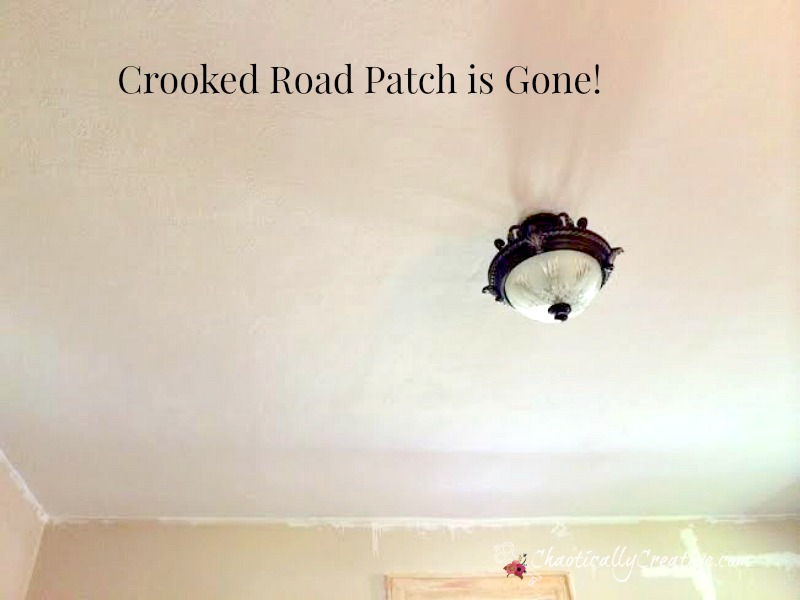 The last step was to paint the ceiling a bright white ceiling paint. The patched textured plaster ceiling repairs are done. The ceiling is definitely not perfect but looks a gazillion times better! Now to finish stripping multiple layers of paint on the woodwork. Thank you so much for visiting today and until next time, Happy DIYing!

