Plumbing is scary to me. It is intimidating and causes anxiety. Unleashed water in a house can cause a ton of damage. In this post, I go through the steps to determine if this is a simple plumbing repair that I can tackle myself. The last repair I tried to do was a disaster! Our garbage disposal fell under the kitchen sick and took all the plumbing down with it. I put a couple of pieces in wrong and ended up causing a leak that ran under the ceramic floor tile and cracked it. I called in a Pro who fixed it in a jiffy.
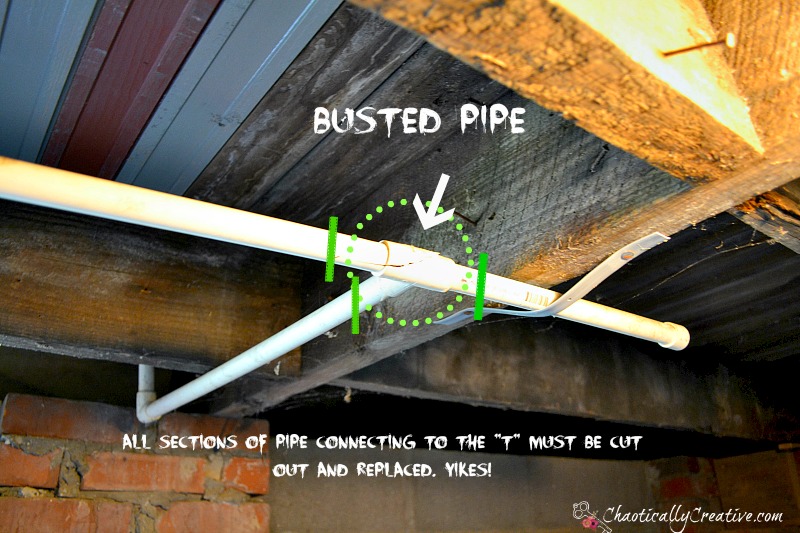 My house is very old and prior to the restoration there was no access to water on the outside of the house. Above is the plumbing solution for that. These pipes are under the house near the door that leads outside. One section runs water up to the front porch hose bib and one is close to the door that allows a hose to be attached for the side yard and back yard. It usually works fine except that we had several days of below freezing temperatures and I forgot to turn off the water to this section and winterize. One day the water pressure in the house dropped and I went under the house to find a gushing mess. Now that spring has arrived and I am planting a backyard garden,I NEED WATER! Time to fix and with all that is going on at my house, I have to find ways to save money with every project. Here is how I accessed the situation to determine if I could fix this.
-
Is the area to be repaired easily accessible? Can I reach it comfortably without injury?
-
What are the materials needed to do the job? Will buying the materials/tools be more affordable than hiring someone?
-
Do I have the skills to perform the task?
-
If I mess up, what other damage could there be?
1. The answer is yes. The area is completely accessible. I do not have to crawl into scary places and attempt to repair on my back looking up with very little room to function. This one I can answer myself. The next two, took a little research.
2. I took the above picture with my phone and headed to Lowes where I spoke with the Plumbing Specialist. In addition to the picture, I also needed to know if the pipe was PVC or CPVC and the size. Neither of which I knew so I purchase all the wrong parts and had to return them including the primer and cement. I have learned to accept that the return and exchange activity is just part of the learning process. He also asked me if there was movement to the plumbing. In other words, can the length be adjusted and is it somewhat flexible and not completely fixed in placed? After going home and looking at it again, I determine that yes, there was “movement” which makes the job much easier than if you are working with something that is “fixed”.
Materials For The Job
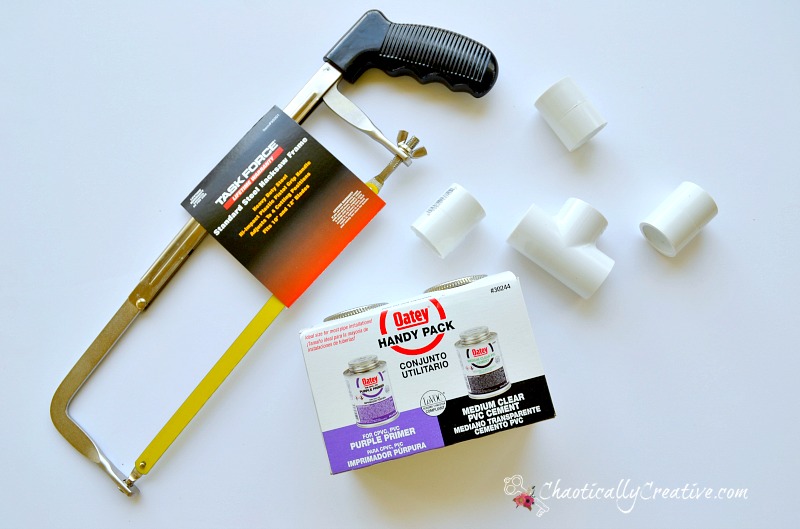
A new “T”, Connector Pieces, a piece of replacement pipe, purple prime, cement and a hack saw.
All of this was under $20.00.
3. After speaking with the plumbing specialist, I determined that I did have the skills to perform the task which were basically, sawing out the damaged “T” and gluing everything back together. (I asked him if this was something that I could do.)
4. Most importantly, if I messed up, there would really be no other damage since the water could be completely cut off from this area until repaired.
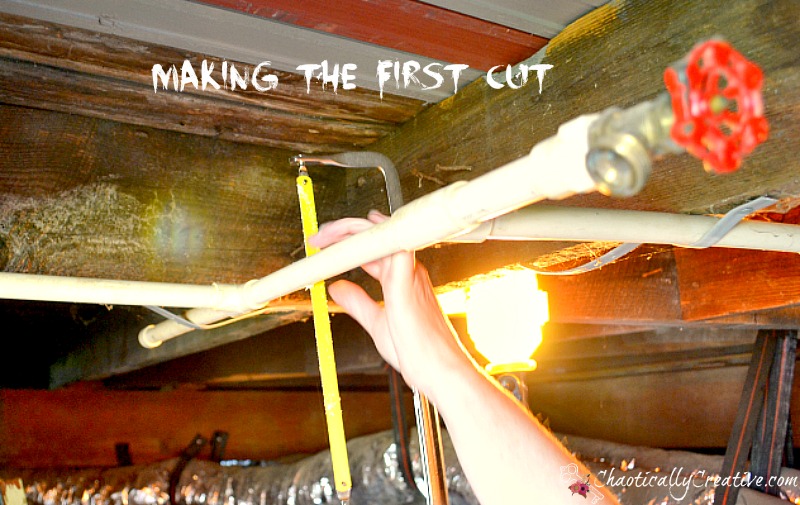
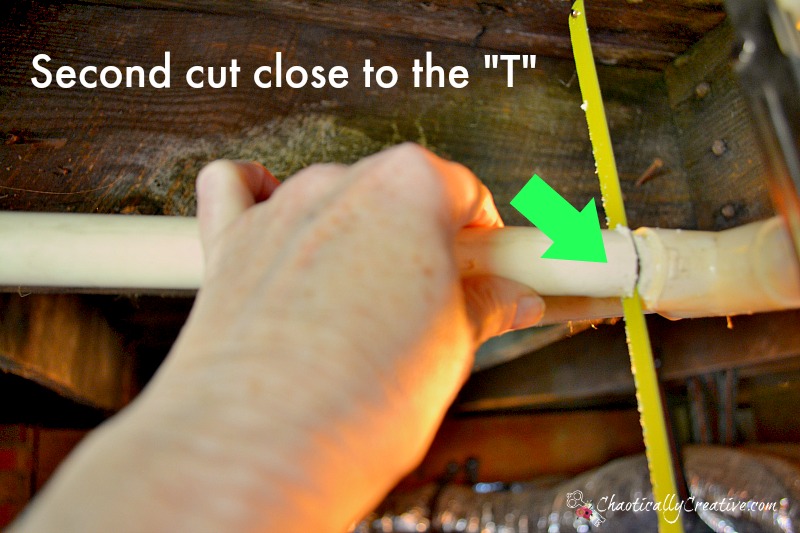
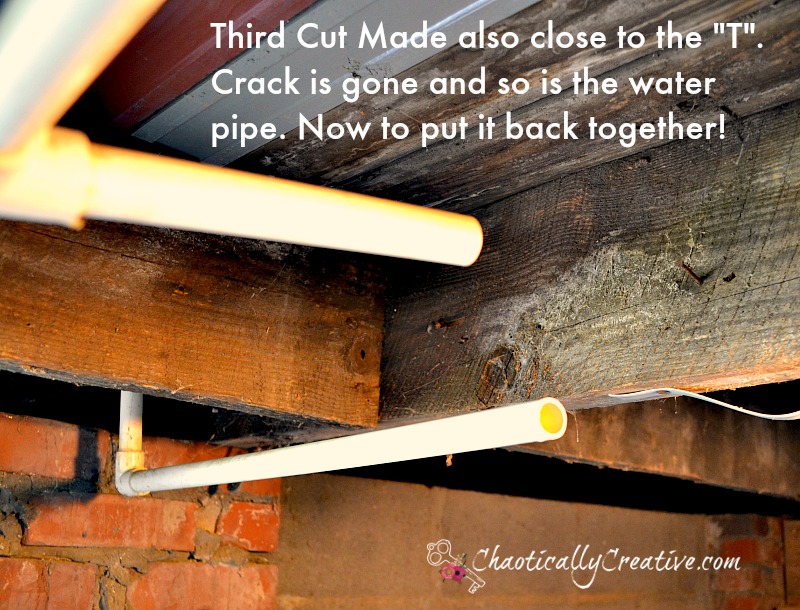
So all the correct materials have been purchased and I am ready to make the first cut. My husband is NOT a DIY fan, but he is with me for moral support and picture taking and he did make a couple of really helpful observations. He accessed the situation for me and determined that if I made two cuts closed to the cracked “T” we could insert those pipes directly into the new “T” without connectors. This was possible because we did have enough “movement” in the configuration.
That first cut was easy and I am now confident that I can do this.
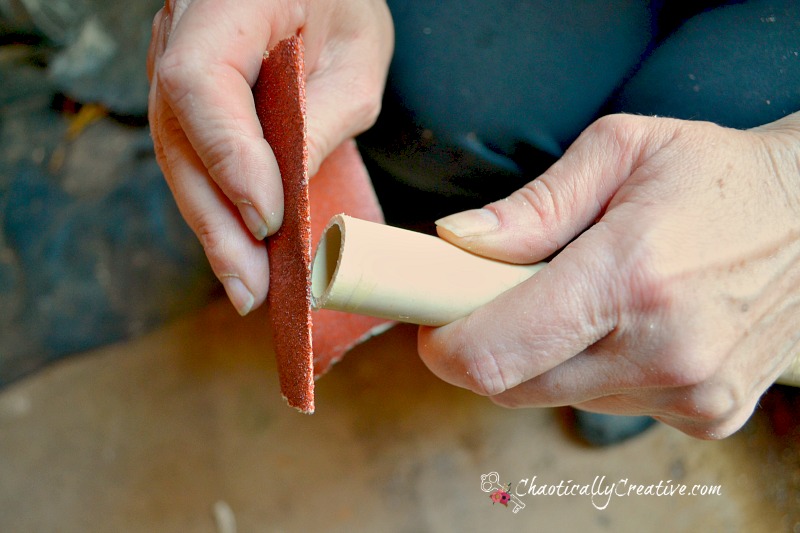 Prep the pipe with a piece of sand paper and then clean with a cloth or paper towel.
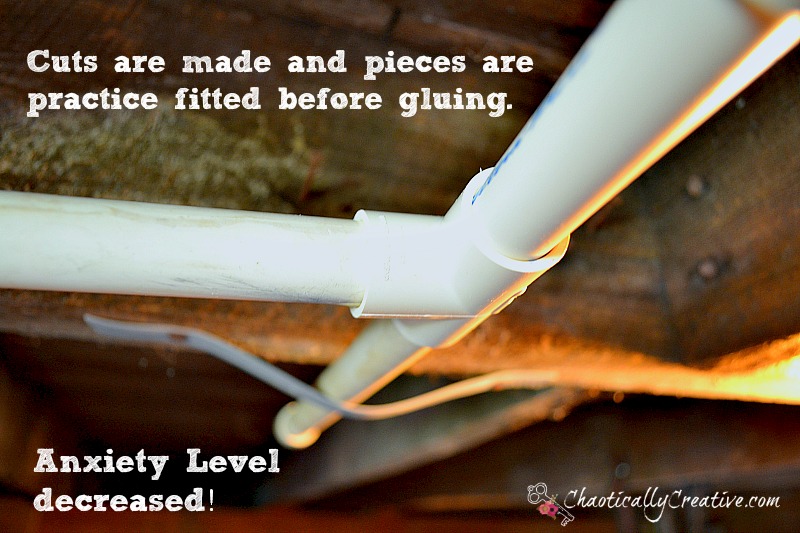 The plumbing specialist highly recommended doing a “dry” fit before gluing. The reason being is that the cement sets up very quickly, like in 15 seconds.
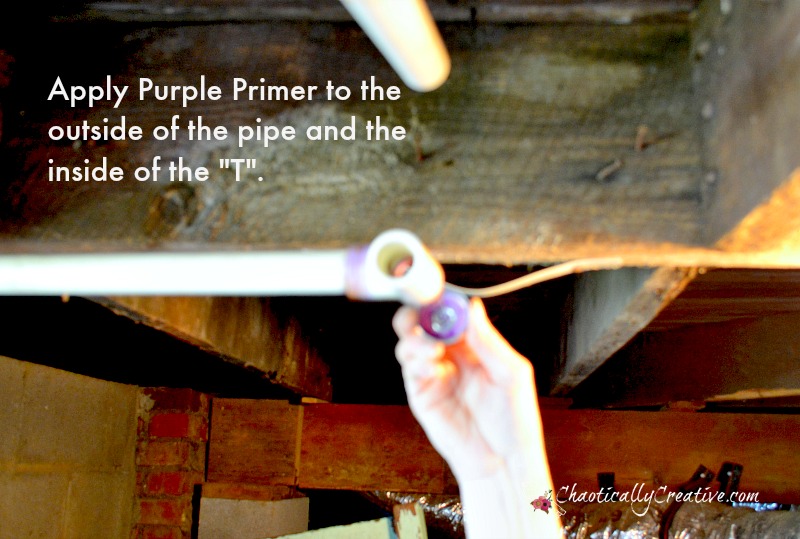 After sanding and cleaning apply the purple primer first. Then the orange cement.
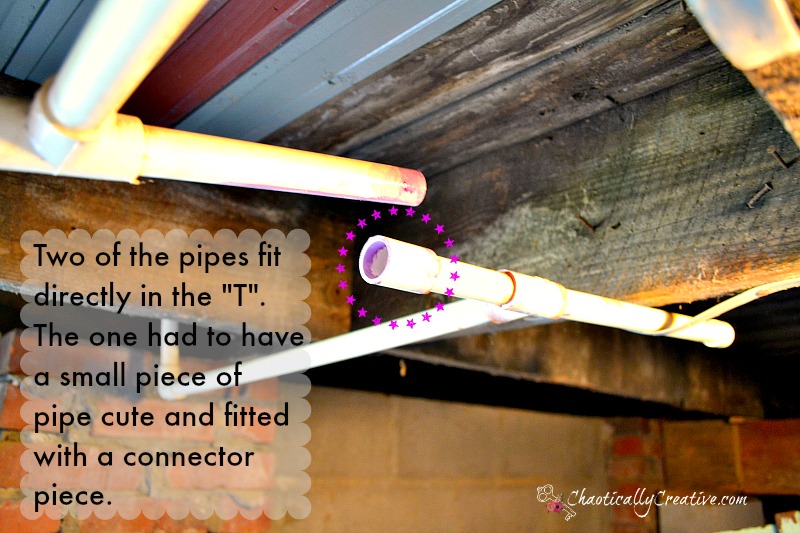 This picture shows the final piece of pipe to be cemented. Notice that I will have the ability to move the pipe backwards in order to insert. This is what is meant by “movement”.
 All done and ready to water. Well almost. I am going to hold off at least overnight! So glad that I went out of my comfort zone and learned to do a simple plumbing repair. By answering a few basic questions and getting some guidance from a plumbing specialist, you just might be able do it too!


Not every plumbing work is tough, if you look closely you can do most of the small things on your own by using the right equipment. You fixed the pipe with an absolutely ease and also saved the money which is great.
Thanks Peter. I like getting the facts first and then deciding whether or not I can (or want) to fix it. Thanks so much for stopping by!
Getting your drains cleaned by a professional is the best way to keep your drains and sewer system fully functional. Sometimes the issues that homeowners experience are far more complicated than they realize. Many customers will easily find themselves spending hundreds of dollars paying for chemicals and equipment to repair a clogged plumbing issue that they could never fix, only to call us later.