Disclosure: Chaotically Creative Co. was compensated with the wall decal from Stickit2me.com.

Learning to read and write is such an important skill. Having young children sit down and use flash cards or copy letters is not exactly developmentally appropriate. Children learn through hands on experience, we talked about learning through block play last week. So how do you immerse children in reading and writing in ways that are developmentally appropriate? There are many ways! Like creating a literacy center in your home like the one we just made.
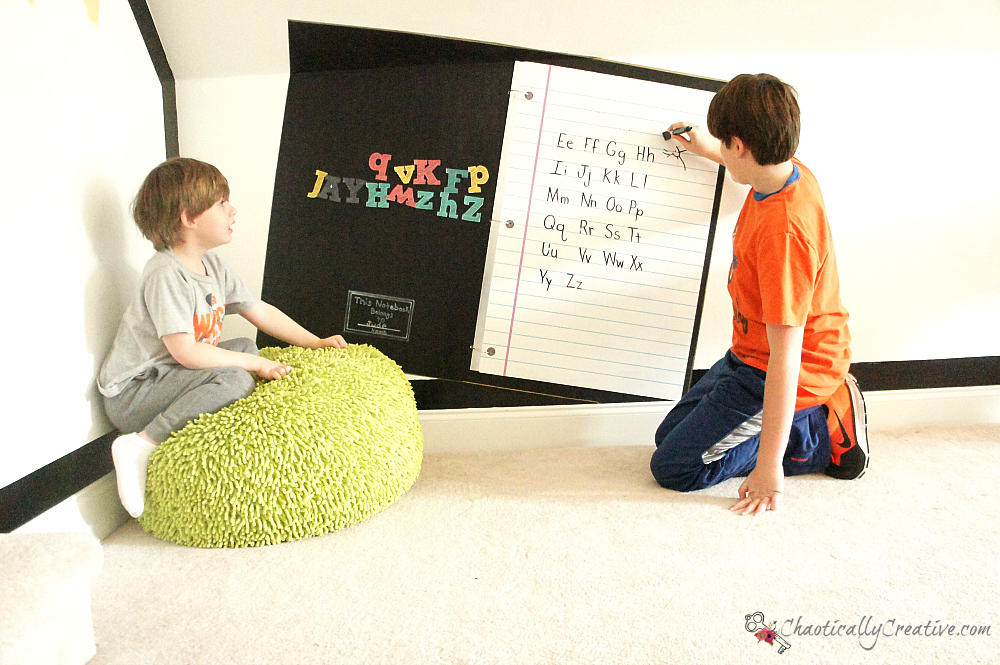
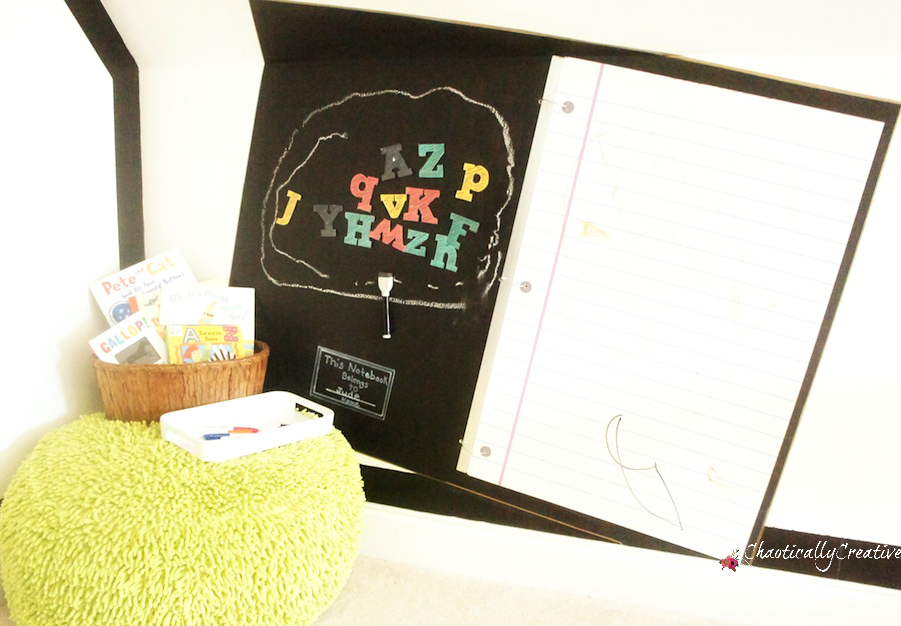
Look at “The Notebook” wall art we created in our playroom. Isn’t it awesome? Using a Notebook Paper Decal from Stickit2me.com I created a Notebook that is completely interactive in so many ways. This unconventional wall art promotes writing, spelling and reading. Let’s look at the details.
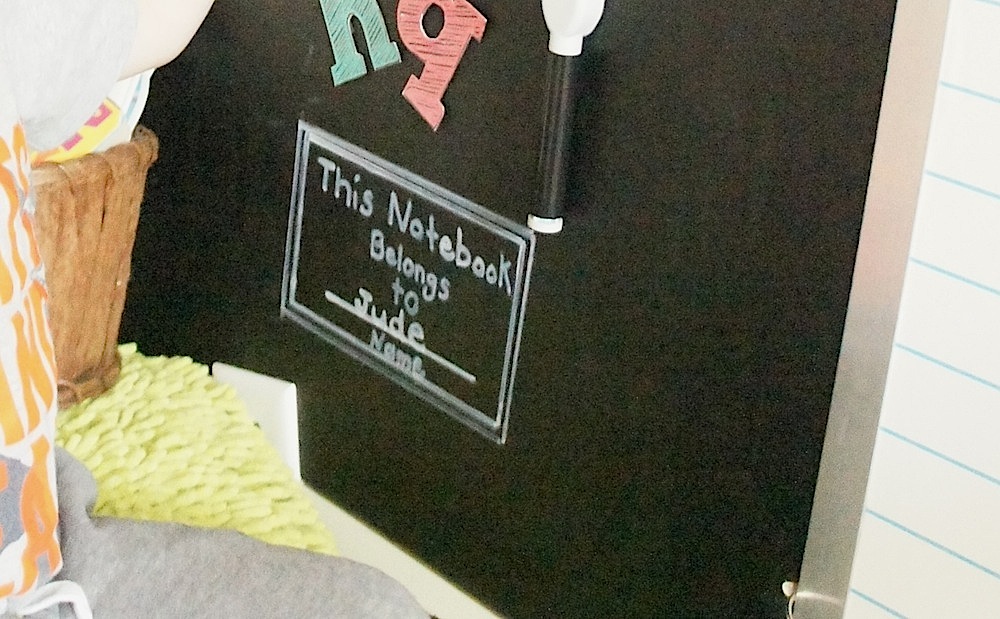
The black areas of the Notebook are both magnetic and chalkboard. Using magnetic paint my awesome neighbor gave me for the bottom coat and chalkboard paint leftover from our downstairs garage entry way I was able to create the perfect interactive canvas.
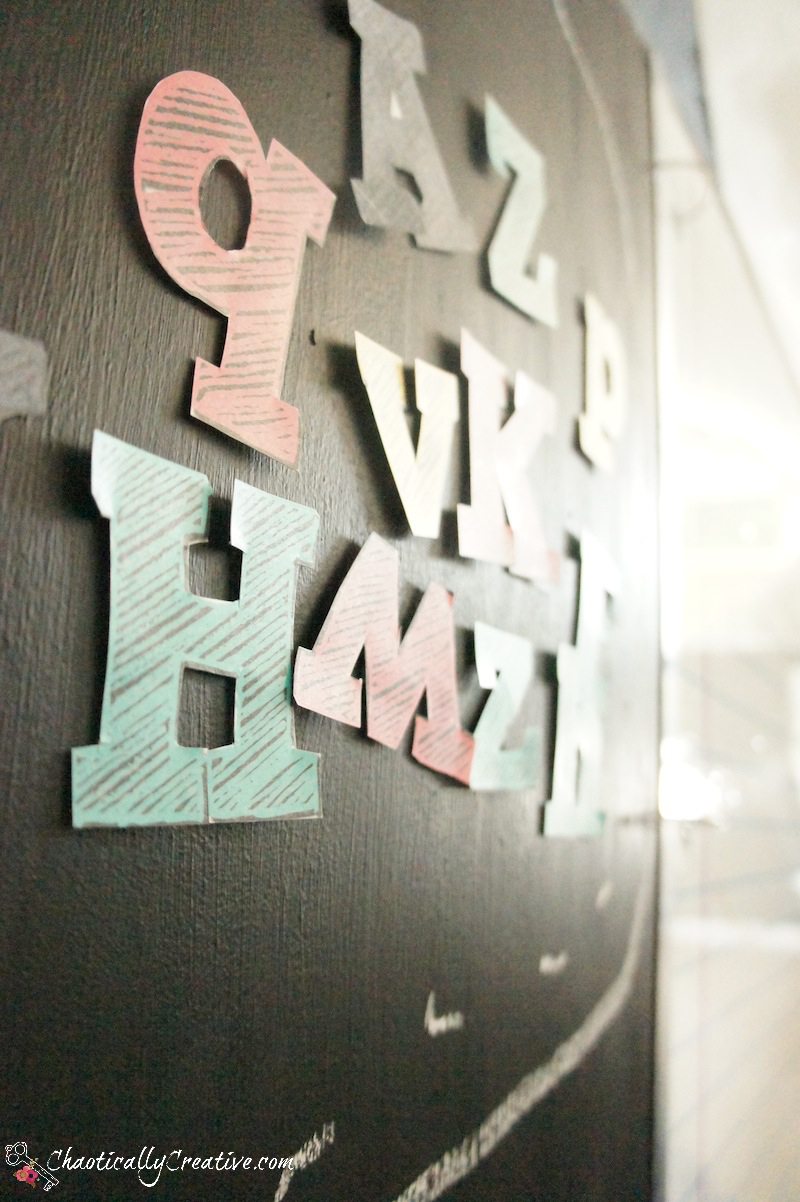
I’m loving that this surface is magnetic. Not only do these fun homemade magnetic letters stick to the surface but the pen that came with the decal sticks as well for easy storage.
At age 4 Jude is able to organize letters and explore them on the magnetic section then copy those letters over on to the dry erase too! Creating a Literacy Center is so much fun!
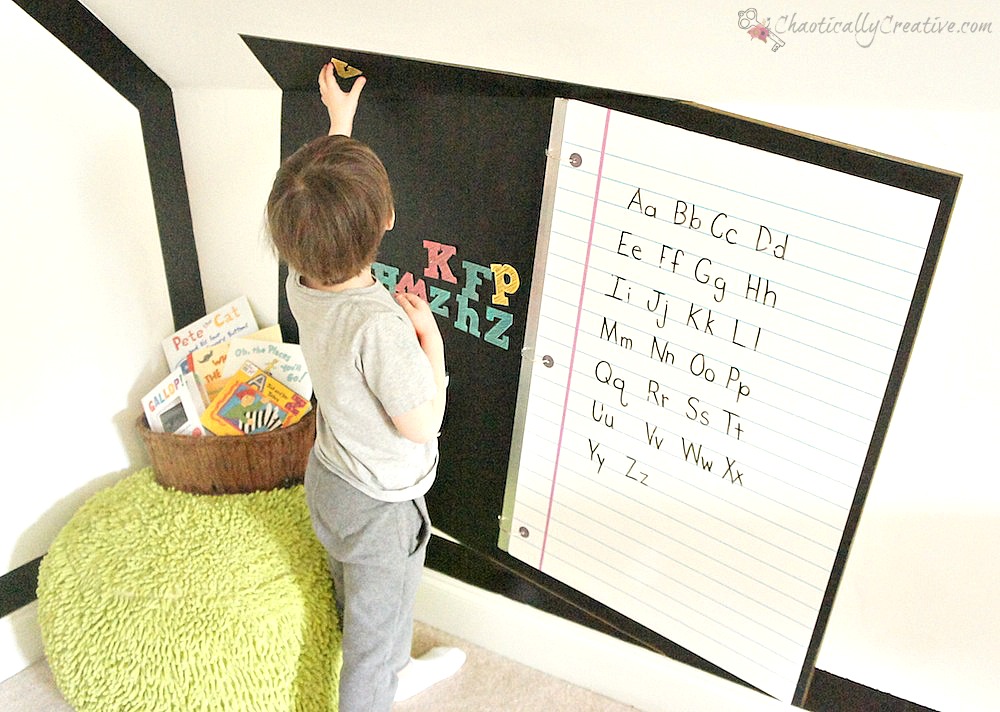
By adding a comfy spot to sit and a basket of books the boys have everything they need to read, write, and spell. By creating a literacy center that encourages learning through play is far more fun and developmentally appropriate then working through actual spelling “notebooks”!
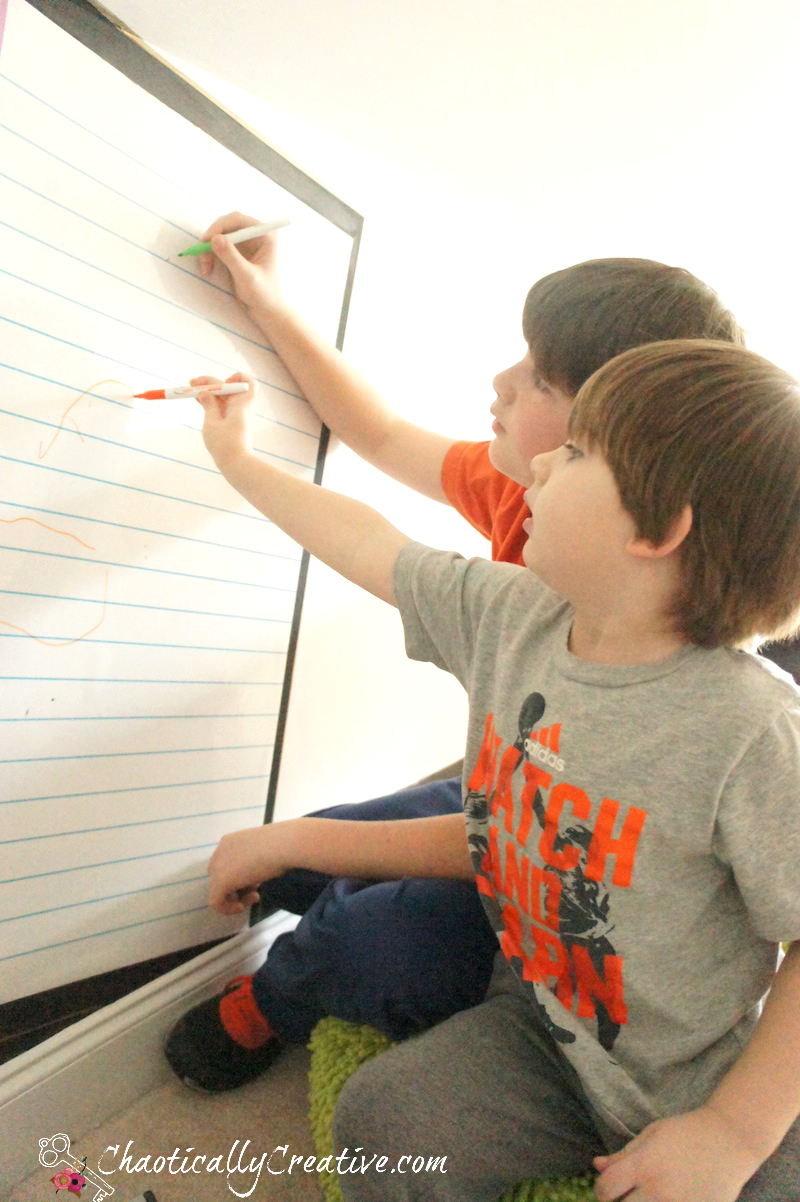
Young kids love to model after older ones. Jude has a big brother and he watches him carefully as he explores literacy. 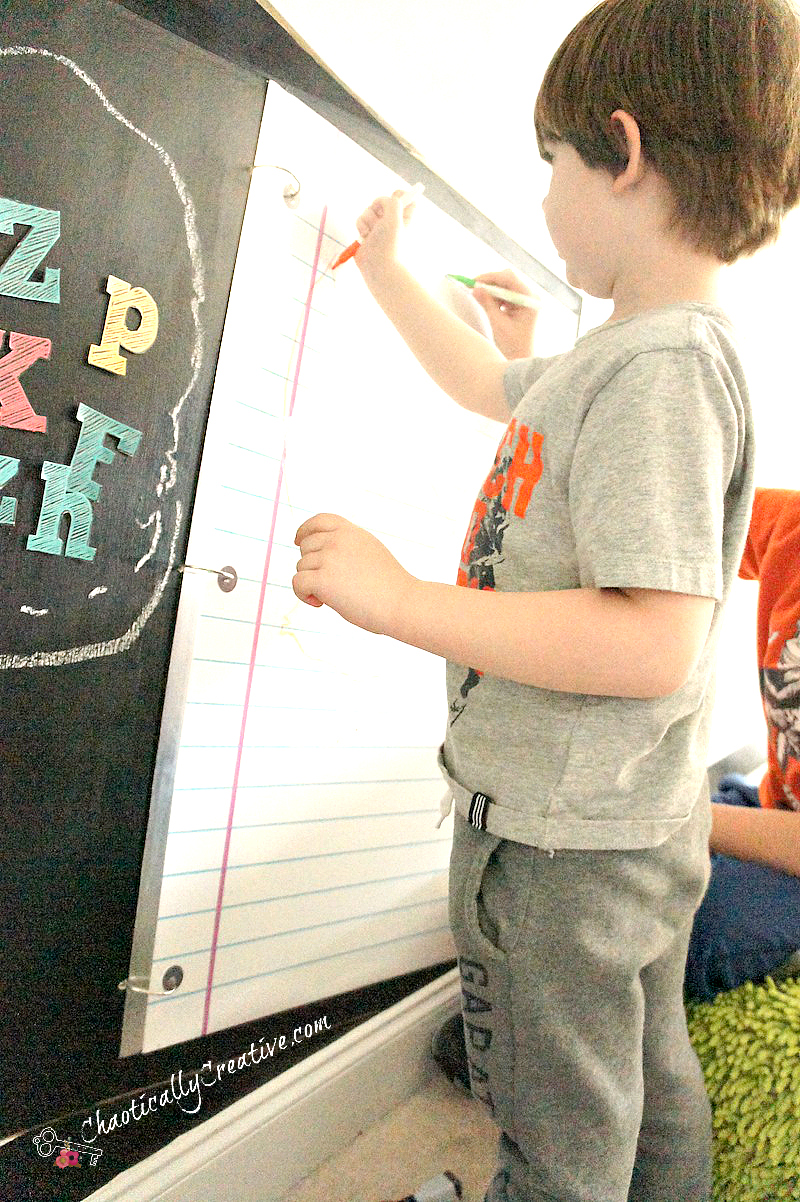
Oh yes and this notebook comes equipped with a spine and 3 rings! Cool huh? Want to make one too? Read the instructions below.
Take a closer look at the Notebook Wall Decal. It is high quality and can be removed and re-positioned easily. Removing it leaves no residue at all!
Creating The Literacy Center Notebook
Item List
- Notebook Paper Wall Decal by Stickit2Me
- Chalkboard Paint Rust-Oleum 206540 Chalkboard Brush-On, Black, 30-Ounce
- Magnetic Paint Primer Rust-Oleum 247596 Magnetic Primer
- 2 packs of rings ( Target in the office section) or Charles Leonard Inc. Loose Leaf Rings, 3 Inch Diameter, Silver, 10/Box (R79)
- Metal stripping (Lowes Mailbox Isle)
- Adhesive (I used adhesive from Lowes for molding)
- Painters Tape
Instructions
- Trace out your wall decal at the angle you prefer
- Trace the metal piece or the spine
- Move the paper on the other side and trace again.
- Using a straight edge trace a border around the entire notebook.
- Now you will paint the entire section including the border on the left hand side with magnetic paint. (use several coats)
- Only paint the border on the right hand side because your decal will coverup the rest of the area on the right side
- Let Dry
- Paint same area with chalkboard paint
- Let Dry
- Cut metal piece using tin snips.
- Glue metal piece to middle. You may have to use painters tape to keep it in place.
- Using a screw driver and a hammer punch holes in your wall where the rings will go.
- Open your rings and guide them through the wall.
- Add Magnetic letters. Print ours from here.
