This post contains affiliate links.
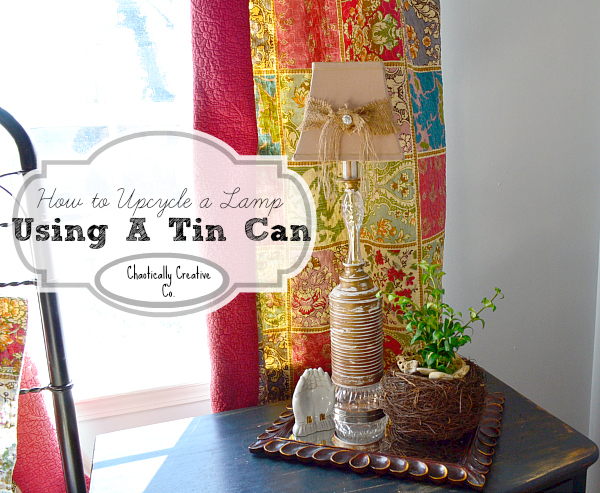
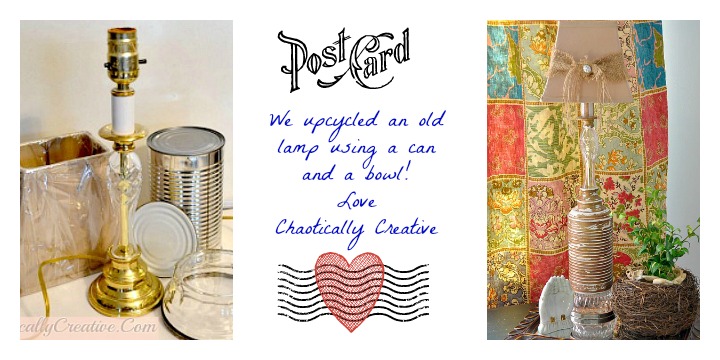 This pair of old 1990’s lamps was in the yard sale pile. As it turns out, I needed some small but tall lamps for the foyer and I began wondering if these had potential. I had a couple of ideas, but wasn’t sure they would work out. Right around that time, the local newspaper called and wanted to write an article about Lesley and I. They wanted to see us in action and so we chose the upcycled lamp using a can project.
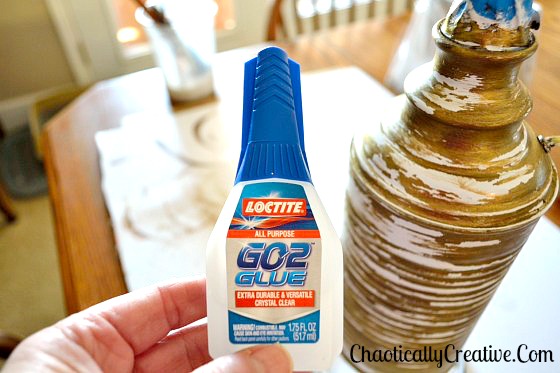
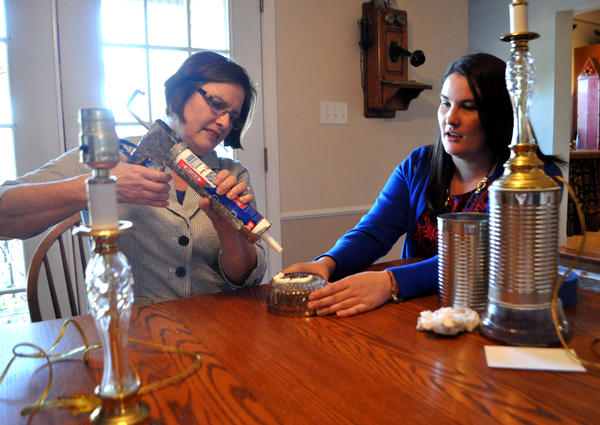 The first challenge was to find an adhesive for aluminum and glass. The one we were using in the article made a big giant mess. After the interview off to Lowes to find another solution. Loctite works great, is totally clear and has this awesome little cap that keeps the glue from drying out.
 The plan was to create height with varying patterns and texture using the can and the glass bowl. The large can was once the home of green beans purchased at Wal-Mart. Yes, I went searching for the “correct” size of can and yes we ate the green beans. The bowl was a Thrift Store find. The first step is to glue the can lid back on the can. The lamp base sits on top of the can and the can sits on the upside down bowl. (The need for the can lid to be glued back on came after much trial and error and globby mess). Before the lamp was glued onto the can, it was given a couple coats of white oil based enamel.
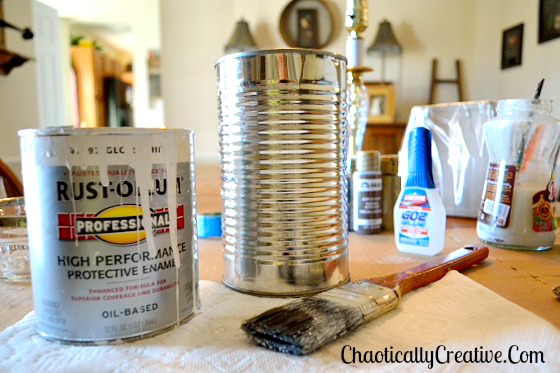 Tips: When you are paint on metal, there is nothing for the paint to absorb in to. Be sure and do light coats to prevent running and lightly sand in between coats. Also, let the paint dry COMPLETELY, as in CURE between coats.
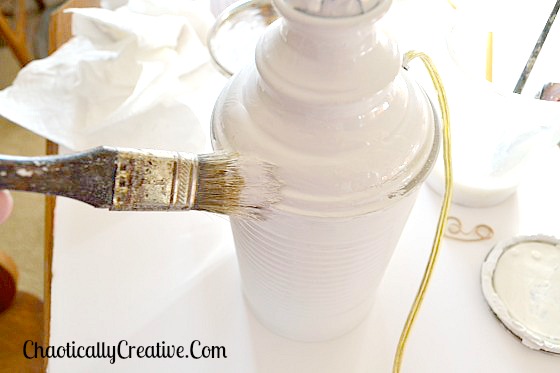 After the lamp was glued to the can base there was a little gap which was filled with the original adhesive. Caulk would work as well. After that dried, the base of the lamp was given several coats of white paint to give the impression it was one continual piece.
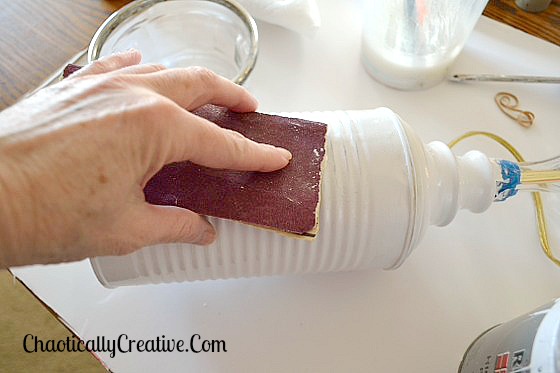 Sanding between coats to remove any accidental drips and to give the next coat something to adhere to.
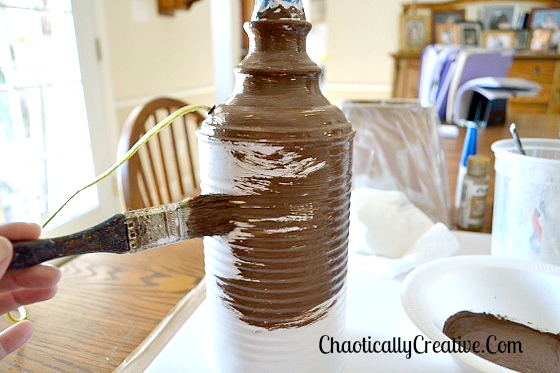 After many days of painting a coat and allowing to dry/cure, the fun began. Sometime the neatest things come accidentally! In other words, I had no idea how this was going to turn out. The stark white wasn’t cutting it, so a coat of chocolate brown acrylic was added. I stood back and said “Yuck”! Let me wipe that off!
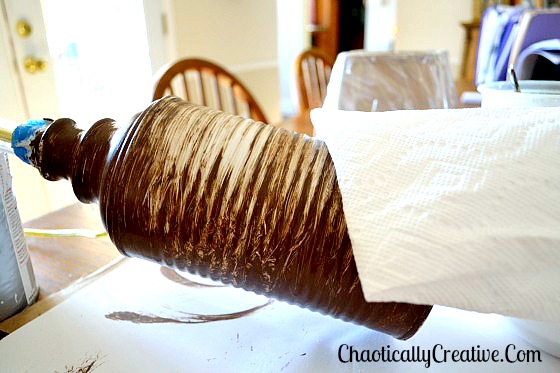 I allowed the brown to dry enough so that when I wiped it did not smear.
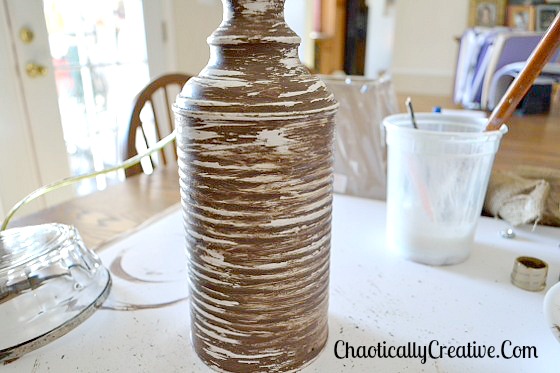 Here is what it looked like after wiping it down. Interestingly, I was starting to like what I saw, but it still was exactly right.
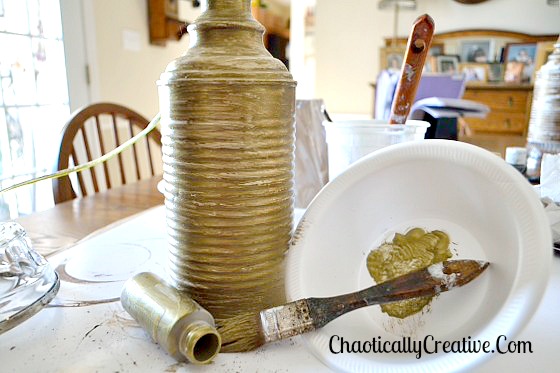 I grabbed some metallic gold and the magic began…
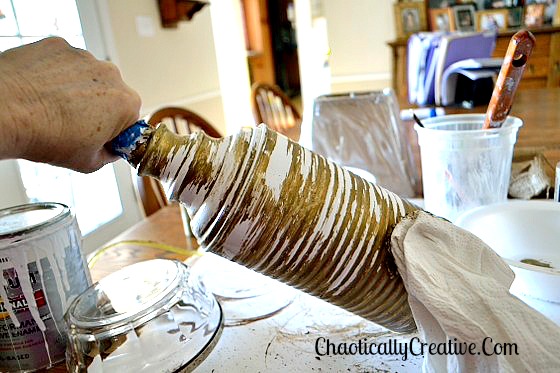 As I started wiping the gold off, I noticed that the dark brown base underneath made the gold look richer than it would have on just the white. Again, allow this to dry to the point it does not smear.
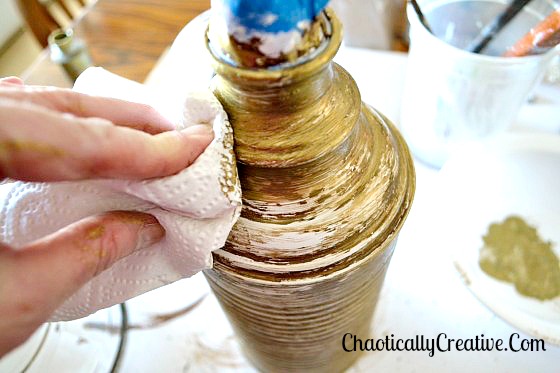 Here is another good shot of the process. You can add back some brown or ever other color until to get the desired finish. It is sooo much fun to experiment!
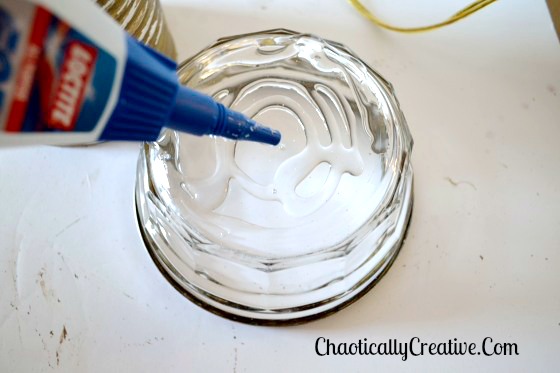 Once I was satisfied with the finish, the glass bowl was added to the bottom of the can. This need to sit on something that is level so that the bowl doesn’t slide around. I also used some packing tape to adhere it while it dried.
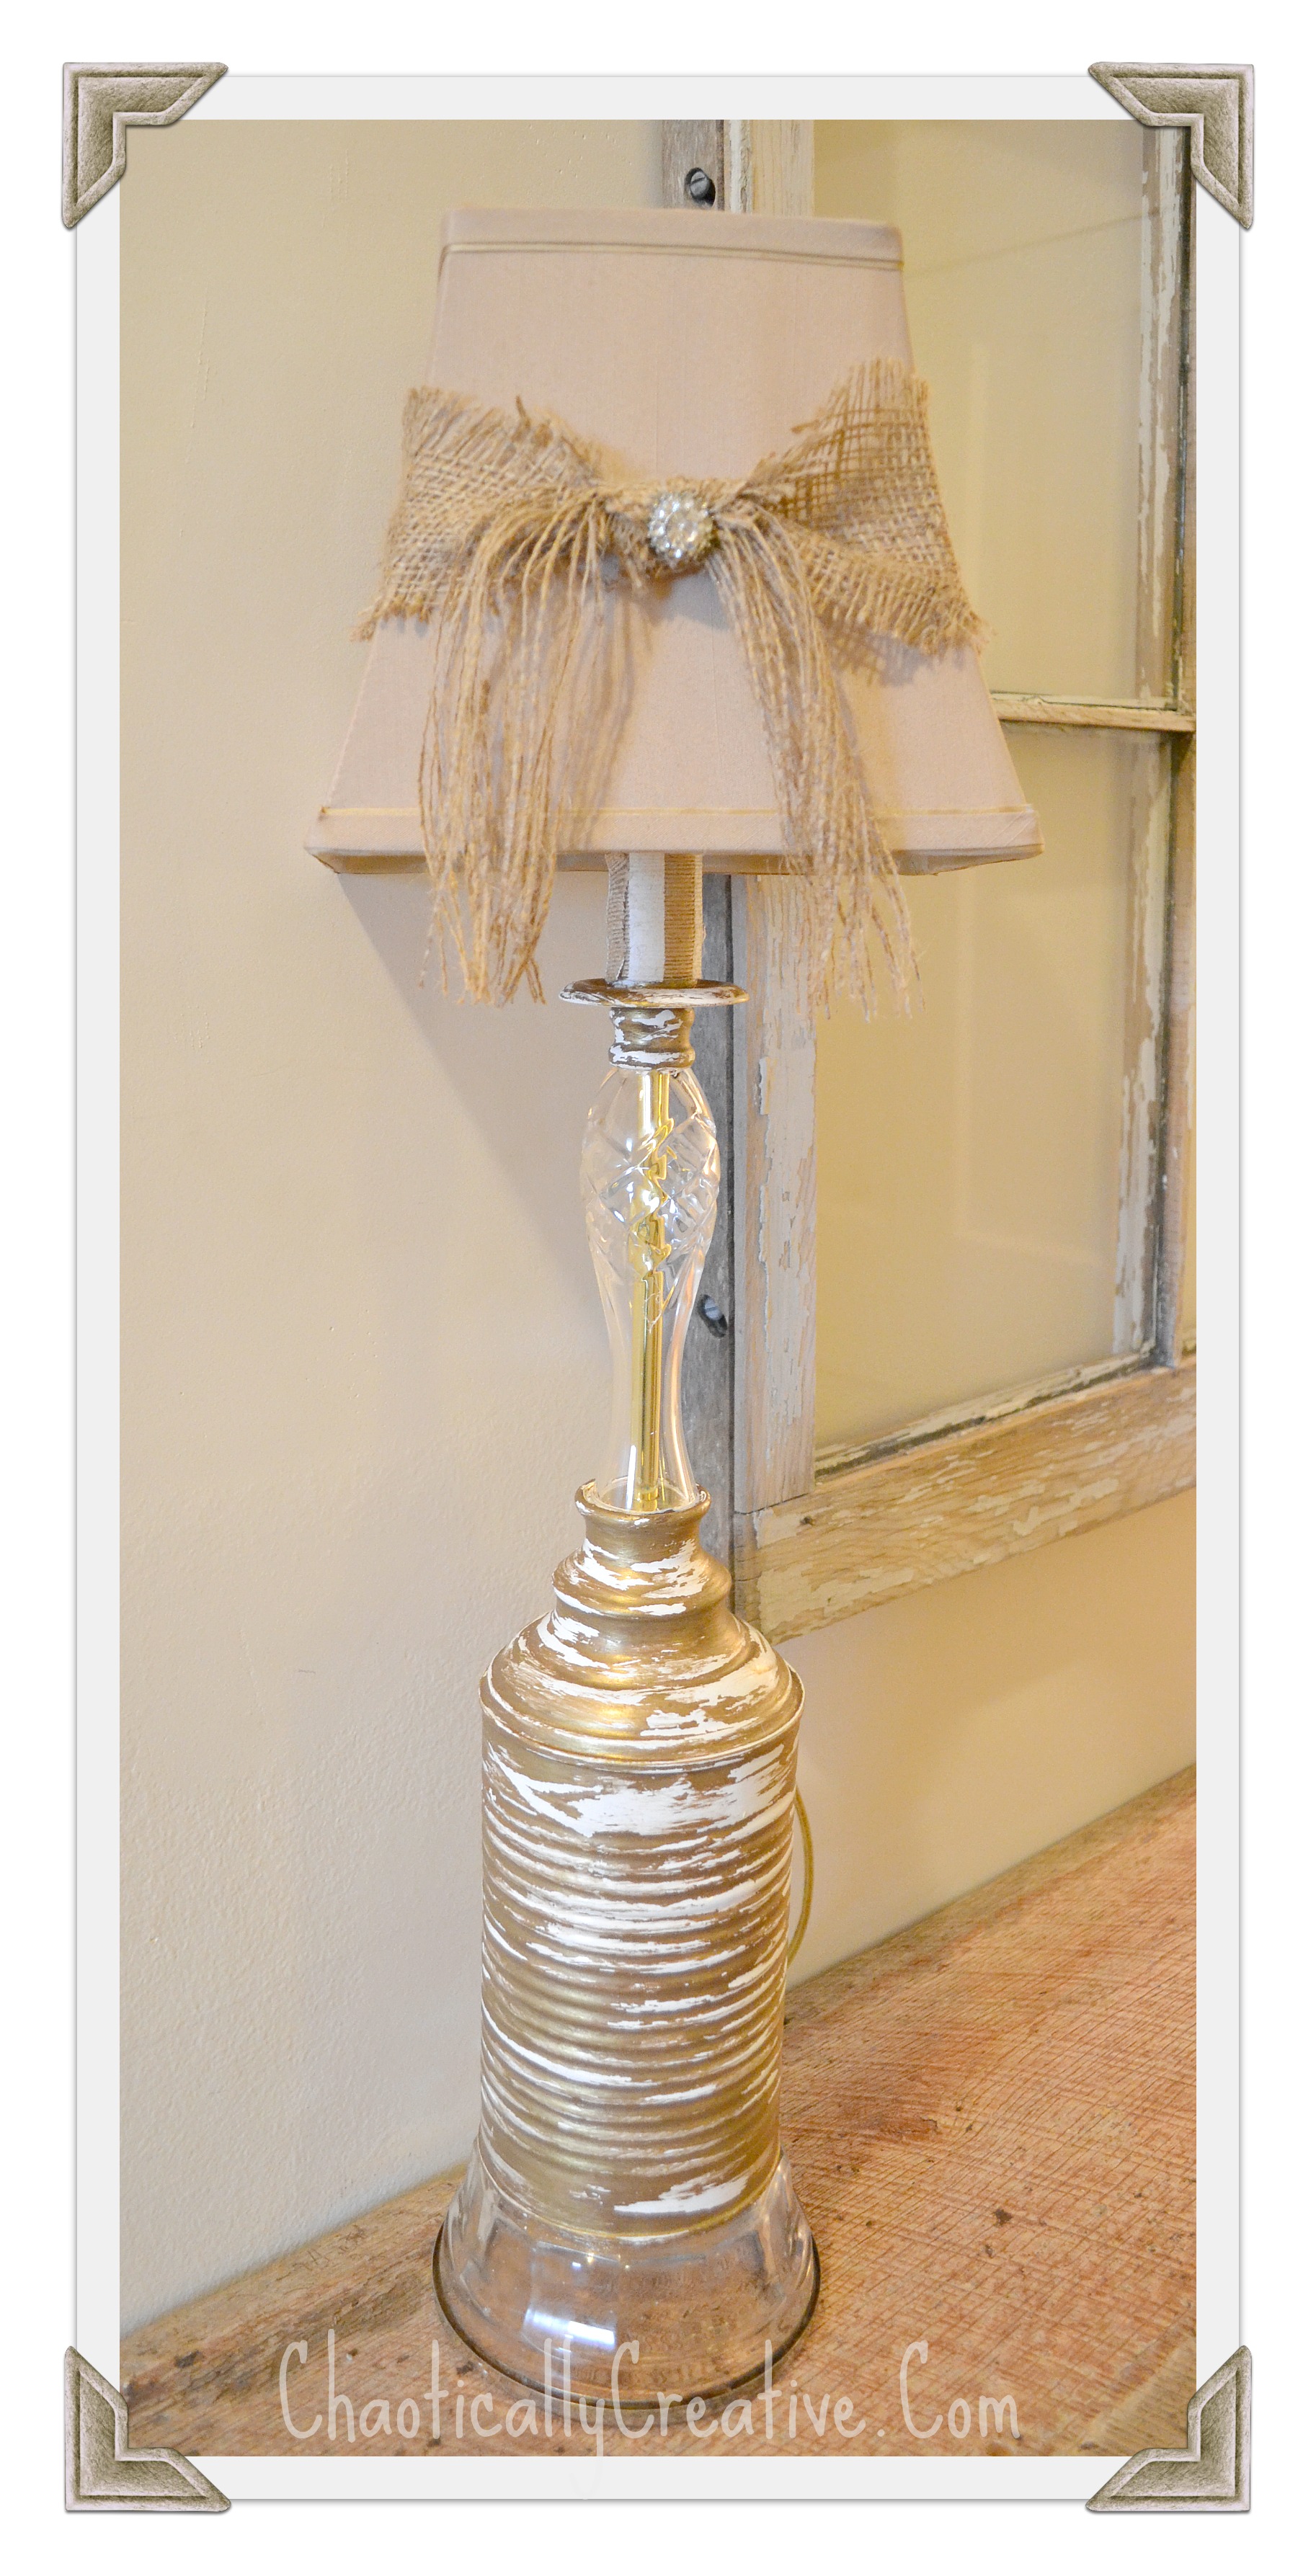
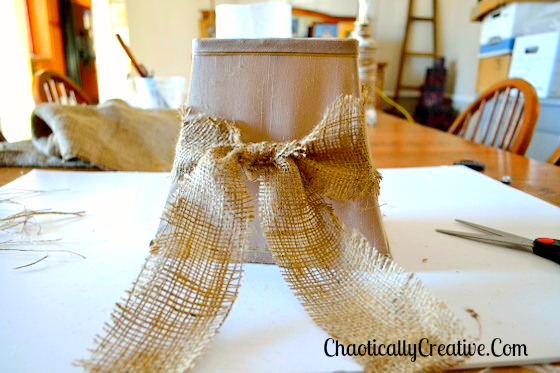 Believe it or not, finding the right lamp shade was quite the challenge. I bought four different ones before settling on this one. It came from Garden Ridge and was only $4.99. The burlap strip was cut from a sack and tried around the shade.
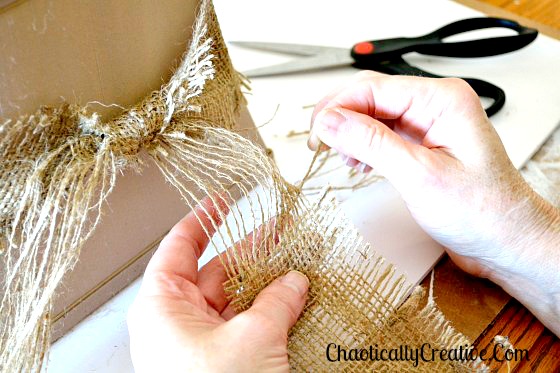 The ends seemed a little heavy hanging in the front so they were raveled out. A little crystal embellishment was just the right touch.
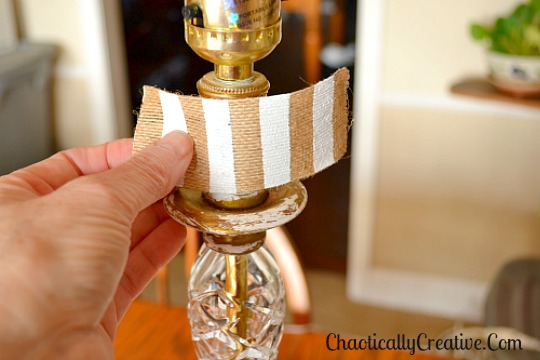
This stripe burlap ribbon was place around the white plastic section of the lamp which looked a little “cheap” when painted.
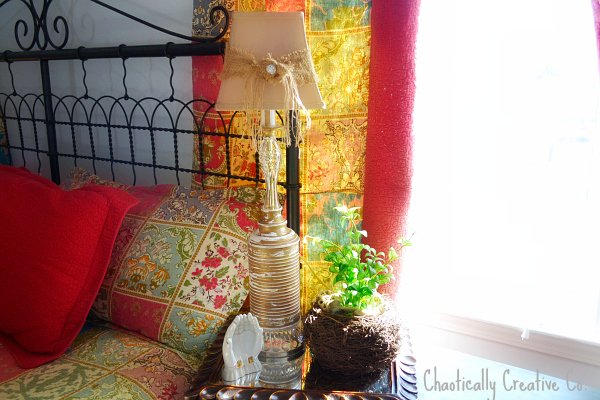
The end result was a very uniquely accidentally wonderful upcycled lamp using a can!
To view the up-cycled can creations we have for sell, visit our shop!
Love to Do it Yourself? Check out our awesome DIY Product for Underwire Breakthroughs!
See what all the Excitement is about at Fix A Bra!
