Disclosure: this post was written in collaboration with Rockler Woodworking. I was provided compensation and materials for this post. All opinions are mine and based on my experience.
I’ m a girl that’s all about function. I can make any size space work for our family. Whether it be a barn, military housing or a small condo I can make the space work if I focus first on function then on design. If you follow us on Facebook we all got in to a big conversation about whether or not formal spaces in the home are a thing of the past. See I want to turn my dining room in to a huge laundry room and mud room. You guys gave me tons to think about and ultimately I think if the space isn’t used then why not turn it in to functional useable space. But if you use them for your family gatherings then NO WAY don’t get rid of that space, keep it! So I am considering that when I become rich and famous … or just rich I will renovate the dining room in to the laundry room of my dreams. But for now I’m building some things to make all of our spaces more functional and the first one is this awesome DIY rolling storage ottoman. If you follow us on Instagram you have been seeing some really cool sneak peeks.
So here’s the story we have a little hearth room off the kitchen and eating area that Jude loves to play in. Gavin has taken over the playroom and claimed it for his own. That’s fine because Jude likes to be near me and I’m good with that. The problem with this though is that Jude has drug his Beanie Boo collection downstairs and it’s becoming quite a mess… all the time. Don’t know what a Beanie Boo is? Imagine Beanie Babies on Caffeine Overload … I’m not kidding they look like they are hyped up on something because their eyes are gigantic. Check them out here they have some really cute Halloween ones.
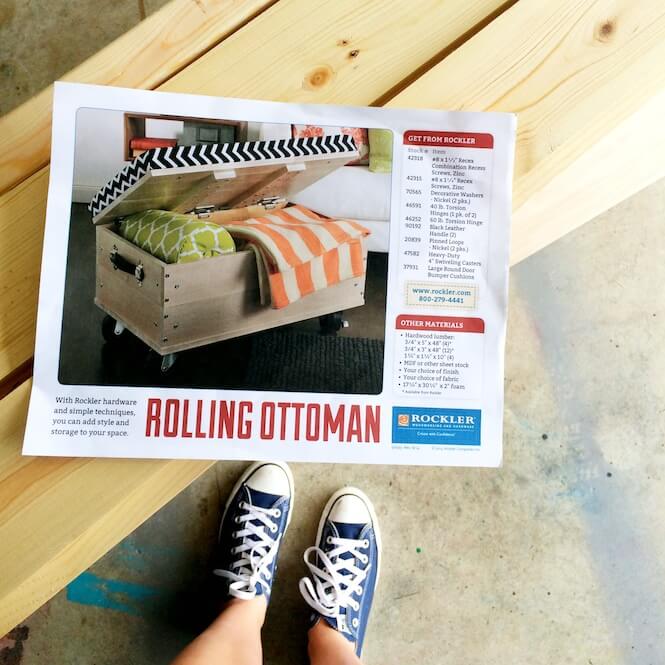
 Enough about Beanie Boos (sorry they are a slight obsession in our house and I’ve totally gotten bit by that bug) On to this totally amazing and oh so bright rolling storage ottoman. Here’s the story I was on the hunt for a storage ottoman that could roll out of the way be be big enough to hold a lot of toys and comfortable for Jude to plop on… oh and safe it needed to be safe! So I searched the internet and found this awesome plan on Rockler.
And I downloaded them and printed them out. Then I took off to the Haven conference in Atlanta where I met the Rockler team. Talk about nice people, they are so nice. We got to talking and they had the plans there and it clicked that this was the company I had printed the plans from. Then Megan from Rockler remembered me after the conference and asked me to build the ottoman in collaboration with Rockler. Why am I telling you this? Because I am all about customer service, great businesses and wonderful employees. I only work, buy from and recommend businesses that I feel have great ethics and service. I was super impressed by the folks representing Rockler and just had to tell you that.
 Rockler sent me all the hardware to build this project and on the plans you get the exact list with item numbers in order to build this. You simply go online and place the order.
MATERIAL LIST for DIY ROLLING STORAGE OTTOMAN
42315: #8 x 1-1/4” Recex Combination Recess Screws (1 Pack)
42318: #8 x 1-1/2” Recex Combination Recess Screws (1 Pack)
70565: Decorative Nickel Washers (2 Packs)
46591: 40 lb Satin Nickel Torsion Hinges (1 Pack of 2)
46252: 60 lb Satin Nickel Torsion Hinge (1)
90192: Black Leather Handles (2)
20839: Nickel Pinned Loops (2 Packs)
47582: Heavy-Duty 4” Swiveling Casters (1 Pack)
37931: Large Round Door Bumper Cushions (1 Pack)
Hardwood lumber: 3/4” x 5” x 48” (4)
Hardwood lumber: 3/4” x 3” x 48” (12)
Hardwood lumber: 1-3/4” x 1-3/4” x 10” (4)
MDF or other sheet stock
Your choice of finish
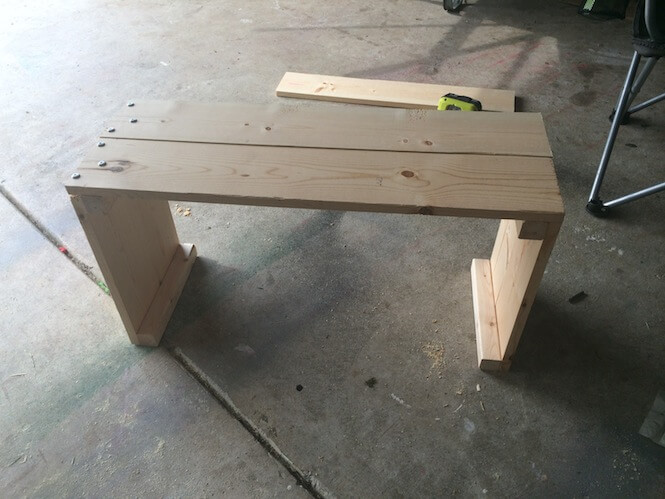
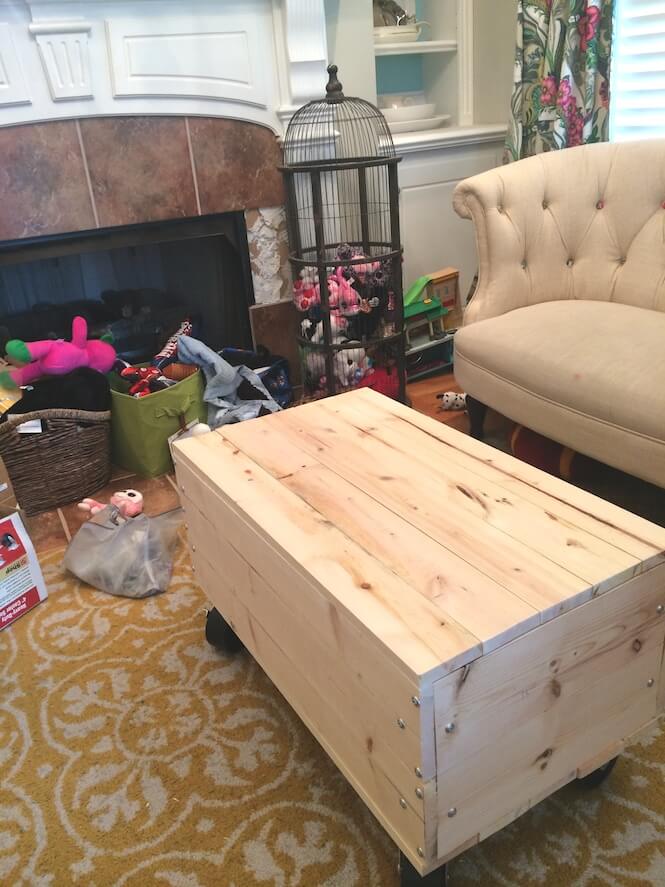
This was the first thing I have ever built using plans. The instructions were very simple and easy to understand. I didn’t divert from the plans except I had to add a few extra screws inside of the lid.
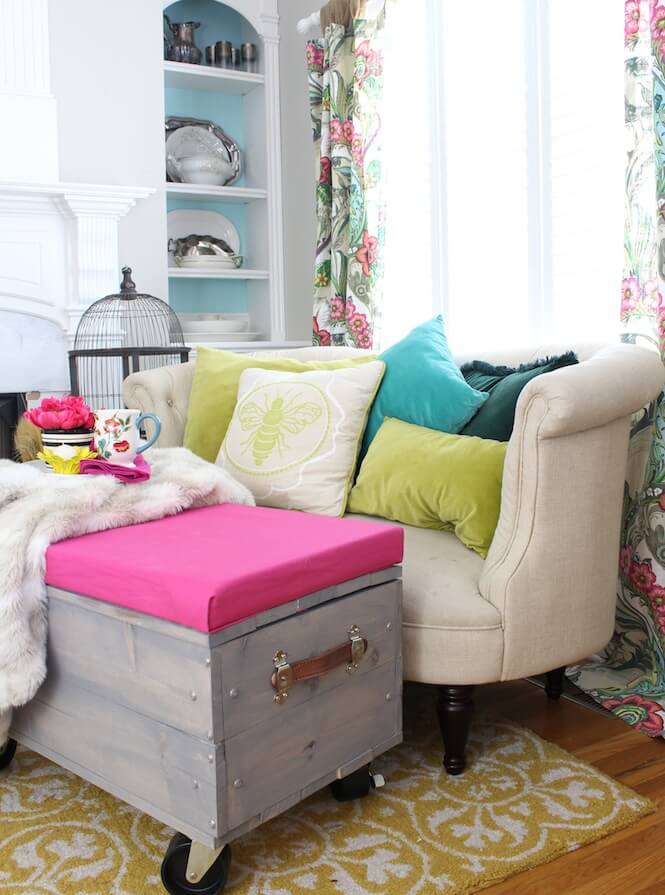
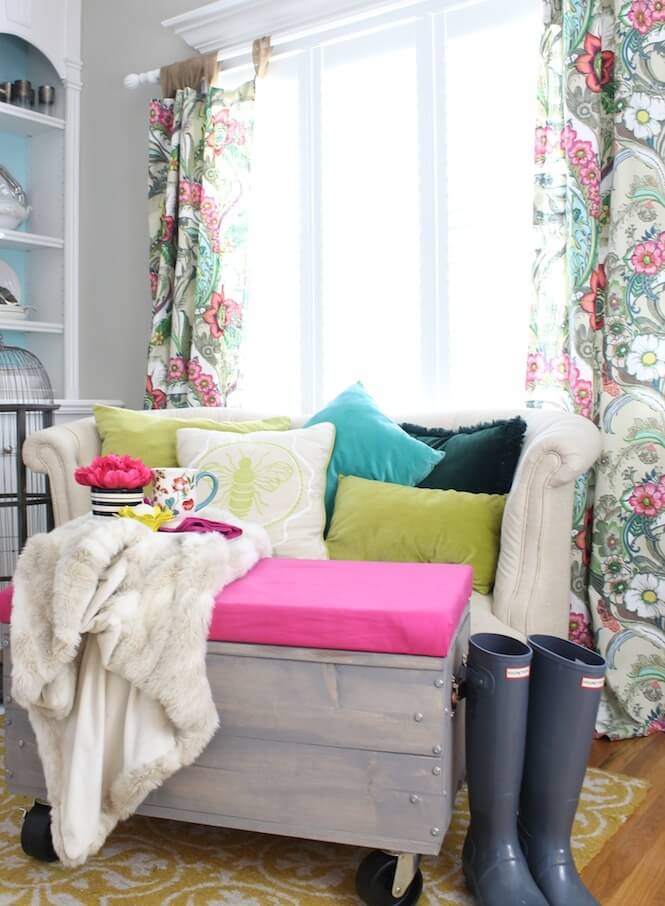 And here it is! Yes it is covered in a hot pink fabric and my family full of boys LOVES IT! I choose to give it a grey wash with the most simple and affordable solution. I simply watered down some left over gray paint and applied it with a paint brush. That’s it!
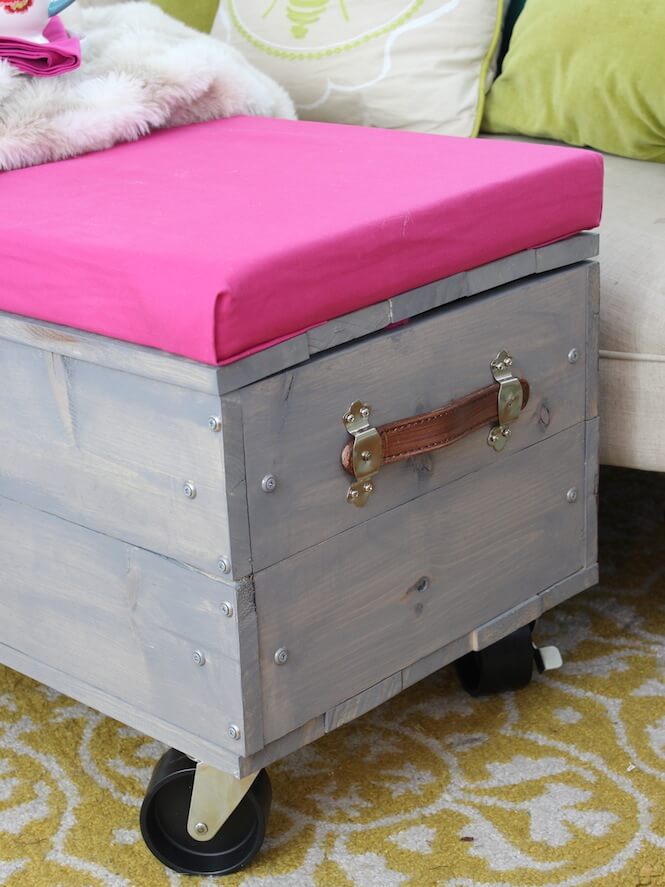
I particularly love all of the details. I would have never thought to add the decorative washers under each screw.
And how about those leather handles? Not only are they functional but they are styling.
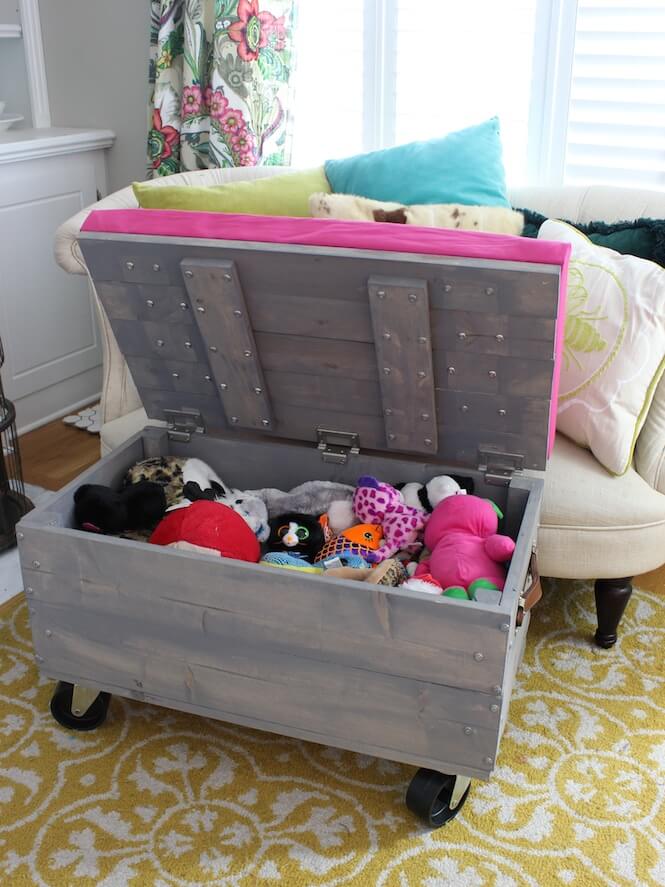
Look at all those Beanie Boos they have a home! And it’s a safe home because Rockler’s safety hinges insure that the chest lid will not drop on Jude… EVER! It’s impossible to slam this thing! Don’t believe check out the sixty nine 5 star reviews those hinges have.
What do you think? Are you ready to build your own Rockler DIY Rolling Ottoman. Let me know if you have any questions.
I’m off to get some more lumber for my next project! A FOLD UP WORKBENCH with PEGBOARD Storage!
~Sign up for our Newsletter so you don’t miss that one~
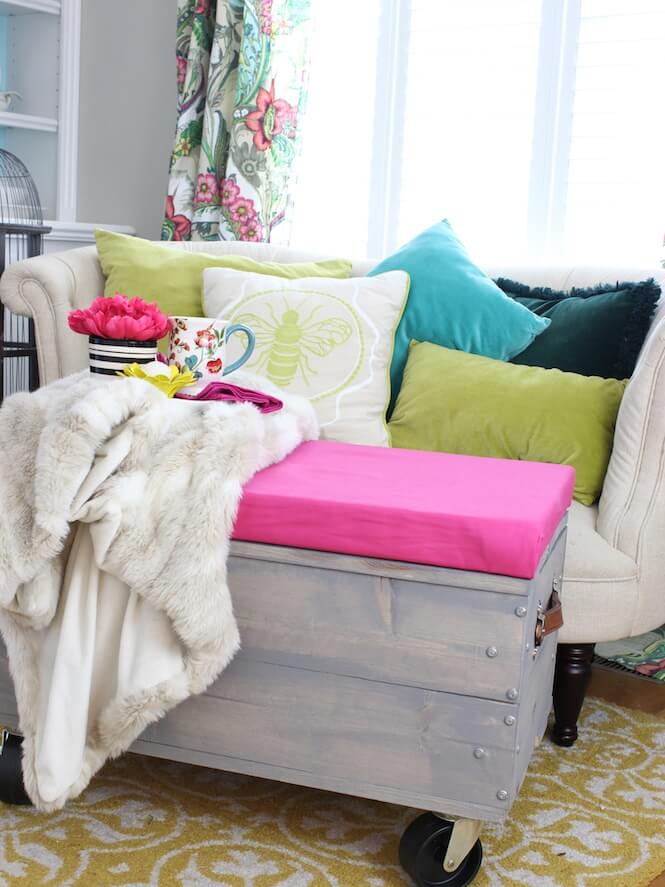
I don’t have any beanie boos to store but I can think of a load of uses for the ottoman. It turned out just terrific.
I knew you could think of something to store in it!