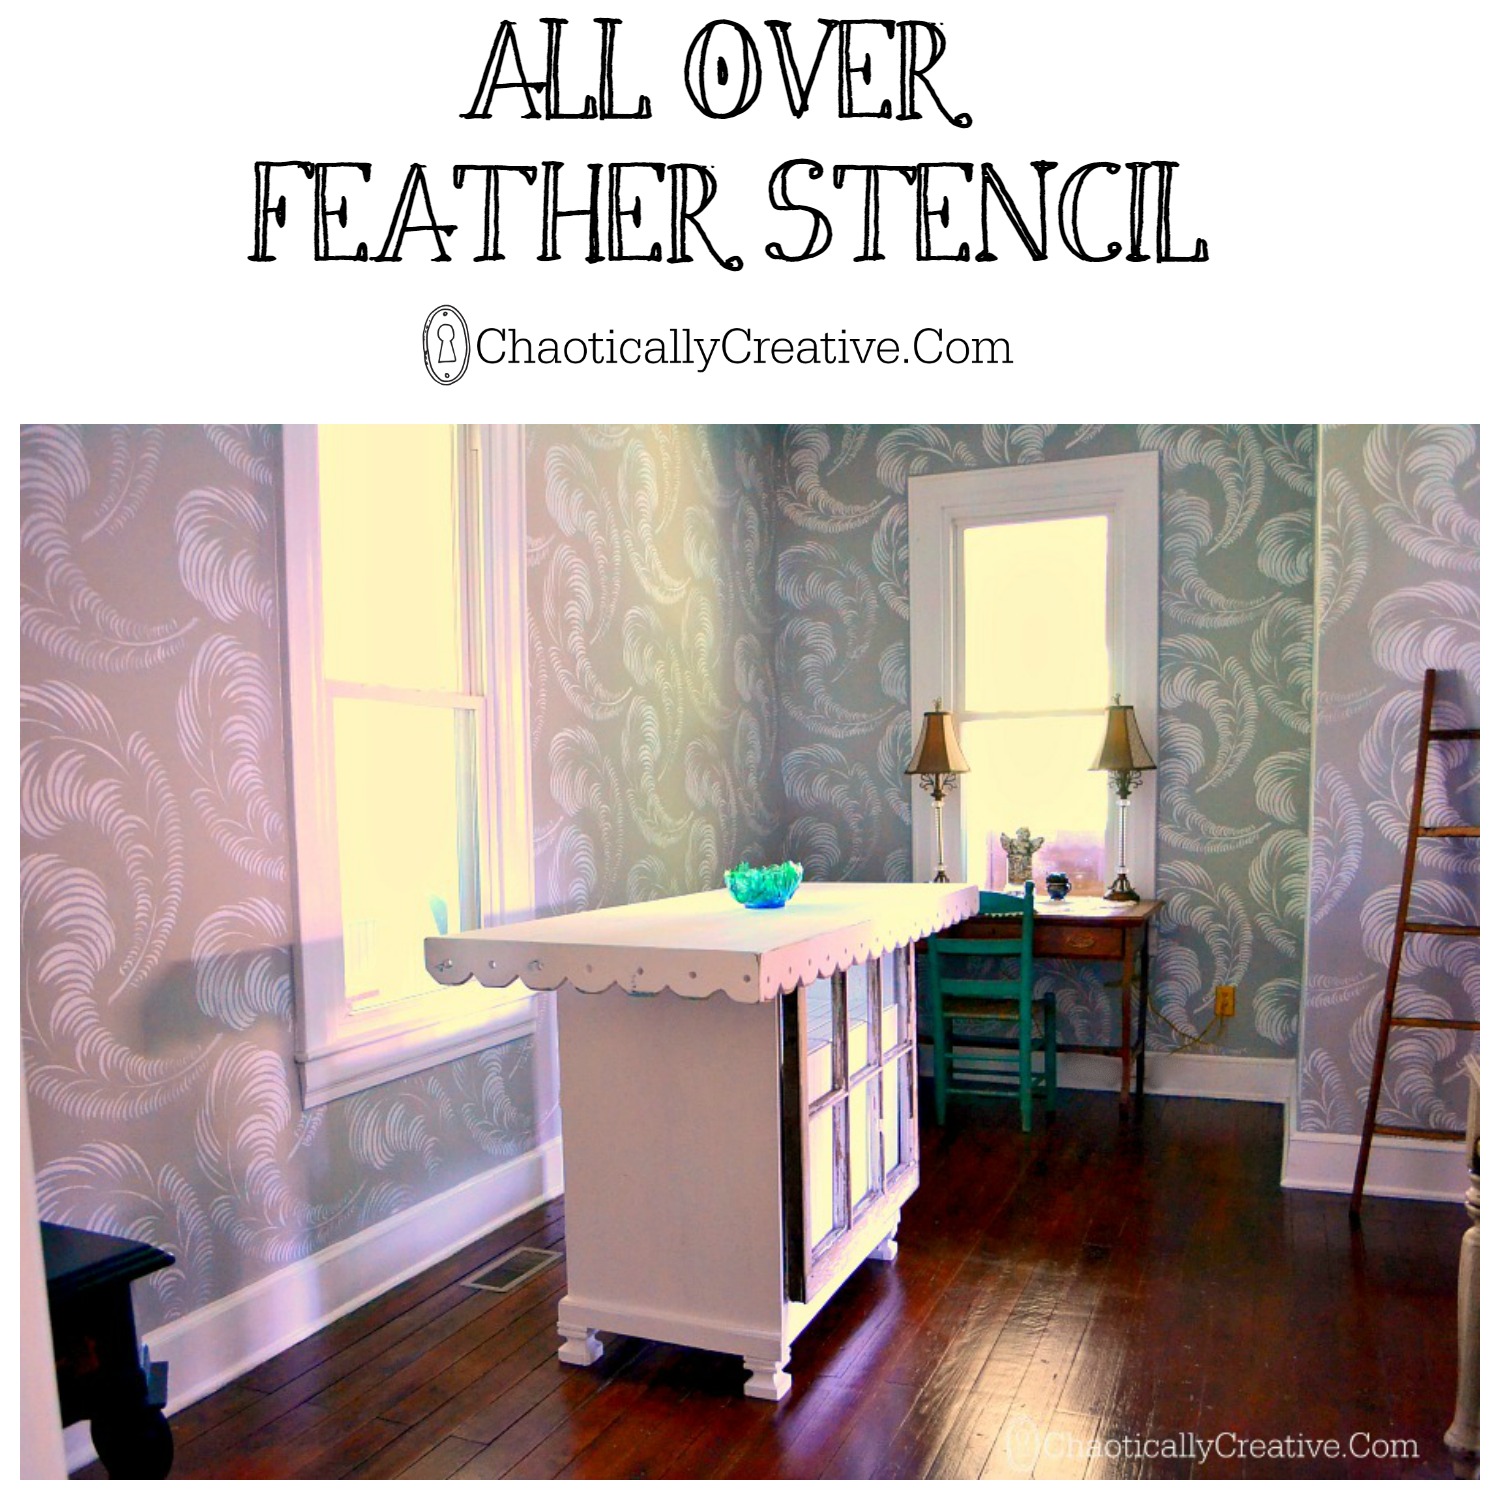
 The transformation of this room began with a search for a stencil. Not just any stencil, a large all over feather stencil with a design that would bring life, movement and light to this room.
You see, these walls are actually plaster that were wallpapered and then painted over! Impossible to strip and not wanting to sheet rock, I primed and repainted, but the wallpaper lines were still visible. Solution? Stencil your own wallpaper design!
 To help with the stencil selection, I created a Pinterest Board which I visited often and studied and pondered. This pattern was found at The Stencil Library.
I have done quite a bit of stenciling over the years on different surfaces and textures. I have done stenciled boarders on walls, but this is my first time stenciling an entire room.
Okay, so you are probably thinking, WOW, that is a lot of work and it was. You may also be wondering why I made the choice to do the all over feather stencil. The answer is DRAMA!
This room is the one and only room seen when entering the house through the front door. Like many older homes, my front entry is a tiny narrow hallway and my biggest design challenge in this house.
In order to draw the eye away from the imperfections of the entry I wanted something special and different. And in the end it was go BIG! In the post Office Color and Stencil Selection I wrote more about how color and pattern solved some of my old house issues.
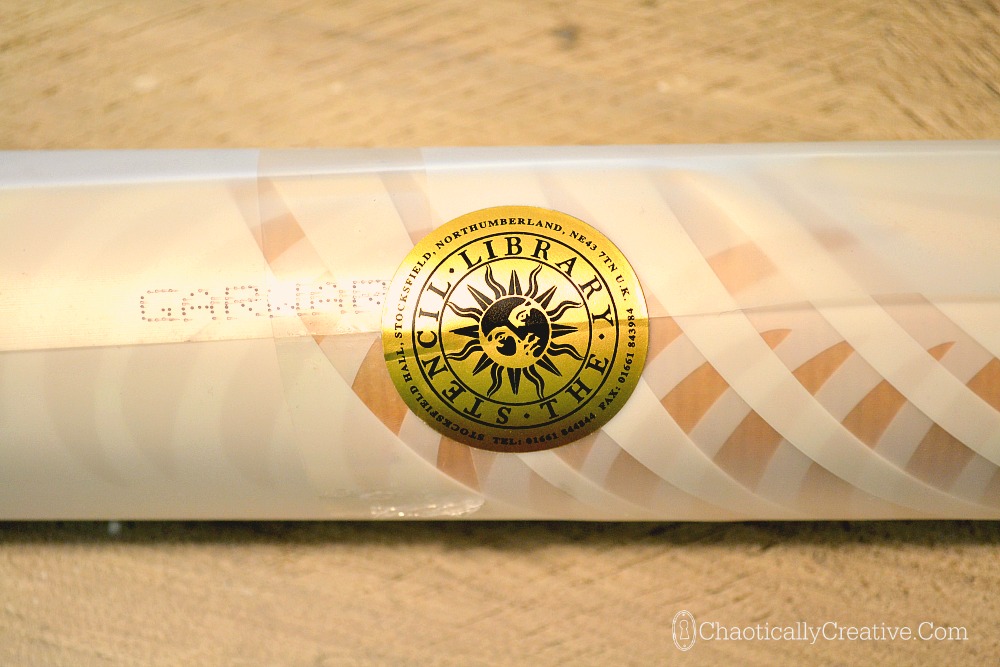 The stencil was ordered and came beautifully wrapped all the way from The Stencil Library in Northumberland!
let the magic began…
but wait, where do I start?
What I did was to “think” wallpaper. Since my goal was to make this appear to be wall paper I positioned the stencil like I would have hung wallpaper.I played around with it quite a bit and thought through how the job would progress all around the room.
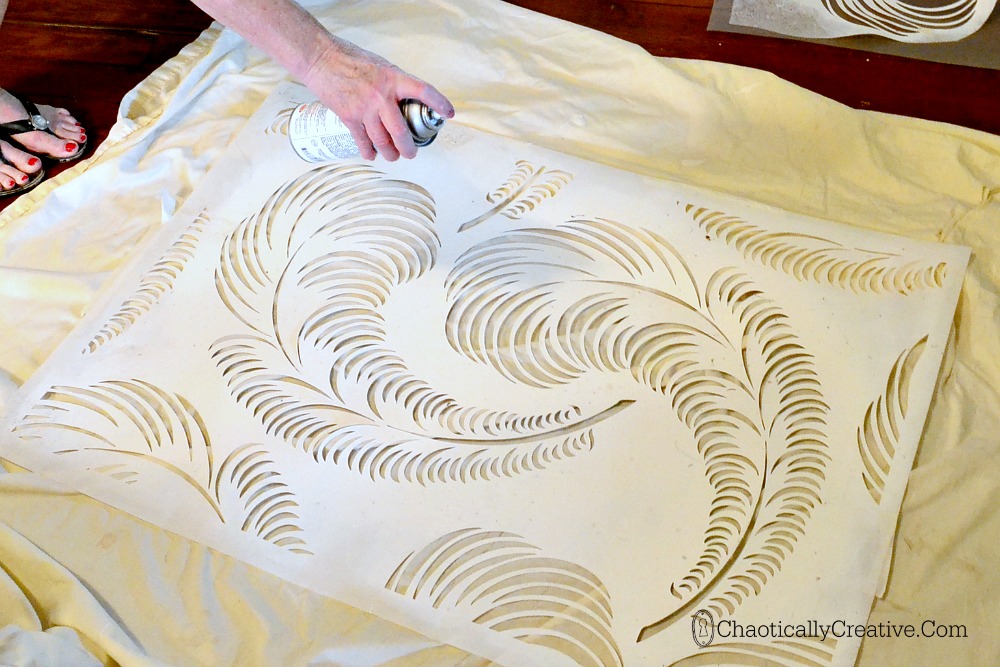
When stenciling with a large all over stencil, you will need a low tack/re-positional spray adhesive along with some painters tape to secure the stencil to the wall. After the adhesive is applied, it should be somewhat dry and just a little tacky. This was very important in my situation because I was stenciling over wallpaper and didn’t want to rip off the underlining paper when the stencil was pulled off.
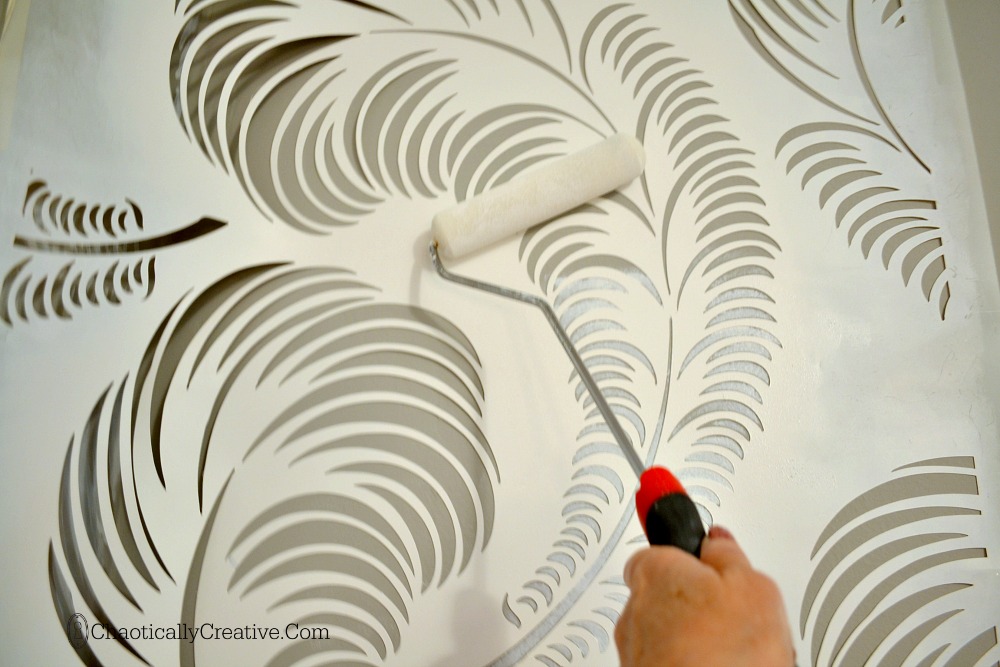
I started out with a regular stencil brush, but let me tell you that did not cut it. I think that I might still be working on the project had I not switched over to the roller.
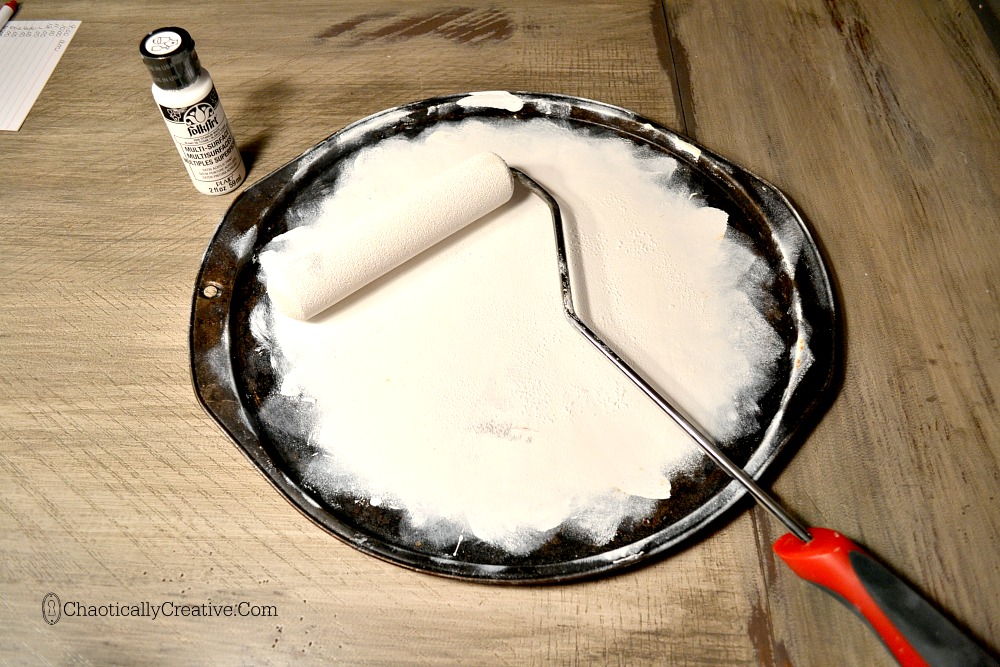
Rachel at The Stencil Library suggested this and I was a little reluctant but this made the job much easier and faster. Yes, this is an old pizza pan and yes, it worked great.
I felt like such an artist with my little round tray!
The trick to stenciling is learning how much paint to load into your brush or roller. If you have too much paint, it will bleed through the cut out of the stencil and look messy.
With stenciling less is best. You can always go back over it again. The best way to learn how to do this is practicing on a large piece of paper or cardboard box. If you do mess up, no problem, just paint over it and try again.
I’ll let you in on something about me. I’m not perfect and not really very patient when it comes to projects like this. My work is not always perfect. That is why I have always loved distressing.
So, after each section dried I went over it with a dry wall sanding block. Doing this smoothed out places where the lines were a little heavy and/or a little blurred.
Imperfection was another reason I choose this pattern as it is VERY forgiving of mistakes. The amount of movement and appearance of being random keeps the eye from focusing in on errors.
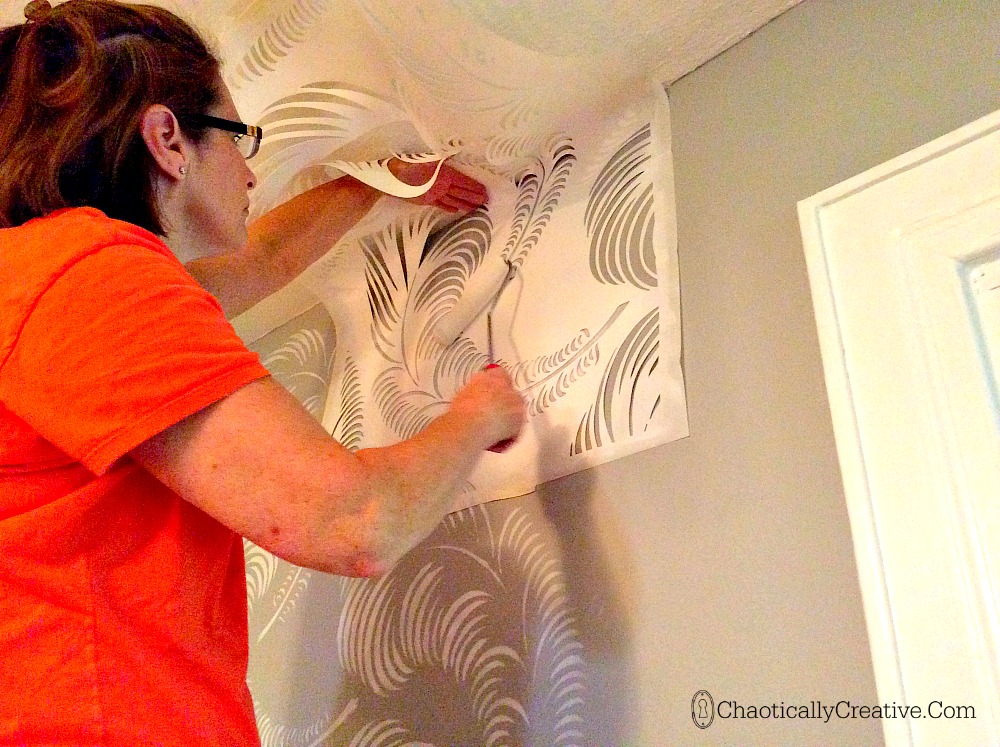 Stenciling near the ceiling can be a little tricky with a large scale stencil. Mine ceiling has a slight texture to it and the low tack adhesive did not want to stick so I used masking tape to secure one in to the ceiling.
Here’s a tip. With multiple applications of paint, your stencil will be heavy and need to be cleaned. Citrus Splash Air Freshener is the easiest and fastest way to do this.
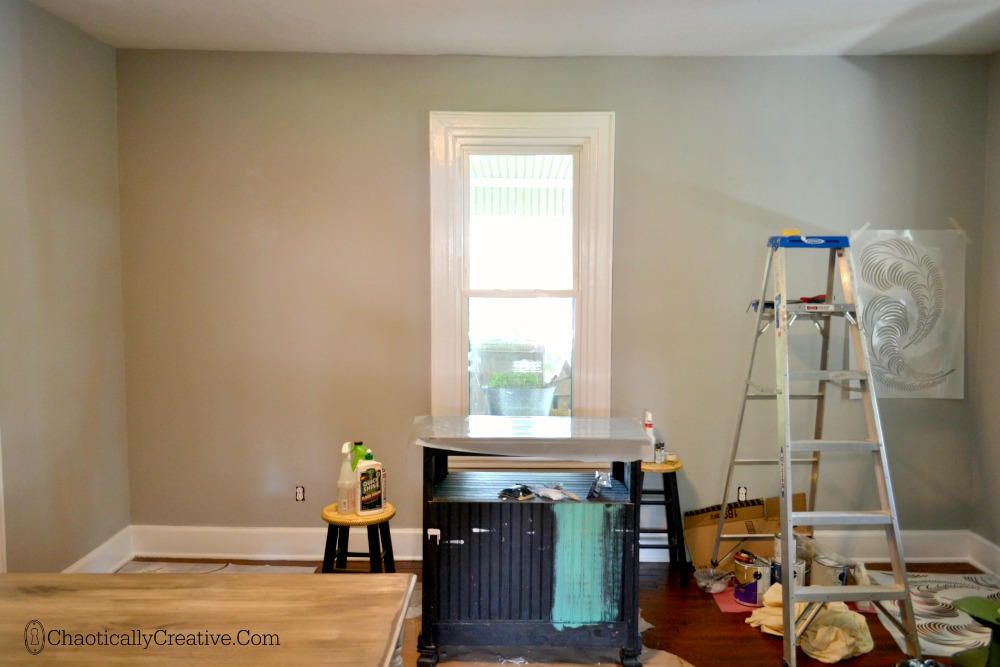
Take a look at the before with walls painted and prepped and then …
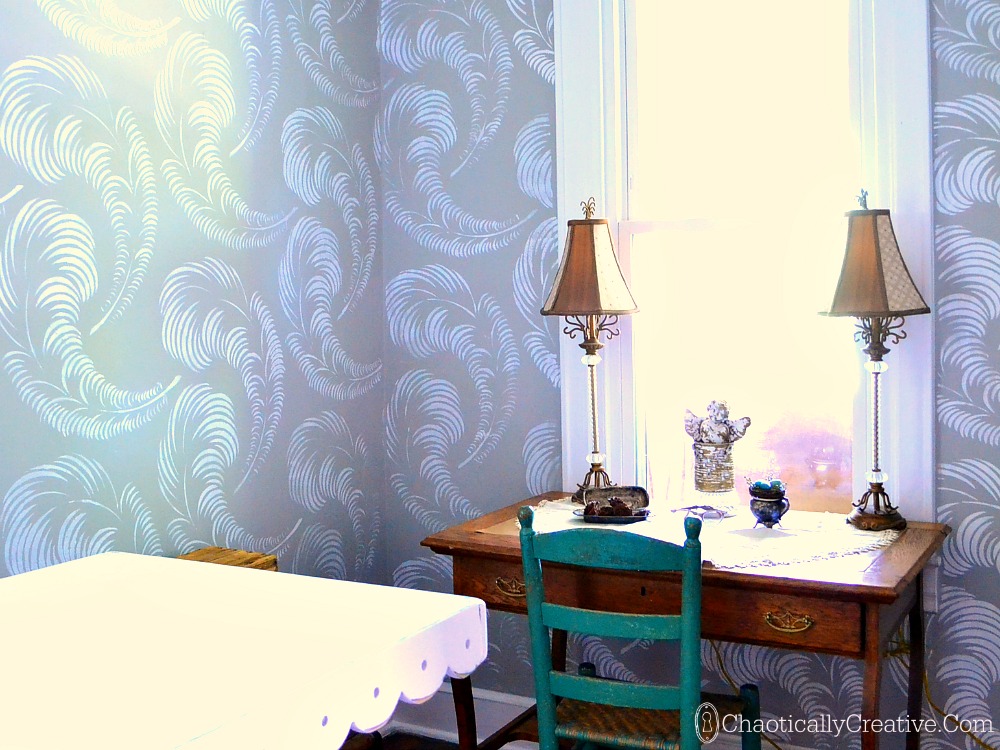
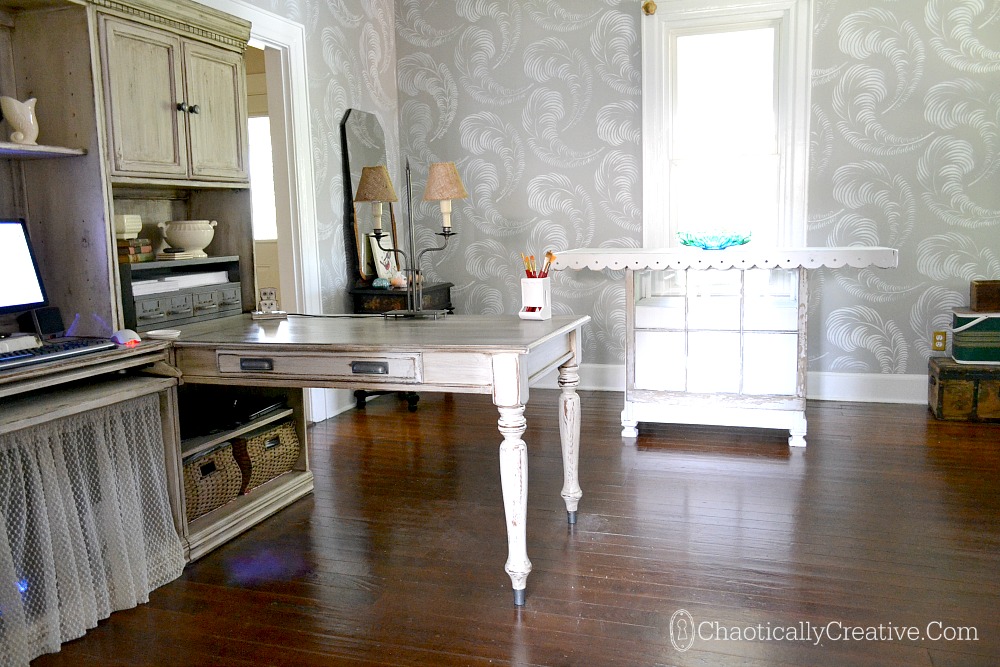
The Awesome Incredible after!
Seeing is believing that this room needed some drama and the large all over feather stencil did it!
Working in this room now is such a delight! This All Over Feather Stencil has changed not only the look but how you feel when you are in this room. Soooo worth the work!
We still have a couple of projects to finish up in this room like painting and covering the office chair, window treatments and adding a rug.
While working on all that, plans for the entry way are brewing! Stay tuned by subscribing to our email list. We would love to have you follow our adventures in finding the key to calm.
You really did a great job and should be so proud of how beautiful this whole room turned out. Even though this took a long time, hanging new wallpaper would have also taken a long time and been much more expensive.
Thanks so much Gloria!
oh my word this is gorgeous and so worth the hard work you did it is almost etheral love it xx
ethereal even xx
What a great compliment! Thanks so much Chris!
Oh my goodness! I love this! The stencil is so pretty. Such a smart solution to your wall texture problem! Great job! Found you through Funday Monday Linky Party!
Thanks so much Laura!
I am in the middle of stenciling my whole dining room as well. I wasn’t as pleased with the product I purchased because the stencil would not bend easily in corners like they said it would. Hours of touch-ups. I have done stencils before but not on a wall. Yours looks great! I love the drama.
Hi Rachel, yes the corners are HARD! I actually had two stencils. One was really thin which worked better on the corners but did not hold up very well. The thicker stencil held up great but not very flexible. My corners are definitely not perfect and I need to go back and do some touch ups. “Distressing” helped as well. Thanks so much for stopping by!