I’m not sure if you have noticed but I kind of have a thing for customizing my own light fixtures. Lights are like jewelry to an outfit, they just complete the whole look. Unfortunately, like jewelry light fixtures can sometimes be quite expensive. Which leads me to frequently trying to find new ideas and alternatives to the more expensive choice. 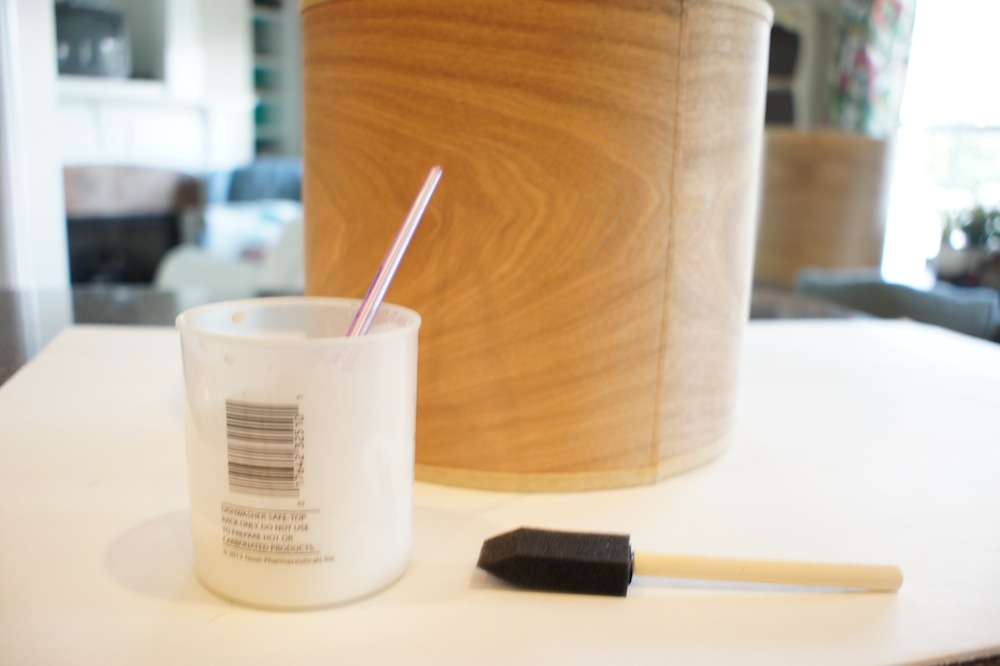
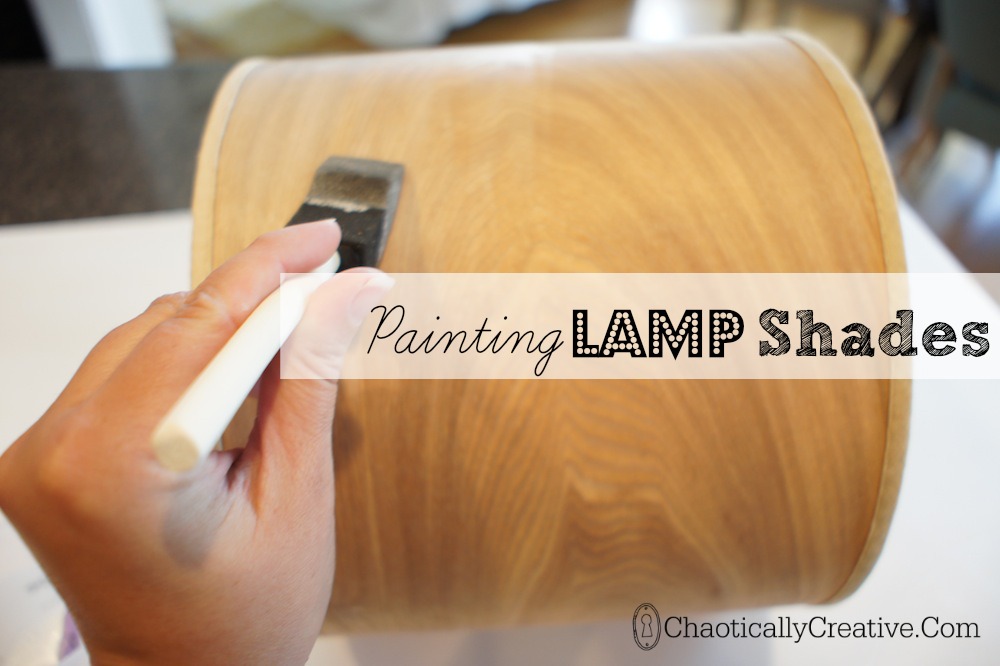
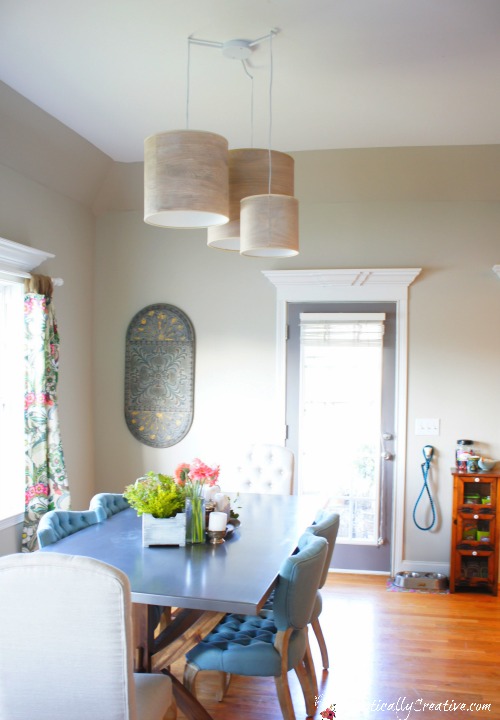
I have painted light fixtures, created trash can lights , and customized my own drum shade. So when I found these wooden shades on major sale at World Market about a year ago I knew I could do something to them to make them work in my eating area. I didn’t know if I was going to be painting the lamp shades, covering them with fabric or staining them. However I knew that for $34 for all three I could figure something out.
 Before I explain the steps I realize these lights are not for everyone. In fact my husband said um.. “NO.” Then once I got them up he said um… “NO’ again. In fact I believe he said those things look like they are straight off of “That 70’s Show”. I replied, “Well to bad they are staying!” Then he said “maybe I would like them if they weren’t that orange wood color.” DING… (that’s what Jude our 4 year old says every time he gets an idea. It’s pretty cute”
Here were the reasons I bought these lights just so you know my reasoning for this slight decorating risk…
- they were super inexpensive
- they were light and airy as opposed to the big heavy rod iron fixture that previously lived there
- they would take up a lot of air space over the huge table we had purchase from World Market
- I really liked them and that’s all that really matters. lol
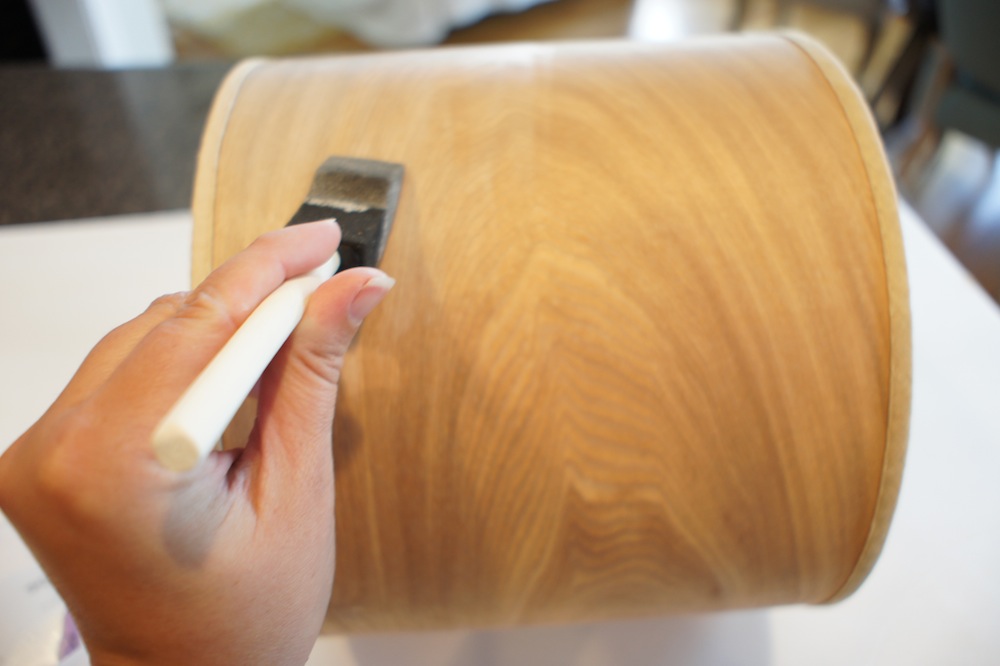
The process of painting these lamps was super easy. I mixed some white craft paint with water and I white washed each one of them.
BUT
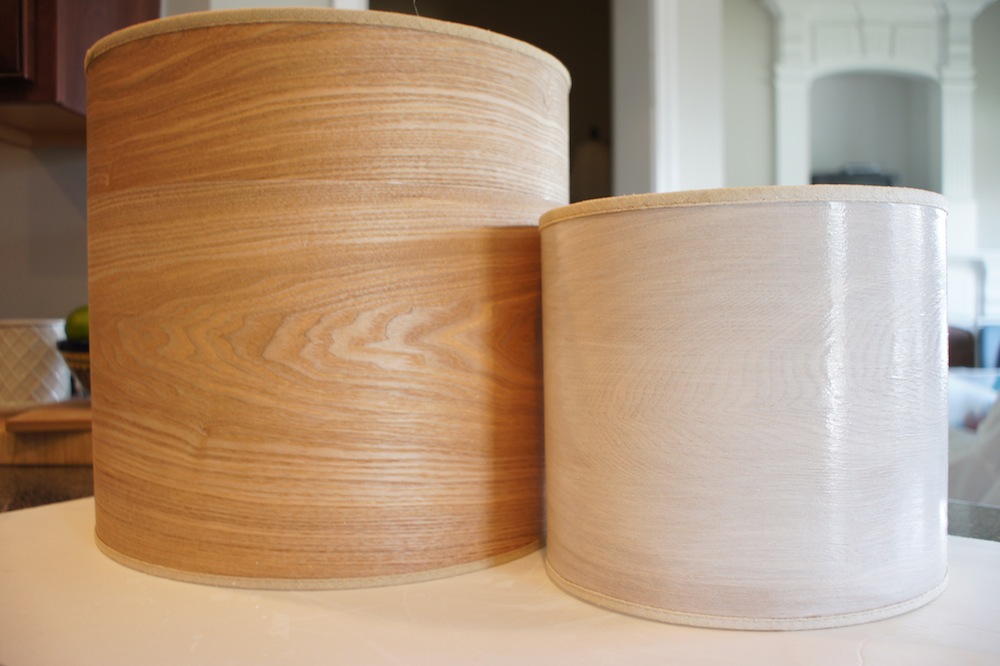
Neither my husband and I liked how they turned out. None of the woodgrain popped like I thought it would.
NEXT
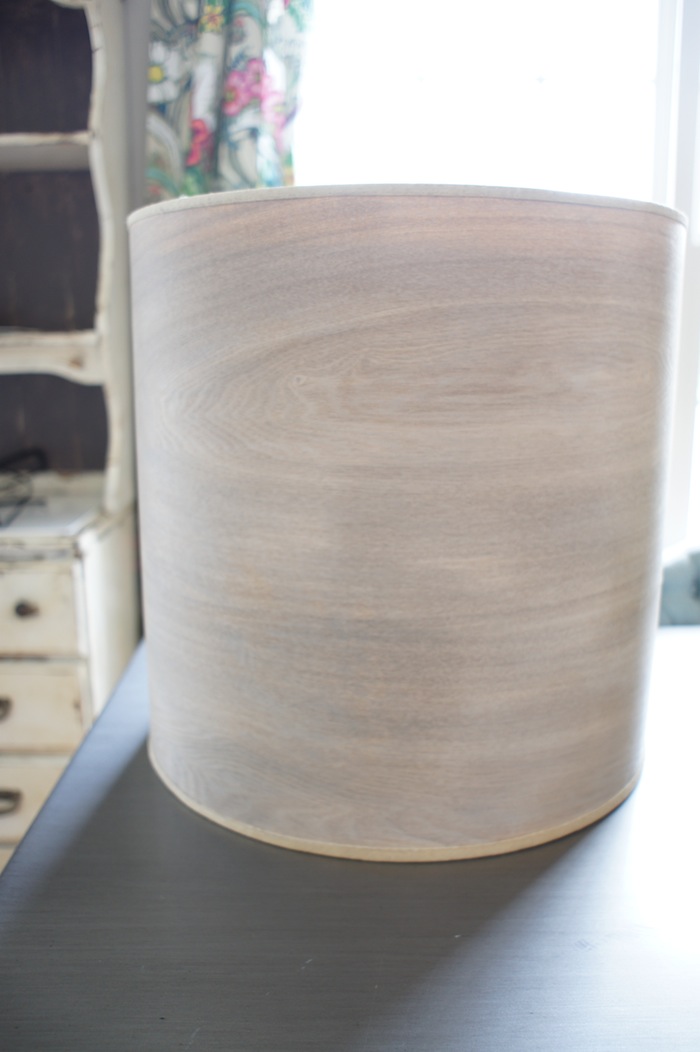
I mixed some gray paint with water and applied a coat of this mixture to all of the shades
AND….
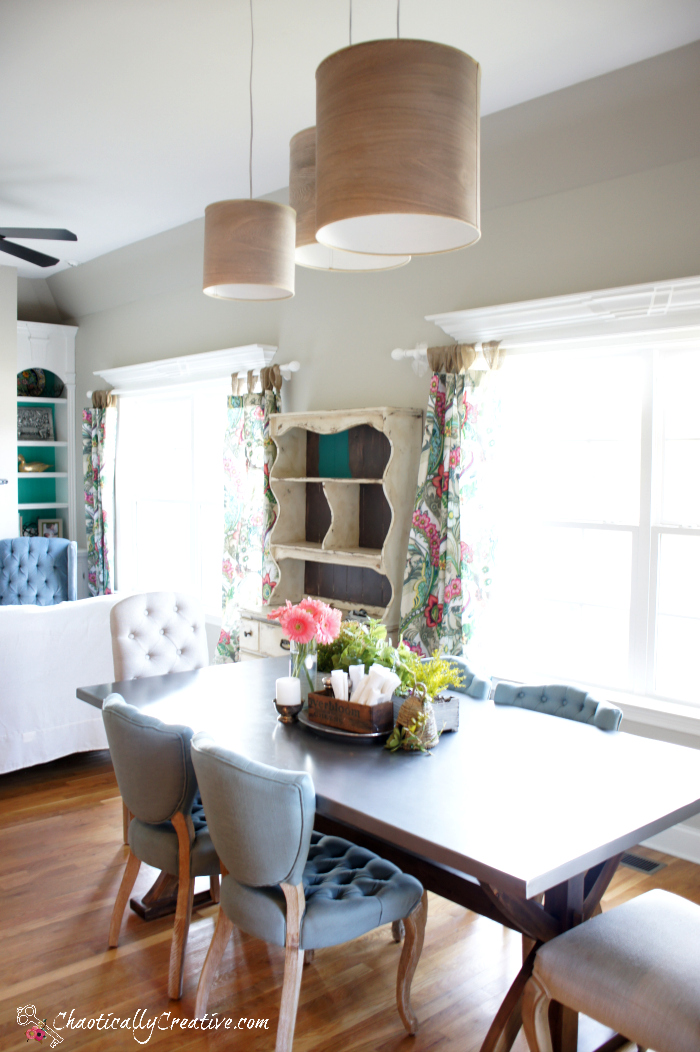
There you have it a white washed look with gray tones which pull out the wood grain.
I also took the black mount and wires and spray painted those white.
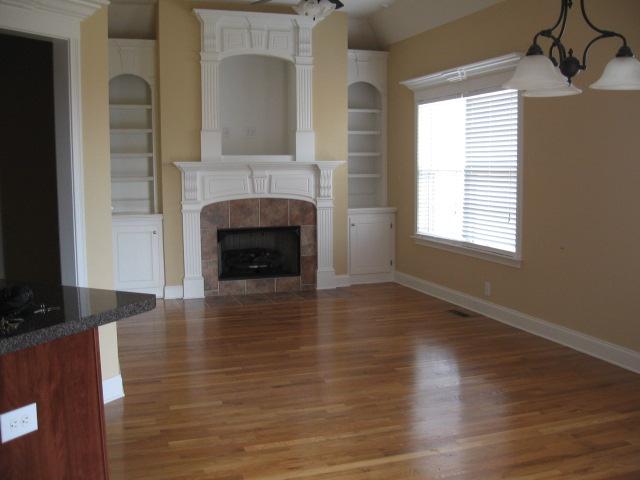
BEFORE … (listing photo here)
We are making tons of progress on this room. And I can’t wait to finish repainting that hutch in the background. I also will be tiling the fireplace and re-painting all of my kitchen cabinets.
We are loving the new look of our fixtures and enjoying lots of family time at our new table.
- Table: World Market
- Blue Chairs: World Market
- Cream Chairs: TJ Max
- Metal art: Kirklands
- Lighting: World Market
- Hutch: Thrift Store
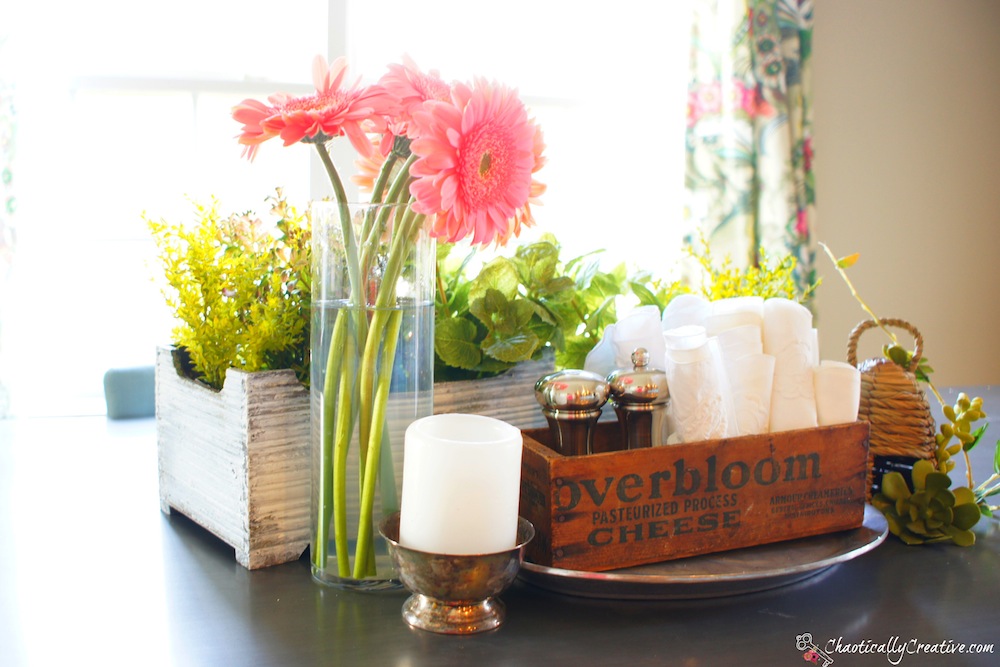
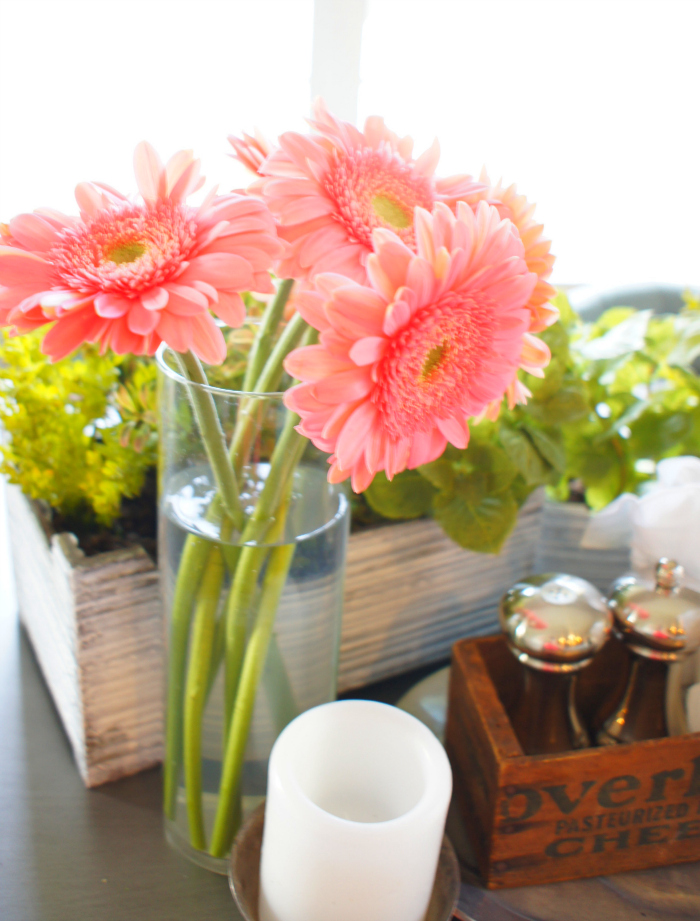
- Table decor: thrift stores and various home decor shops
