This is a sponsored post written by me all opinions are mine. 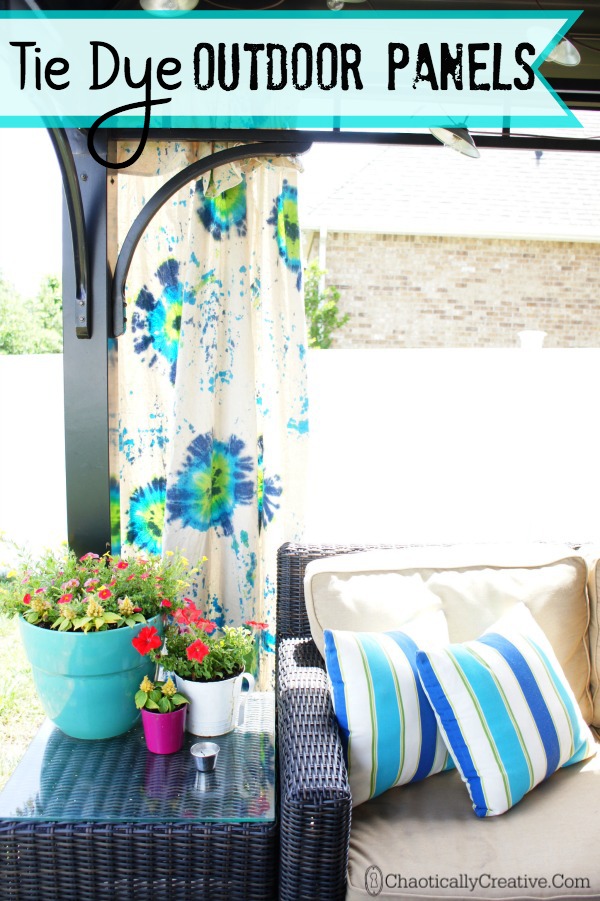
Gavin is turning 12 in a few weeks and we love celebrating his big day with friends and family.
This year he wants a boy/girl party!! I know, right! Where did the time go?
We toyed around with a bunch of ideas for his party, but we have settled on a fun at home Tie Dye theme. We are going to have a Tie Dye Party outside in our backyard. But, we have a lot of work to do before the space is ready to PARTY! We have tons of tie dye ideas we want to share with you this summer….
Are you ready to see how to Tie Dye Your Summer? Join us as we share with you our party and the additions to our outdoor space.
Last year we focused on creating an outdoor space. We really spent a lot of time and money on creating a space our family could enjoy together. We worked so hard on it last year that we had little time to enjoy it. This year is a different story, we’ve been out there a lot!
Now, as much as we love our backyard, it is not large by any means. Privacy can be a real issue. When we first moved in to the home we had one house behind us.
When I walked out in to our backyard this summer to my surprise there are now 3 houses behind us.
I’m just playing with you! I wasn’t surprised. I knew they had been building houses behind us and in fact I even went inside them….
Several Times…
Ok, like 10 times… Is that weird?
Well, good thing I went in there, because what I saw was not so good!
Oh, don’t get me wrong the houses are beautiful…
the view…. not so much!
You got it, from the living rooms of these houses you stare directly on to my newly built covered patio …. EEKKK!!!
It’s ok… I got it all under control. All we need to do is add some privacy curtains to the Gazebo!
I hope my new neighbors like Tulip Tie Dye as much as I do.. they’re gonna be seeing a lot of it this summer.
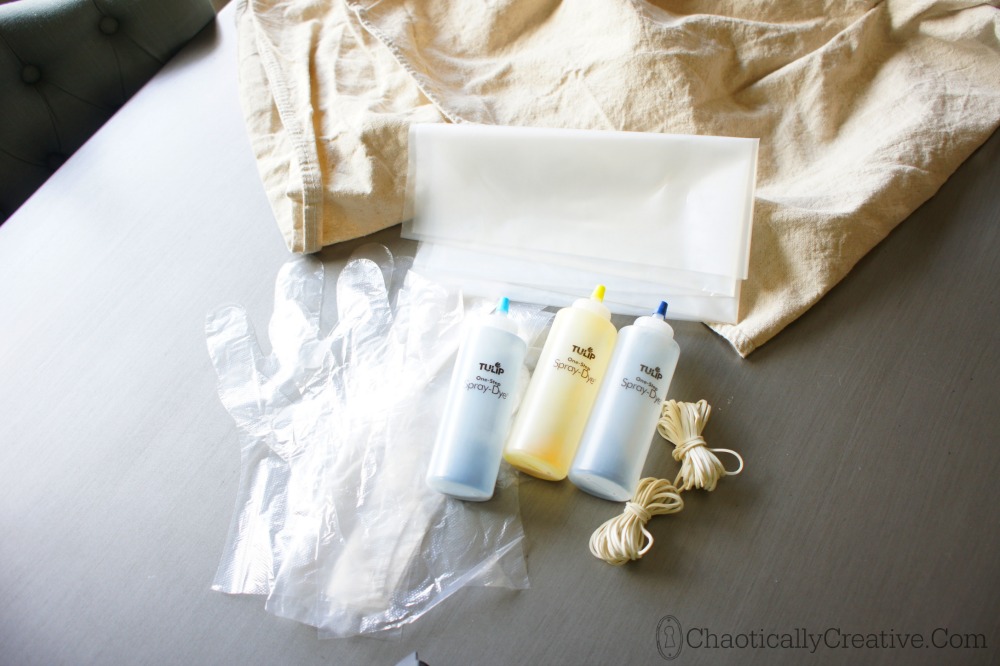 Are you ready to make some tie dye outdoor curtains? You can use the same process for indoor curtains as well… we don’t discriminate!
First run over to you local hardware store and grab some canvas drop clothes. I used 9 X 12 to make my panels.
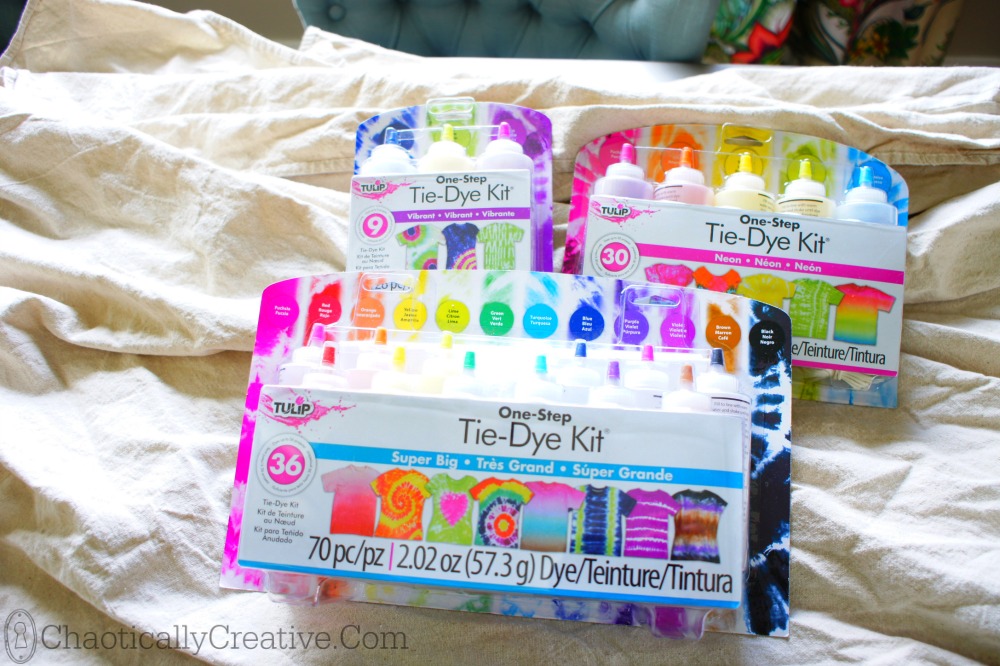
Next head over to your local craft store and purchase some Tulip One Step Tie Dye kits. You may need several if you are going to be doing a lot of tie dying like me.
The kit comes with everything you need. Gloves, rubber bands and dye are all included all you need is water and something to dye.
The kit comes with super simple instructions and also illustates several tie dying techniques. I have to admit I was a little scared.
In my 33 years of life, I have never once tie dyed a thing. I know.. right? Out of all the crafts and projects I’ve completed I had never tried to tie dye… until now!
Don’t worry though tie dying with Tulip One Step Tie Dye kits is fool proof. It really is.
Here’s what you need to do:
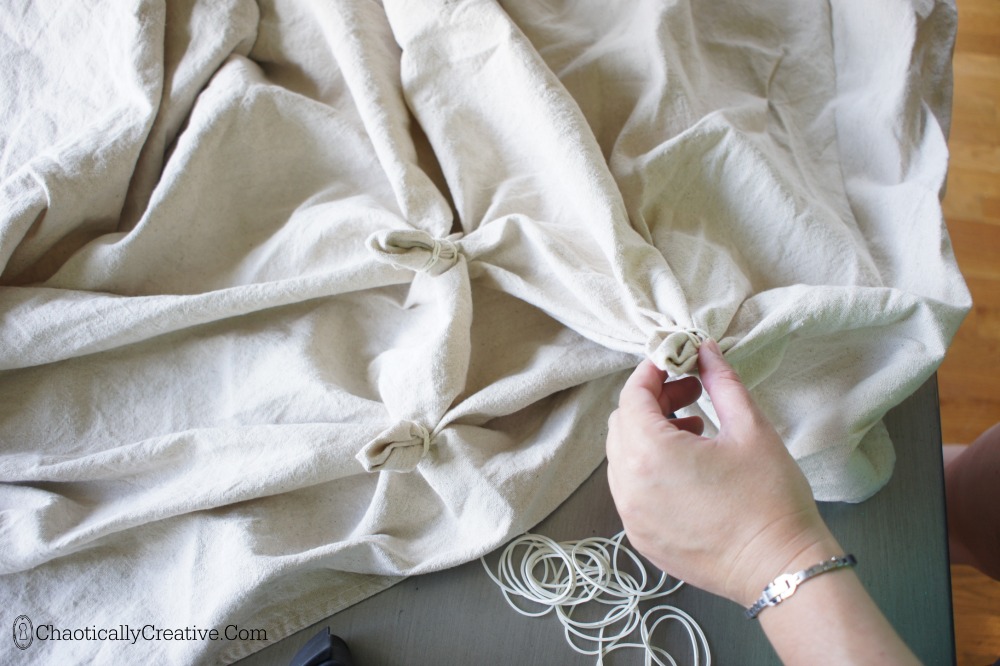
- Pick which technique you want to use. I decided to pinch and gather sections and then add rubber bands. I then went back and add more rubber bands to each area I gathered.
- Fill your bottles with warm water to the fill line.
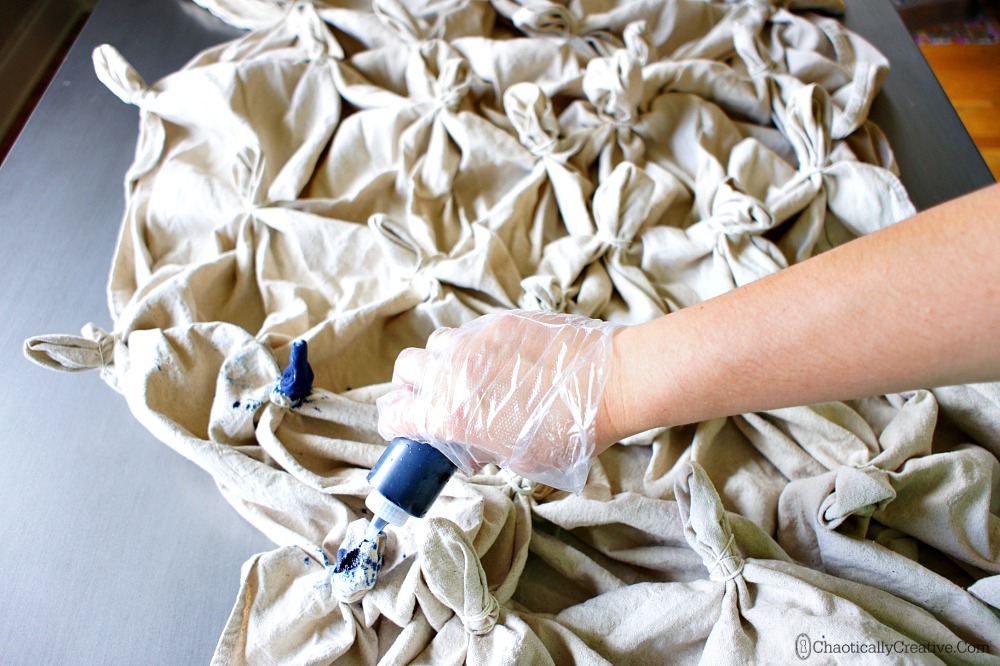
- Take you canvas outside and start dying. It’s far less messy if you are outside with this large project.
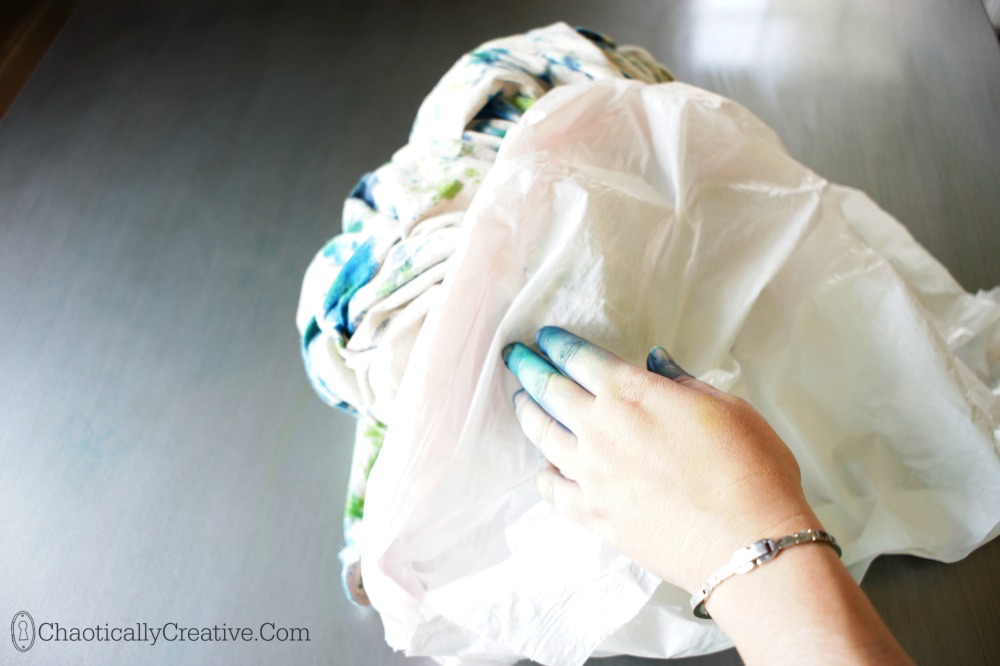
- Roll your canvas up and place it a plastic bag 6 hours or more.
- Rinse, Rinse and Rinse all of the extra dye out. I placed my canvas in the yard and sprayed it with the water hose.
- Wash in your washing machine at the highest heat and a little detergent.
- Dry.
See it’s easy just saturate your fabric and move on to the next section. You can also use a variety of colors to create a colorful pattern.
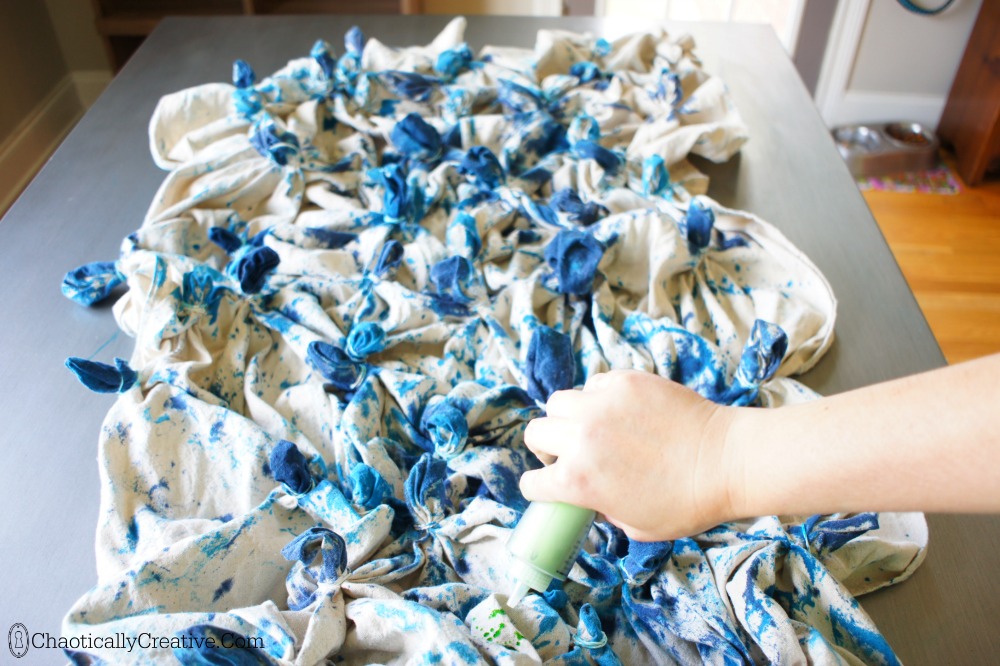 I have to admit I had a lot of fun playing around with different patterns and techniques.
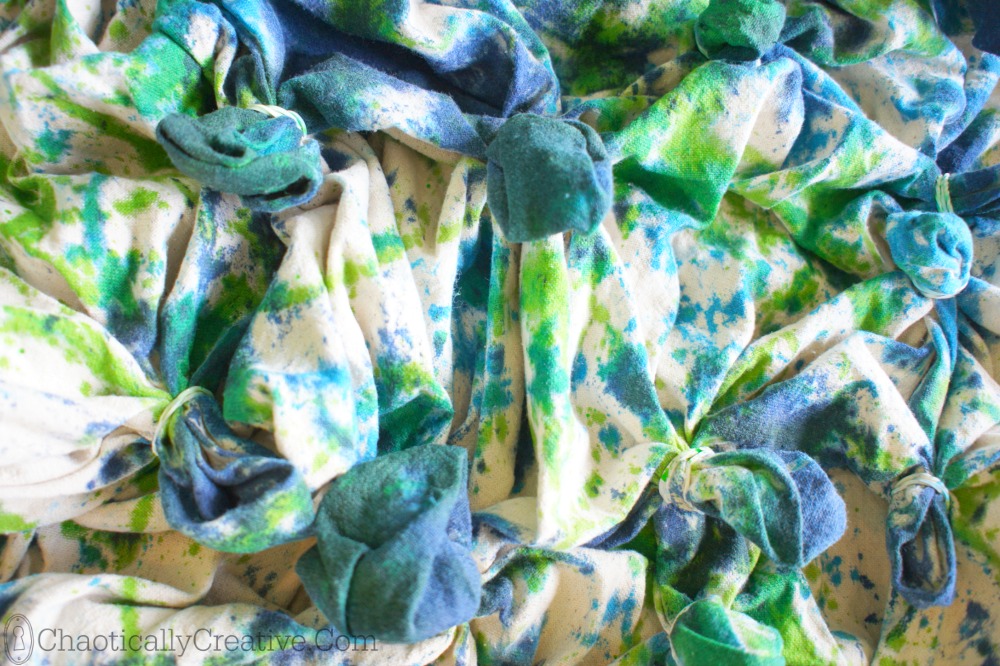
Here’s what my fabric looked like after I was done putting the dye all over it.
Placing the canvas in to a garbage bag for 6 hours. The bag keeps the dye wet so that it sets better.
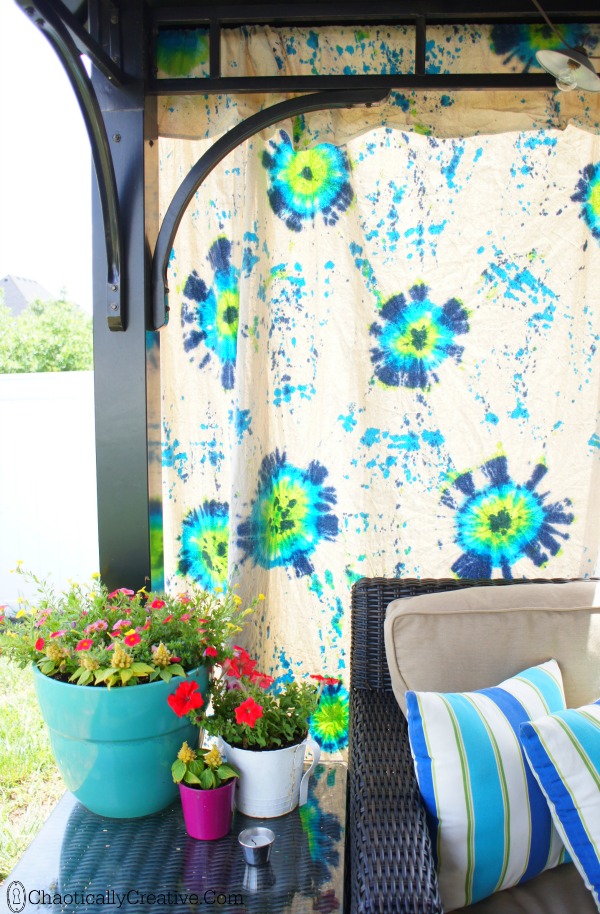
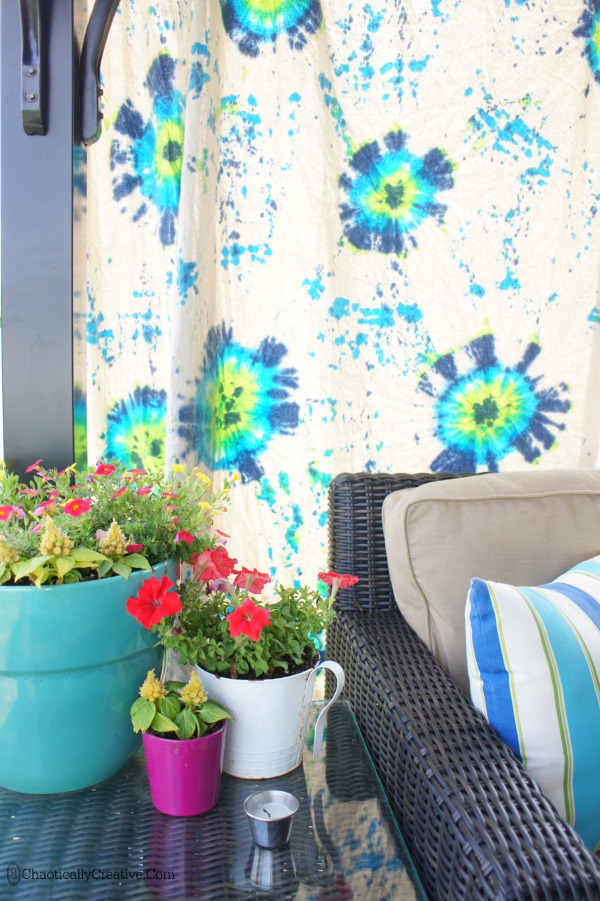
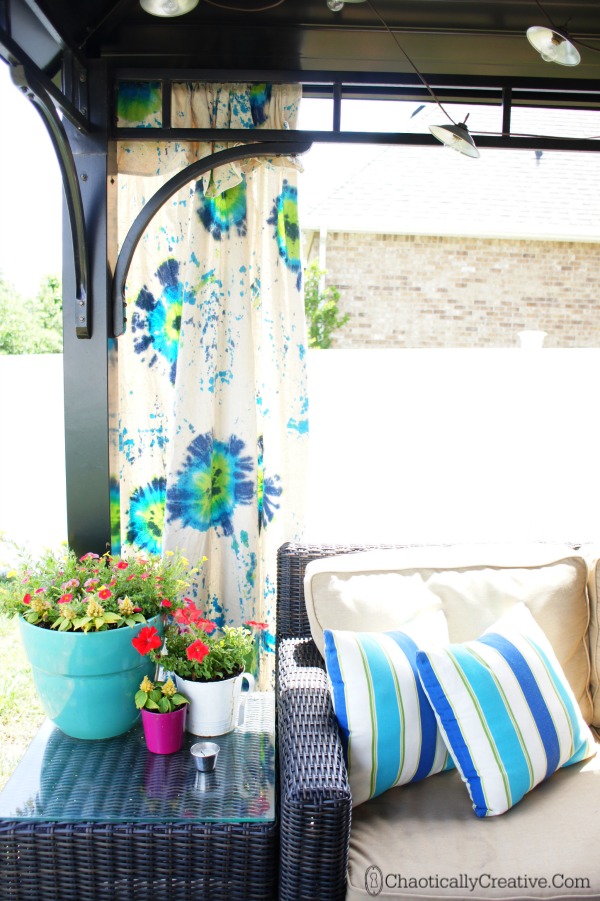 Here is the first panel. I have 7 more to go!!! I love it though. It’s colorful, it’s fun and it’s me!!!
Look! When I close the panel you can’t see my neighbors house at all!
And the pattern turned out pretty cool for a first time tie dyer, don’t you think? Is dyer even a word? 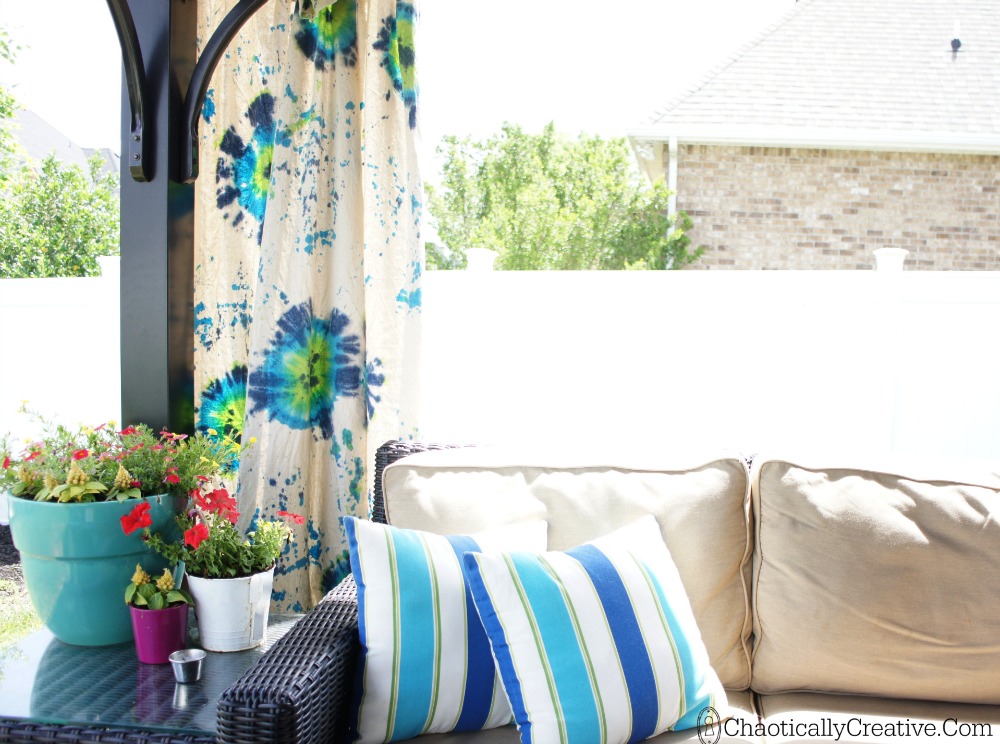
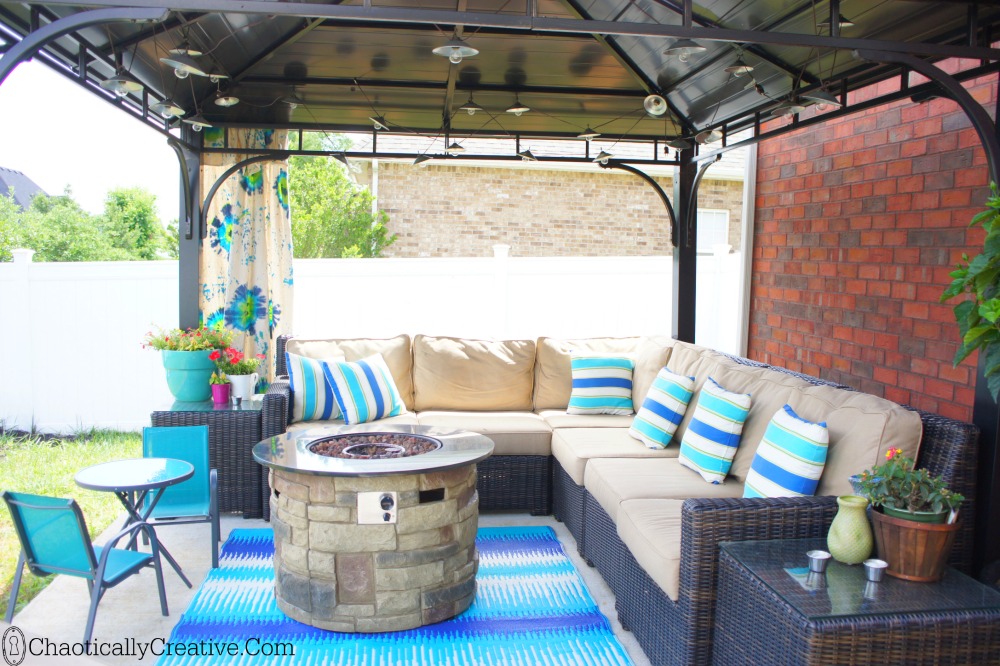 I can’t wait to finish the other 7 and show you how I will attach them all to the gazebo.
UPDATE: Well I had all intentions of finishing the other 7 curtains but time got away from me and I needed them done fast…. so I didn’t tie dye them all but they still turned out amazing… CHECK OUT THE new OUTDOOR DRAPES HERE
I love your gazebo! Would you mind letting us know where you purchased it? We have looked many times at the ones at Home Depot and Lowes, but are unsure of the stability.
It is from Lowes and it’s extremely sturdy.
I love your outdoor space and gazebo! Very inspiring….hmm…how can I make one in my backyard? Have fun at the party!
Thanks so much Nicole!
Nice tie-dye for the first time! Looks like a great place to relax!
Thanks so much!
Your curtain is SO COOL!! Such a great use of tie dye – it really looks fabulous.
Thanks so much Heather! I have to finish the rest this week for a full reveal.