Howdy everyone and thanks for joining us for Organizing Play Spaces Part 2. If you are new here hop on over and visit part one of Organizing Play Spaces. Let’s take a look at what we covered last week.
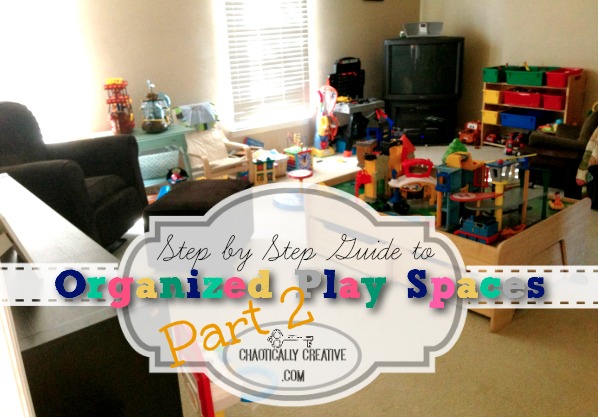
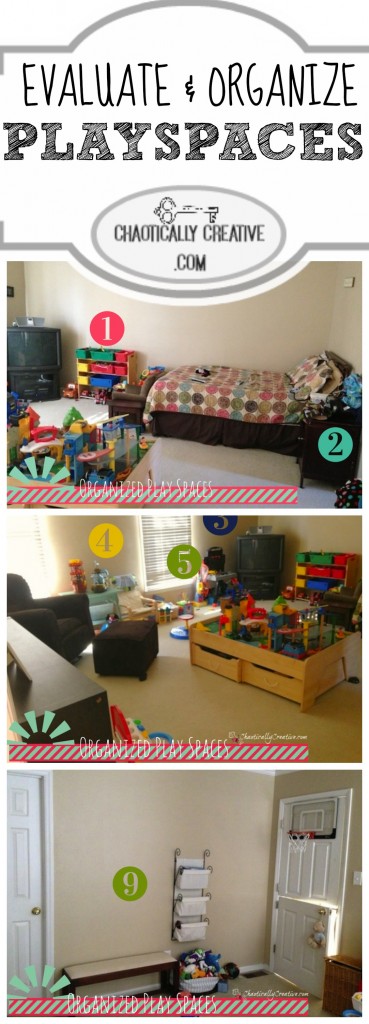 Last week I dissected, inspected and evaluated my friend Jen’s play space. This space is a Master Suite that she has turned in to a playroom but it still needs to have space for a guest bed. This being a Master Bedroom really helps because she can use the on-suite closet for storage and toy rotation. It’s ok to use alternative rooms for play spaces. I know others that have converted their formal dining room in to play rooms and that’s perfectly ok!
I have to say I am so impressed that Jen took our tips and completed everything on the checklist below.
Move any large toys in to the closet for storage as well. This doesn’t mean you can’t pull them out every other day etc. Everything under the window needs to be stored. Leave out the woodworking table. Mater over there in the corner needs to go in to the closet. Whatever is not being used under that blue table needs to be stored as well.Take all your pictures, wall decor and wall organizer down and patch holes.remove any decor, we’ll work that back in laterRelocate brown glider to another room.Prepare picture labels for each toy category.Put away everything on your bedside table. Assuming Jennifer is changing diapers on the bed and using the table for materials I’ll ask that she store Diaper changing materials either in a basket on top of the table or inside. Put the rest of the stuff in a new home.If there’s room turn the bed to face the doorway. Rooms are more inviting when the bed faces the door that you enter from.
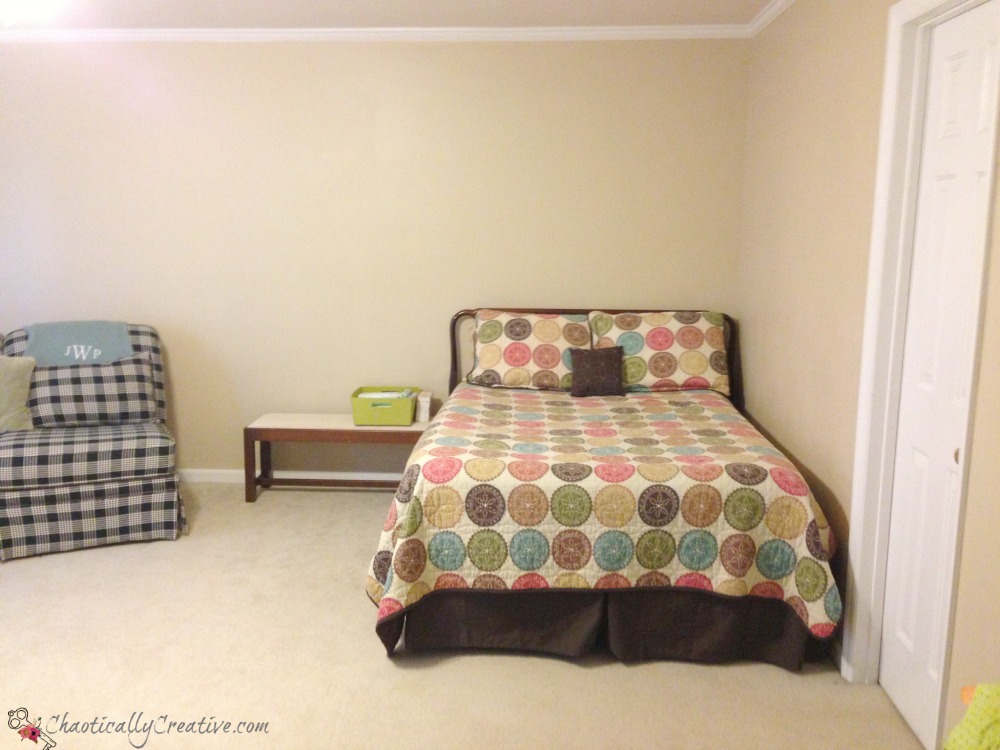
I asked Jennifer to turn the bed to face the door. I just have this thing about beds facing doors. I don’t even know why? She told me that she couldn’t believe she had never thought of that and it was amazing how much it opened the room up. Next, I asked her to get rid of the clutter and she did just that. Two huge things are gone from this space? Can you guess what’s been moved out of the room entirely?
Sidenote: CAN YOU BELIEVE HOW WHITE and Clean HER CARPET IS? I need to know her secret!
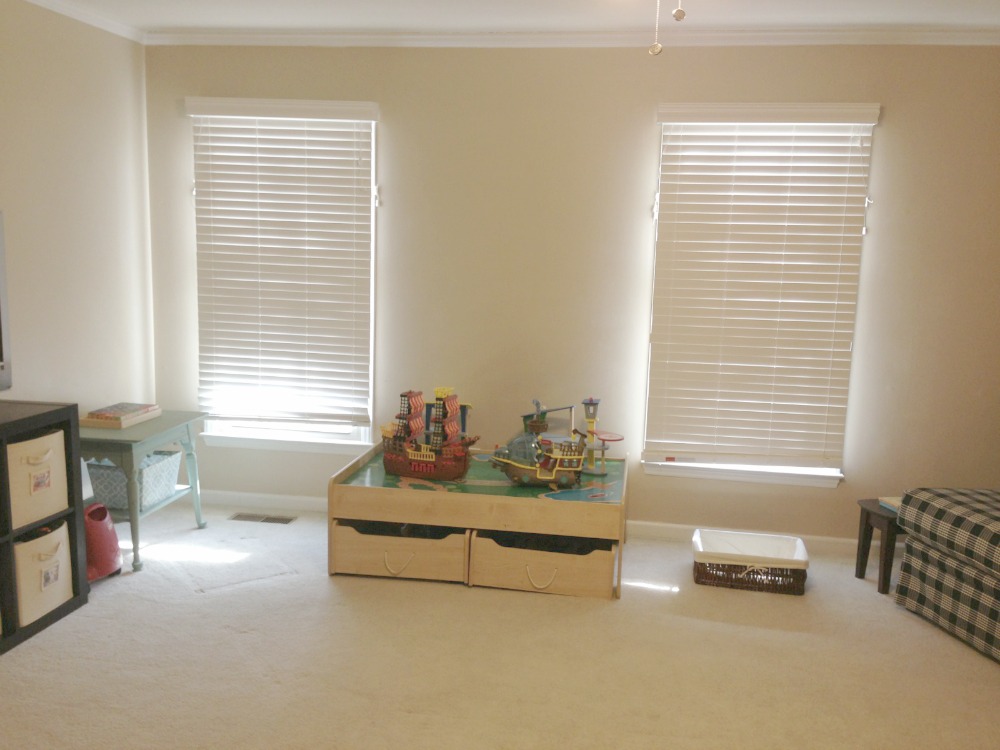 By completing all of the tasks I assigned her Jen has made this room 80% bigger and 100% more usable. The last thing to go is the train table. Jen decided it really just needed to go. I just gave away my train table this past weekend. I can’t tell you how relieved I was, it was like an amazing burden had been lifted.
Maybe I should write a post about it like 20 reasons I hate train tables! Would ya’ll read that?
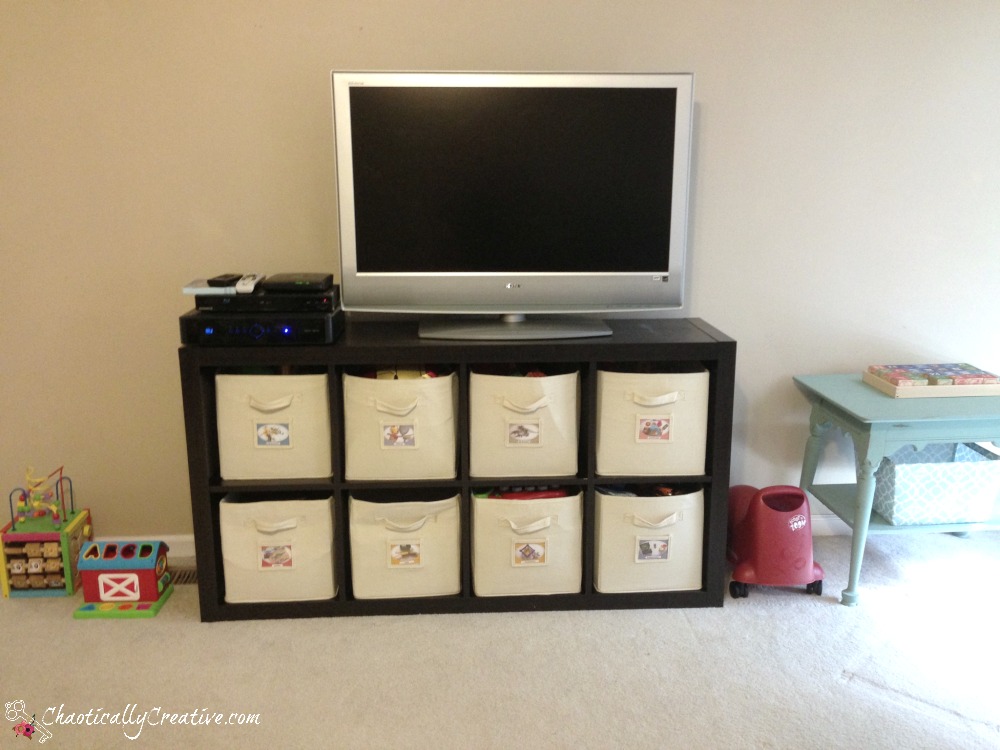
What’s been moved out of the room? Did you guess the huge dinosaur TV and the brown glider with ottoman! If you did then you are correct. Jen snagged this awesome space saving TV during a Super Bowl Sale! Woohoo! Then she very diligently completed the task of labeling.Labels are so important for young children. They are also great for adults as well because it helps keep us accountable. We are more likely to put stuff back where it goes when that space is labeled. Otherwise we end up just dumping everything back together.
Jen did exactly as I asked her to do. She took all of her toys and first stored or gave away the big ones that were no longer being used. Then she divided all of her toys in to categories. She moved the colorful bin organizer to the closet and stored well over half of the toys. (she stored them in their categories so that she could easily rotate them out.
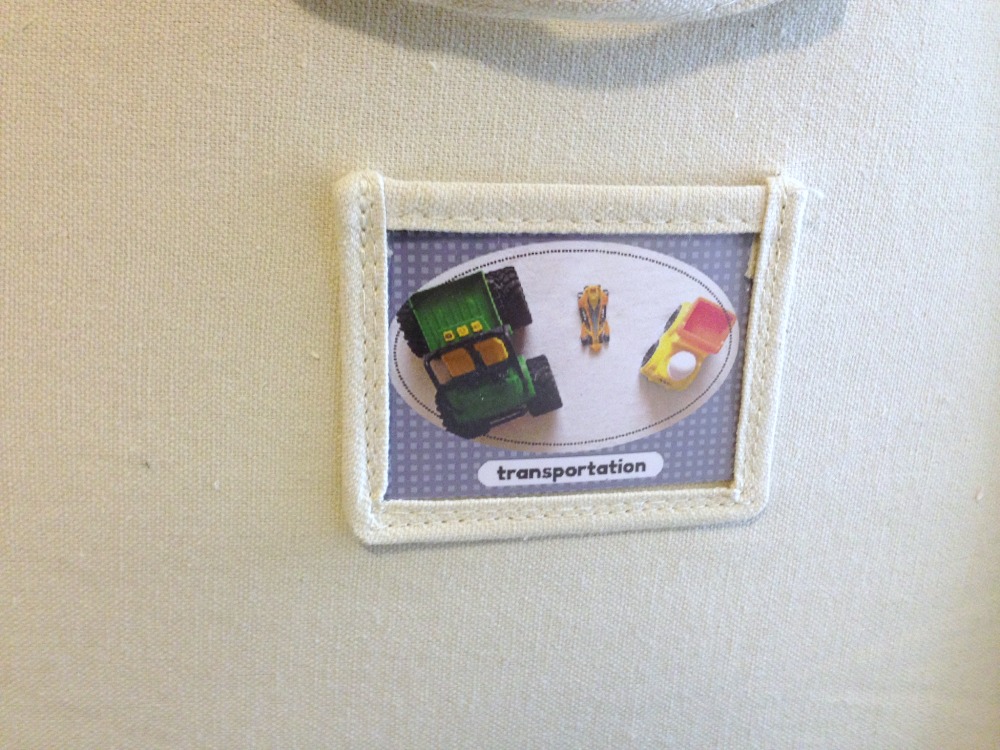
Next, Jen made a list of all the categories. She placed a few toys from each category on a white sheet and took a picture. She sent me the list of categories and a file with the images. I created these super cute and colorful labels for her bins.
I do practice what I preach to see my toy bins and the labels on them READ HERE  Do you want to know how to make picture labels? I”ll tell you….
- Find a white sheet, white poster board or white piece of furniture.
- Place several toys from a category on your white surface.
- Upload your picture to a photo editing service like PicMonkey.
- Crop your picture and then adjust the color, brightness and sharpness to create the brightest picture possible.
- If you want a patterned frame you can add your photos all to Canva. This step takes some work. You upload your pictures to Canva, pick out the oval shape and then insert your picture in to the oval (or other shape) then drop in a background. For more on Canva READ HERE
If you would like me to make labels for you send me an email and I can custom make some for a reasonable price.
Now it’s your turn to make your labels and it’s Jennifer’s turn to complete her next assignment
- Move the Black and White chairs by each window and angel them.
- Hang the brown curtains you found that you forgot that you bought last year (score!)
- Get the train table to it’s donation spot (Jen is donating it to a local preschool) Preschools are always looking for new materials so before you take them to a profitable second hand store I suggest taking things to a preschool that way lots of kids will enjoy the toy! )
- Place the blue table in between the two chairs against the wall between the windows
- Move the art table down a little and turn the short side so that it is against the wall
- Bring your kids chairs to the table
- Create a stain resistant surface under the kids art table
- move the white wall organizer to the far right of the window and hang it at your children’s height
- Place a few books in each section.
- Place some pillows or bean bags in that corner for a quiet area for reading
- Move extra shelf from kitchen and place it on the right side of the art table
Come back next week to see Jen’s Playroom update.
I love this! You and Jennifer are creating a fabulous space for play and for guests!!
Thanks so much Carol! Jennifer is doing all the hard work or possibly her husband (I think you know him pretty well lol) He’s doing the heavy lifting while she tackles the organizing
Facing your bed toward the door is “finding the key to calm”…it is a Feng Shui principle to keep you at peace. If you see the door no one can sneak up on you! I love the idea of putting the toys in the closet. I always kept a bunch of my kids toys locked up and would rotate them. Saves a lot of work. She is lucky to have you help her.
I thought it may be part of the Feng Sui design principles but wasn’t sure. So funny though because that’s exactly why I want mine to face the door that way I can see what’s coming at me.
Lots of great ideas and tips thank you for sharing !!