Decorating a house can take a really long time and become very expensive if you are not careful. I think many home owners tend to get super frustrated when decorating because they want their house to be done and either they don’t have the time or finances to get it to that point faster.
Take a deep breath I am right there with you. Decorating takes time and money. However if you can save some money here and there then you may be able to successful decorate your house faster than you think.
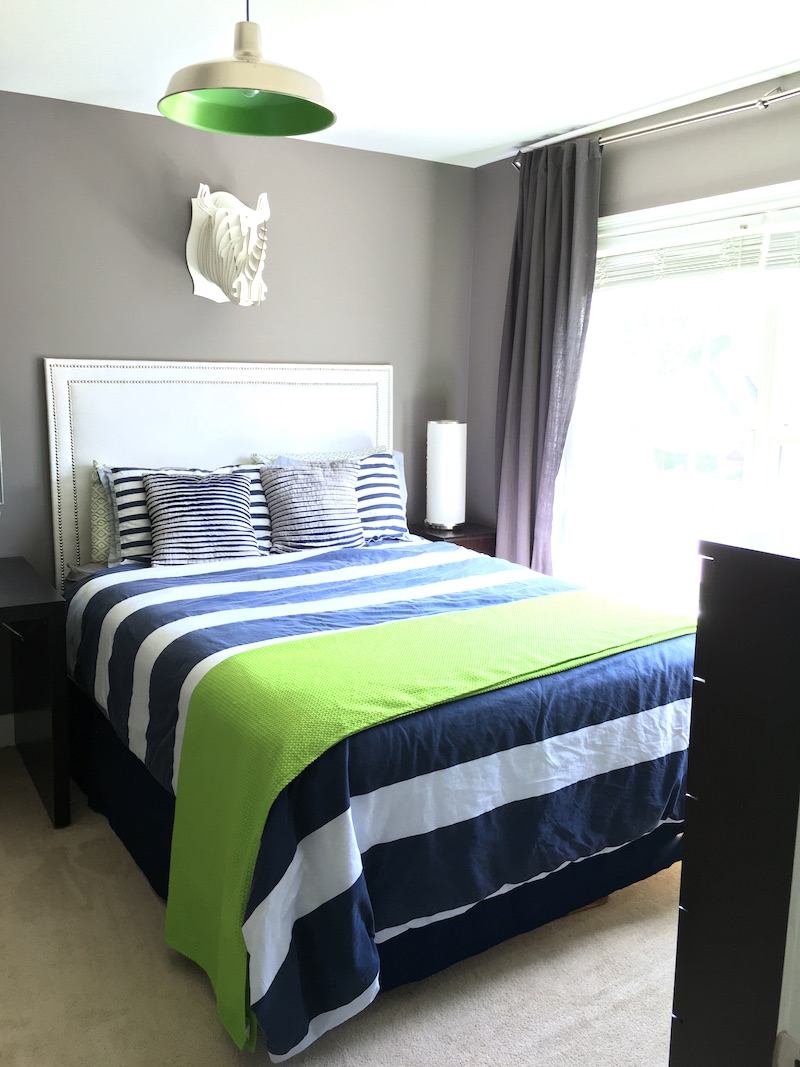
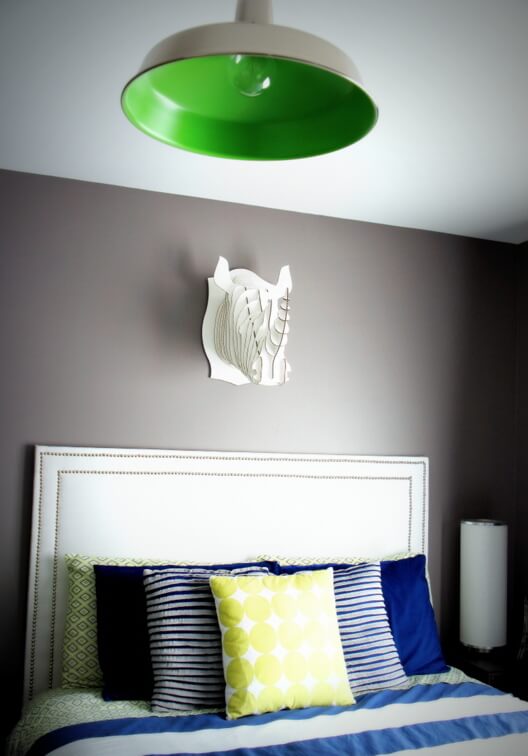
My first project in my new home was a Nailhead Upholstered Headboard for our oldest son’s bedroom… see more of his room HERE… I was so excited when not only I finished it but it looked great.
I had found a headboard I loved but $339.00 it just wasn’t in the budget. Remember cutting corners and saving through DIY projects is really important. But beware of the DIY traps not all DIYS will be less than just buying something outright. Make sure you do your research and compare the pricing between the DIY version and the already done version.
So enough with the babbling…. here’s the breakdown…..
Nailhead Trim Upholstered headboard
Materials and Costs For Queen Size Headboard
- Plywood ……..$16.00
- Two Queen sized bags of Quilting……..$14.00 a piece but I did a B1G1
- Two boxes of Nailhead Trim……………$11.50
- 2 yards of White Canvas Duck Fabric…$8.00 a yard but I bought 1 yard and the second 50% off
- 1 interlocking picture hanger…………..$8.00
- staples……………………………………$0 already owned
- staple gun………………………………..$0 already owned
- hammer…………………………………$0 already owned

Here is a list of tips……..
- If you are making a rectangle headboard this is absolutely all you need. Some other sites suggest using foam, spray glue, carpet padding etc. I did the research and unless you just so happen to have carpet padding lying around you just really don’t need it.
- I really struggled with the foam/padding situation. I wanted the headboard to be comfy. The cost of foam was way to expensive and I was afraid that too much padding would make it impossible for the nailhead trim to be hammered in. Well it would have. Instead, I only used four layers of batting. That was perfect.
- Forget the rubber mallet. I did not have one and I did not buy one as suggested. Just be careful when hammering not to damage the nailhead trim. I put some electrical tape on the head of my hammer and that seemed to work well. Warning: applying the trim is not as easy as it appears so be prepared to damage/bend some of the tacks.
- Nailhead trim is sharp when cut but I did not find any need to use gloves or protective gear. However it may be a good idea to use them if you are prone to DIY injuries.
Now this is how you make it……….
- Purchase all materials if you don’t own a saw like me then make sure to get your local home improvement store to cut your board.
- Iron your material
- Place the four layers of quilt batting on the floor, cut if needed, pull one side and staple to the back very liberally, continue stapling while pulling taut in order to maintain a smooth look, trim excess.
- After the batting is stapled place fabric on the floor, fold the edges to create a tailored look if desired and then staple
- Flip headboard over and now it is time for the most time consuming part. The nailhead trim is pretty easy. Measure out a piece, cut it and then start tacking it down.
- Measure where you want you board to hang and then measure that distance on the back of the headboard and install the picture mount. I highly suggest using a mount like the one pictured below.
- Hang the opposite bracket on the wall and then place the headboard on the mount.
- Enjoy your beautiful nailhead upholstered headboard.
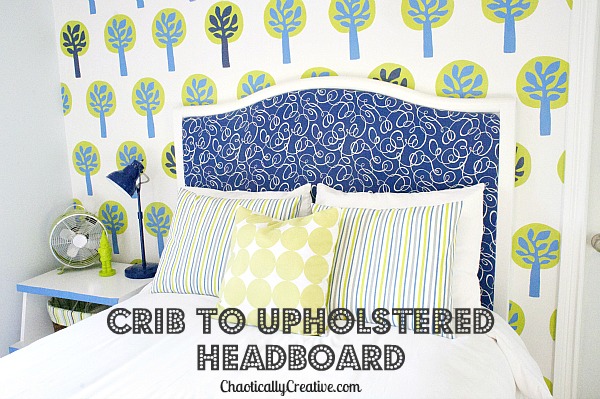
If your young child is transitioning out of a crib, then check out my Crib to Upholstered headboard tutorial as well.

This is fantastic! Thank you! I want a simple (and inexpensive) headboard for my daughter’s room and this is it! Thanks.
Jessie, I’m so glad it was helpful. I used a lot of coupons to keep the cost down and believe it or not it was really easy! Let me know if you have any additional questions. Good luck! Lesley
This is awesome! Thank you! I made one a couple of months ago and I haven’t been able to find any nail trim that was in my price range….Do you mind sharing where you found the 50% off nail trim? Thank you so much for sharing!
Blair, I got the nailhead trim at Joann Fabrics. I think the half off coupon was in their add. I also sign up for their text message offers for coupons they sometimes text 50% as well
Making my own today! Heading off to Hobby Lobby shortly to hopefully find some cute fabric. Your nail head trim looks awesome, I’m really nervous mine won’t stay straight. How did you keep yours perfectly straight?
Jessica, I used a ruler and measured in a few inches from the outside. Then I put light pencil marks where the trim would need to lay. You only nail down ever 10 tacks or so. It’s much easier to keep a straight line with the nailhead trim than the individual nailheads. Good luck and I’d love to sed a picture!
This is a beautiful piece, I love the idea of the nailhead, it is simple yet elegant. Thank you for sharing this kind of DIY project, amazing.